A safety walkthrough checklist is a standardized list of the hazards and conditions to inspect as you walk your facility, organized by zone so your team looks at each one on purpose instead of in passing. It breaks the safety walk into specific checks across critical areas, from exit routes and sprinkler clearance to electrical panels and chemical storage, so the conditions people stop noticing still get inspected. Because each finding gets an owner and a due date, you can fix what your own walk turns up before an outside inspector finds it.
This safety walkthrough checklist is organized by zone so you can adapt it to your site. The guide also covers how to turn findings into work orders, spot repeat violations, and avoid the mistakes that leave compliance gaps.
Key takeaways
- Every safety walkthrough finding needs an owner, a due date, and an in-person check that the repair is done before the item is closed.
- Repeat safety walkthrough findings, like an exit blocked weeks in a row, usually point to a workflow or supply problem. Trending findings by location shows the root causes that one-off fixes miss.
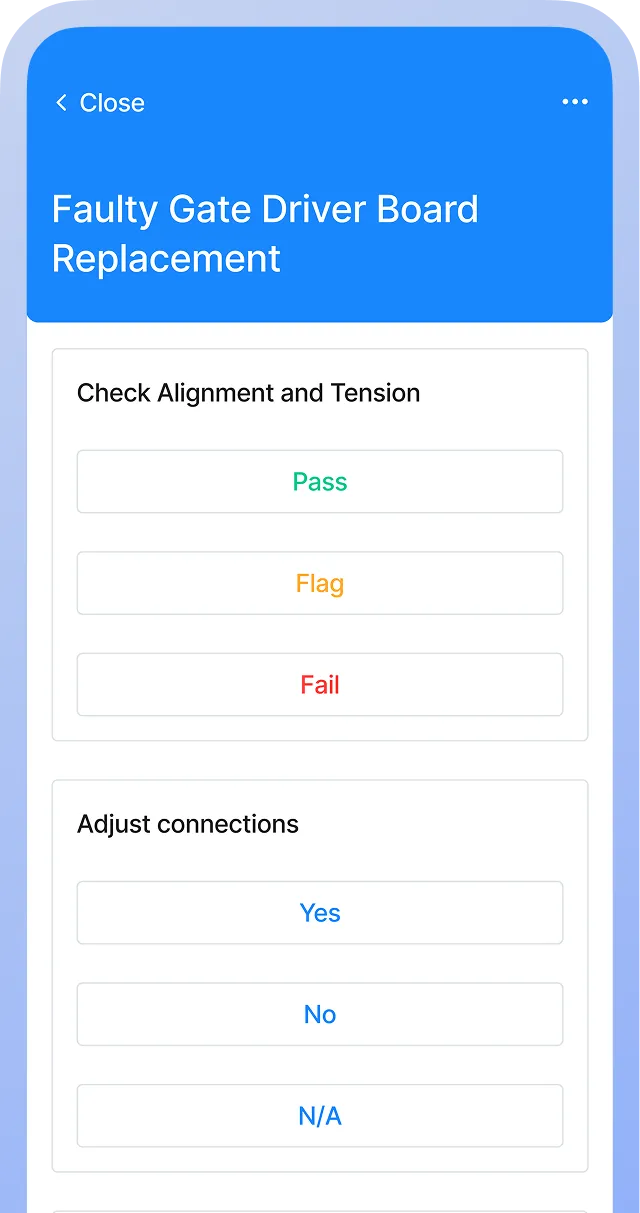
- In MaintainX, inspectors complete safety walkthroughs on a mobile device, attach photos, and create work orders from failed items, which gives you a timestamped record of every finding and its fix.
How to use this checklist
Customize for your facility
Start your safety walk checklist with the zones on your site, then cut or add items to match the hazards your team actually faces. A warehouse may add dock and racking checks, while an office may drop machine guarding. Add items for hazards specific to your operation, such as confined spaces, process equipment, or the safety devices on your production lines.
Next, set your frequencies. OSHA doesn’t set one walkthrough interval for every facility, but some items carry their own requirements. 1910.157(e)(2) calls for a monthly visual inspection of portable fire extinguishers, and 1910.22(d)(1) requires walking-working surfaces to be inspected regularly and as necessary. Check your local fire code and the other safety regulations that apply to your operation for anything else with a required interval.
Finally, assign each zone to the people who know it best, such as safety officers, area supervisors, or team leaders, and walk it on a set schedule. Review the checklist at least once a year, and after any layout or process change, so it remains relevant to the work environment your team is in today.
Use a CMMS
A CMMS shortens the time between spotting a hazard on a safety walkthrough and getting it fixed. On paper, a finding waits until someone reads the form and decides to act on it. In a CMMS, a failed item becomes a work order before the inspector leaves the zone, with the photo, location, and priority attached.


Safety walkthrough checklist
Exterior and perimeter
Exits and egress
Fire protection
Electrical and mechanical rooms
Equipment and work areas
Housekeeping and storage
Chemical storage
Restrooms, first aid, and common areas
Documentation and follow-up
This checklist is to be used only by those with appropriate training, expertise, and professional judgment. You are solely responsible for reviewing this checklist to ensure that it meets all professional standards and legal requirements, as well as your needs and intent.
Turn walkthrough findings into corrective work orders
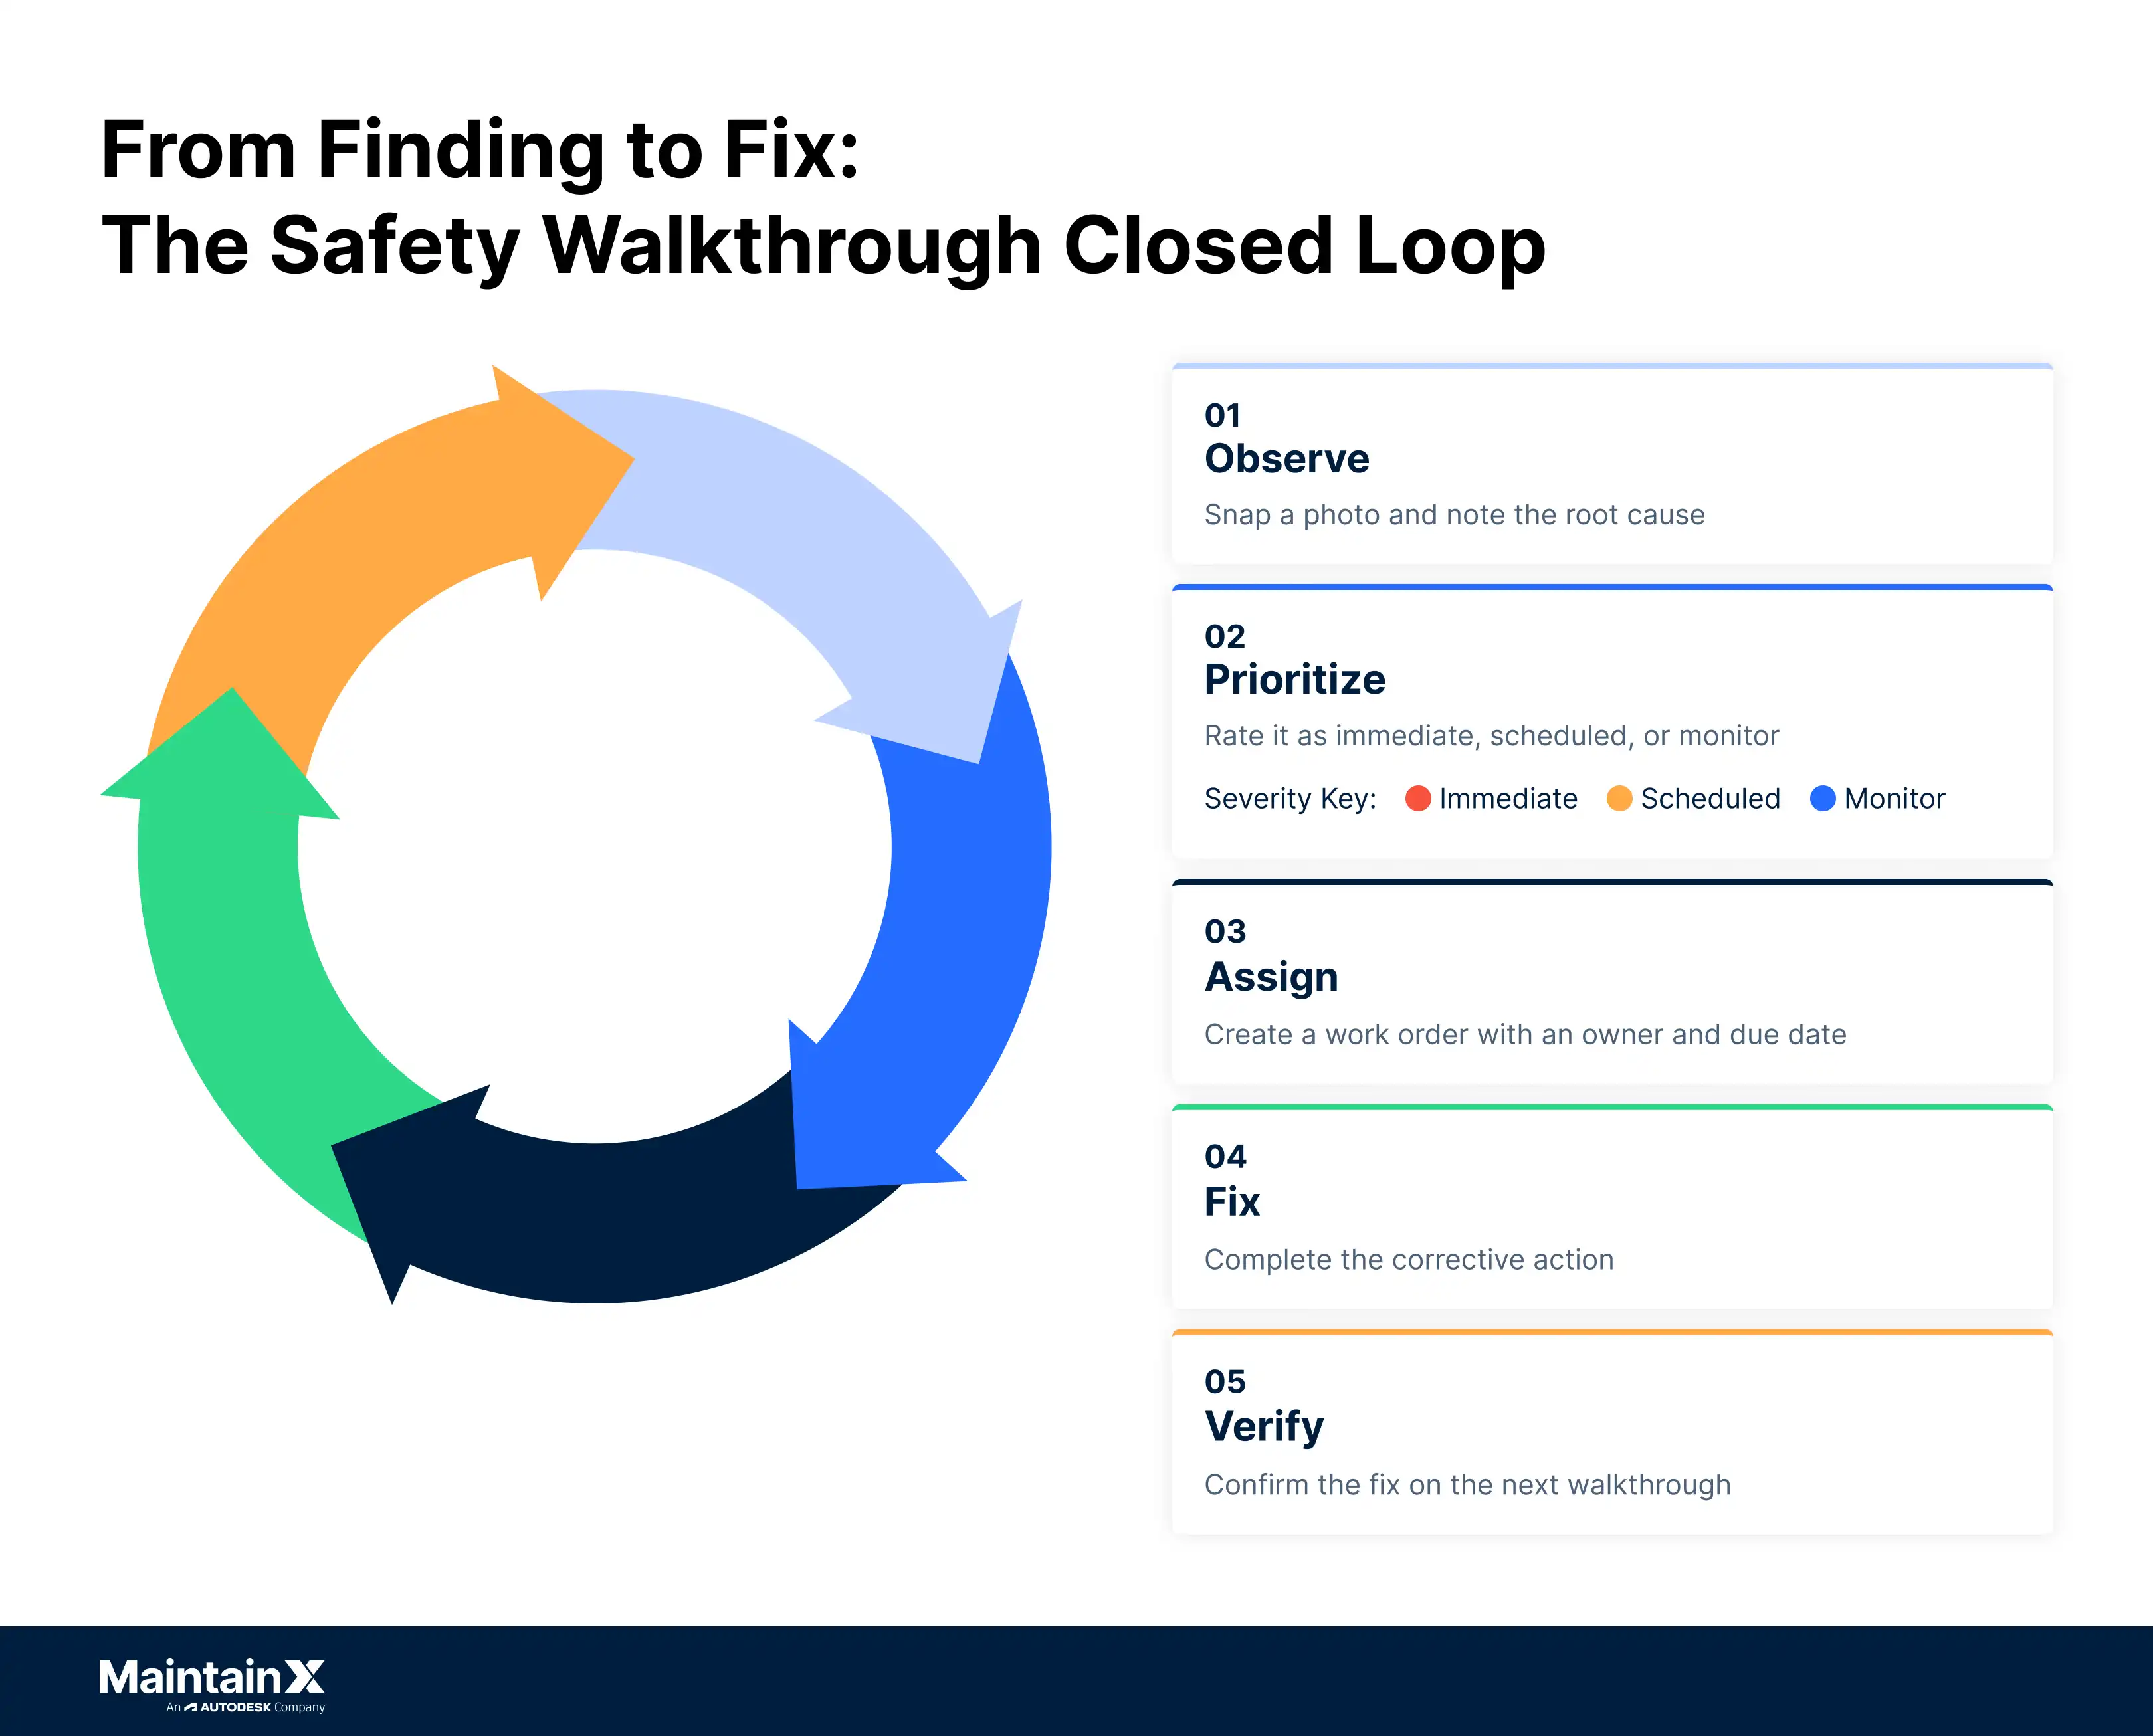
Turn each finding into a work order before the inspector leaves the area, with the location, hazard type, priority, and a photo attached. Those details let the technician who picks up the job two days later find the right hazard without tracking down the inspector.
Use the same three priorities as the checklist, so every inspector sorts findings the same way:
- Immediate: Hazards that need a fix or a barrier before anyone works near them again, such as an open electrical panel or a puddle of hydraulic fluid in a forklift aisle. For walking-working surfaces, 1910.22(d)(2) requires the hazard to be corrected, or guarded until it can be, before employees use the surface again.
- Scheduled: Problems that need a planned repair but can be safely guarded until then, like a pothole in the parking lot coned off until it’s patched, or a damaged dock bumper.
- Monitor: Potential hazards, such as floor coating wearing thin at a busy intersection, that you want to recheck on the next walk.
Close a work order only after someone verifies the fix in person. That connection from checklist item to work order to verified repair gives you an auditable trail from observation through resolution, which is the evidence you’ll want during an OSHA inspection or an insurance review.
How to identify patterns and prevent recurring safety violations
Log every finding by zone and hazard type, then review the trends each month to find the hazards that keep coming back. A single blocked emergency exit is a housekeeping issue. The same exit blocked three months running is a workflow problem, and it’s also a violation of 1910.37(a)(3), which requires exit routes to stay free and unobstructed.
Recurring safety issues usually trace back to a root cause that a one-off fix doesn’t touch:
- Storage layout: Pallets end up in front of an exit because the staging lane next to it is always full.
- Equipment maintenance: Oil on the floor by the same press every week usually points to a leaking hydraulic line that needs a repair work order.
- Training gaps: Guards keep getting bypassed on one line because new operators never learned the jam-clearing procedure.
- Production pressure: Lockout steps get skipped on the shift with the tightest changeover schedule.
If the loading dock produces more findings than any other zone month after month, review how work is set up there, such as staging space, traffic flow, and shift handoffs. Compare the trend against your incident logs and workers’ compensation claims to see whether the zones with the most findings are also where injuries happen.
Share the results at shift huddles or on breakroom bulletin boards so employees understand what the walks are finding, and review them in your continuous improvement meetings. When a hazard stops appearing on regular safety walks, the corrective action worked. When it persists, look for a root cause the fix didn’t address.
Common safety walkthrough mistakes that create compliance gaps
The most common walkthrough mistake is inconsistency. When different inspectors check different items in a different order, gaps stay invisible until an auditor or an incident reveals them.
Other mistakes create the same blind spots:
- Skipping zones under time pressure: The mezzanine or the back of the maintenance shop goes unwalked for a month, and nobody notices because the form still gets signed.
- Recording findings without owners: Without a named owner, nobody is accountable for the fix, and the finding carries over to the next walk.
- Treating a signed form as done: A signed form shows the walk happened. Closed work orders show the hazards were corrected, which is what you need to maintain compliance.
- Writing vague entries: “Area looks okay” offers no defensible evidence during an OSHA inspection and won’t help you contest a citation. Specific, objective language holds up better: “All four exit paths clear, signage illuminated, no obstructions.”
A standardized, comprehensive safety checklist with required fields reduces these errors, because every inspector walks the same path, checks the same items, and records findings the same way. Pair it with a short session to provide training on hazard recognition and on what a good finding looks like, so new inspectors identify hazards as reliably as your most experienced ones.
Digitize safety walkthroughs with a CMMS
A CMMS keeps the checklist, photos, and work orders from every safety walkthrough in one system. With paper forms, you can’t see trends across walks without retyping old findings into a spreadsheet, and you can’t easily show an auditor which findings were fixed.
MaintainX’s digital records make audits simpler. Every inspection carries a timestamp, inspector name, and linked corrective action, so your records show what was found, what was done about it, and when. Over time, that history becomes searchable by zone, hazard type, or frequency, which shows you where to put your safety management time and budget. The same approach works for the related inspections a walkthrough touches, like your forklift inspection checklist, fire extinguisher inspection checklist, and OSHA inspection checklist.
Want to see how your team could run safety walkthroughs in MaintainX? Book a tour to walk through checklists, photo findings, and corrective work orders with our team.
Safety walkthrough checklist FAQs
What should be included in a safety walk around checklist?
A safety walk around checklist should cover exits, fire protection, walking surfaces, electrical panels, machine guarding, PPE, chemical storage, and your documentation, organized by facility zone so inspectors follow a logical path. Each item should lead to a clear action when it fails, and the list should include the hazards specific to your site.
How often should safety walkthroughs be conducted in a facility?
Set the cadence by risk, because OSHA doesn’t prescribe one walkthrough frequency for every facility. Many teams pair quick checks in high-risk areas like forklift lanes or chemical storage with documented walkthroughs monthly or quarterly and a full review annually. Some items have their own required intervals, such as the monthly visual inspection of portable fire extinguishers.
Who should conduct safety walkthroughs and what qualifications are needed?
Safety managers, supervisors, and trained team members can all conduct walkthroughs, as long as they have hazard recognition training and know the area. Rotating inspectors bring fresh eyes, while formal audits may call for certified safety professionals.
What OSHA compliance items must be checked during a safety walkthrough?
Check the items tied to the OSHA standards that apply to your operation. For most general industry sites, that includes exit routes, fire extinguishers, walking-working surfaces, hazard communication labels and SDS under 1910.1200, lockout/tagout under 1910.147, machine guarding under 1910.212, electrical safety, and PPE under 1910.132. Requirements vary by industry, so match your checklist to the safety standards that cover your site.
How do you document and follow up on safety walkthrough findings?
Record each finding with a photo, location, and severity, then assign an owner and due date, and create a work order. Verify the corrective action in person before closing the item. A CMMS can track this loop from finding to verified fix.
What are the most commonly missed items during safety walkthroughs?
Inspectors most often miss items outside normal sight lines or items that only fail when tested: emergency lighting, GFCI outlets in wet locations, eyewash stations behind stored materials, outdated panel directories, and the back corners of storage areas. Repeat findings are easy to miss, too, which is why trend data across walkthroughs matters.
What’s the difference between a safety walkthrough and a formal safety audit?
A walkthrough is a routine, observation-based check that catches hazards early, while a formal audit is a structured, often independent review of your programs, records, and compliance. Walkthroughs feed audits, and audits show whether your corrective actions actually work.

Marc Cousineau is the Senior Content Marketing Manager at MaintainX. Marc has over a decade of experience telling stories for technology brands, including more than five years writing about the maintenance and asset management industry.