


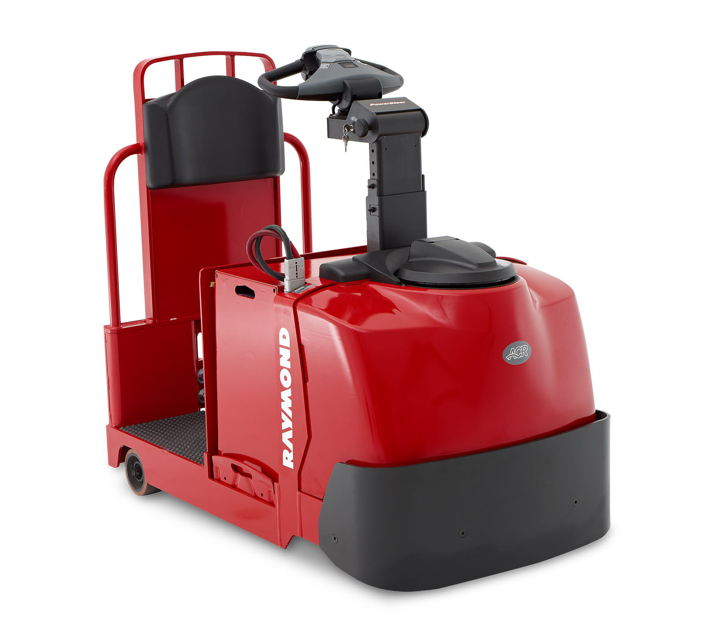
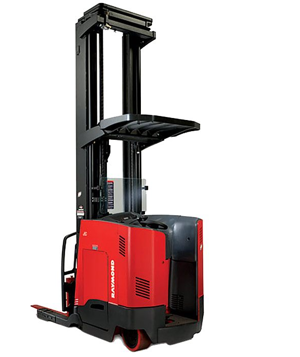
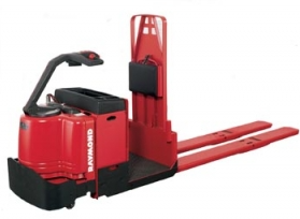
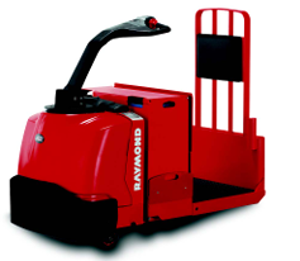
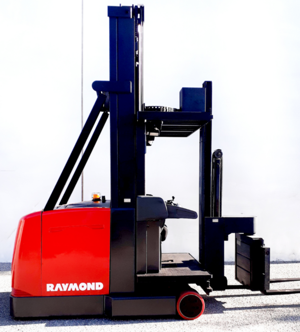
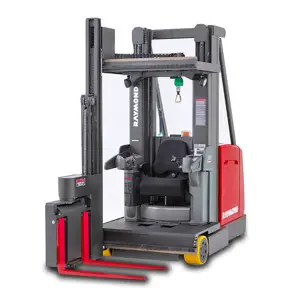
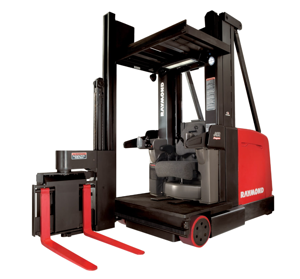
Raymond Tow Tractor 8610
Need answers fast?
Explore the manual using AI.
Turn manuals into instant answers
with your AI-powered assistantTurn manuals into instant answers
with your AI-powered assistant
Manual for Raymond Tow Tractor 8610
Complete asset maintenance, one click away
Get instant access to all the maintenance information you need. Empower technicians to perform preventive maintenance with asset packages, ready to use right out of the box.

Documents & Manuals
Find all the essential guides in one place.
 Tensioning Guide
- Belt-diagram
- C-120 pulleys
+ 13 more

Work Order Templates
Pre-built workflows to keep your asset running smoothly.
- Daily Electrical System Inspection
- Replace Roller and Pulley
- Install Engine B-120
+ 29 more

Procedures
Integrate maintenance plans directly into your work orders.
- Motion Industries
- Applied Industrial Technologies
- Electrical Brothers
+ 5 more

Parts
Access the parts list for your equipment in MaintainX.
- Drive Motor
- B2 Rollers
- Tensioning System
+ 40 more
Raymond Tow Tractor 8610
Create an account to install this asset package.
Maintenance Plans for Raymond Tow Tractor Model 8610
Integrate maintenance plans directly into your work orders in MaintainX.
180 Daily / 500 Hourly Contactor Maintenance
Warning: Ensure the truck is OFF and the battery is disconnected before starting the procedure.
Contactor tips inspected for burnt or pitted surfaces?
Plunger checked for smooth operation with no binding?
Report any issues found during the inspection
Sign off on the contactor maintenance

Brake Removal
Turn the truck OFF and disconnect the battery connector
Unplug JPBR
Caution: Note the position of cable ties holding harnesses and cables. When reassembling, attach new cable ties in the same locations.
Remove the cable ties securing the cables and harness above the brake drum
Attach the two brake release bolts and tighten only until snug. Do not overtighten.
Remove the three 6 mm screws that hold the brake to the mounting plate
Lift the brake off the motor. The rotor remains on the motor shaft.
Lift the rotor off the motor shaft.
Sign off on the brake removal
180 Daily / 500 Hourly Battery Maintenance
Warning: This maintenance check requires trained personnel with PPE!
Enter the weight stamped on the battery
Enter the minimum allowable weight on the spec tag
Enter the maximum allowable weight on the spec tag
Is the battery weight within the allowable range?
Inspect all battery connectors and leads for damage and cuts in protective coatings
Check if the battery gates are in position and not damaged
Enter the battery's free play in inches
Is the battery's free play no more than 0.5 inch?
Brake Pot Calibration
Jacking Safety
Is the drive wheel clear of the floor?
Pot Bracket Adjustment
Is the pot bracket bent correctly?
Pot Connection and Power
Is the pot connected to the truck and turned on?
Voltage Measurement
Enter the voltage measured between pin 2 (+ probe) and pin 1 (- probe)
Pot Bracket Adjustment
Power Steer Unit Replacement
1. Turn the truck OFF and disconnect the battery connector.
2. Remove the four screws [20] securing the PSU housing to the drive unit steering bearing.
3. Remove the screw securing the PSU housing to the tractor frame.
4. Remove the three screws [18] securing the power steering unit (PSU) [32] to the housing [26]. Lift the PSU from the housing.
5. Secure the new power steering unit [32] to the housing with three screws [18]. Apply thread-locking compound (P/N 990-462) to the screws [18]. Torque to 120 in. lb. (13.5 Nm).
6. Install the housing on the drive unit. Tighten the four screws [20] and the screw through the tractor frame finger tight.
7. Check for play between the pinion gear and the ring gear. If necessary, loosen the four screws [20] securing the PSU housing to the drive unit steering bearing and the screw securing the PSU to the tractor frame. Adjust the backlash to 0.002 to 0.010 in. (0.05 to 0.25 mm).
8. Apply thread-locking compound (P/N 990-462) to the four screws [20]. Torque to 28 to 32 ft. lb. (38 to 43 Nm).
9. Tighten the screw through the tractor frame finger tight. Torque the nuts to 36 to 40 ft. lb. (49 to 54 Nm).
Parts for Raymond Tow Tractor 8610
Access the parts list for your equipment in MaintainX.
Service Key
851-201-500
Connect Cable
163793A
USB/CAN Interface
230489-001
Test Pin
1035066/001
Anti-Static Kit
1-187-059
Service Key
851-201-500
Connect Cable
163793A
USB/CAN Interface
230489-001
Test Pin
1035066/001
Anti-Static Kit
1-187-059
Service Key
851-201-500
Connect Cable
163793A
USB/CAN Interface
230489-001
Test Pin
1035066/001
Anti-Static Kit
1-187-059
Unlock efficiency
with MaintainX CoPilot
MaintainX CoPilot is your expert colleague, on call 24/7, helping your team find the answers they need to keep equipment running.
Reduce Unplanned Downtime
Ensure your team follows consistent procedures to minimize equipment failures and costly delays.
Maximize Asset Availability
Keep your assets running longer and more reliably, with standardized maintenance workflows from OEM manuals.
Lower Maintenance Costs
Turn any technician into an expert to streamline operations, maintain more assets, and reduce overall costs.
Thousands of companies manage their assets with MaintainX

'%3e%3cpath%20fill='url(%23b)'%20d='M66.008%2080.068c-5.084-.786-9.763-3.834-12.442-8.68a16.942%2016.942%200%200%201-1.87-5.18c1.096.19%202.203.476%203.298.87%206.525%202.333%2010.836%207.68%2011.014%2012.99ZM51.47%2061.576c.488-5.524%203.62-10.716%208.847-13.597a17.132%2017.132%200%200%201%2011.335-1.882c-.798%208.145-7.43%2014.848-16.038%2015.599-1.417.119-2.799.07-4.144-.12Zm28.564-11.478a17.513%2017.513%200%200%201%203.727%204.62c4.608%208.335%201.584%2018.813-6.75%2023.409a16.988%2016.988%200%200%201-4.359%201.679%2019.624%2019.624%200%200%201-3.977-12.776c.346-7.561%204.942-13.931%2011.36-16.932Z'/%3e%3cpath%20fill='%23110F0D'%20fill-rule='evenodd'%20d='M142.831%2048.324h4.977V77.03h-4.977V48.324Zm27.278%2013.002c.322%201.048.453%202.263.453%203.62v12.073h-4.787V66.208c0-.75-.047-1.572-.154-2.143-.453-2.382-1.822-3.572-4.215-3.572-2.31%200-3.882%201.274-4.43%203.476-.143.596-.226%201.405-.226%202.25v10.8h-4.787V56.623h4.477v2.989c1.536-2.5%203.906-3.43%206.371-3.43%203.488%200%206.263%201.68%207.298%205.144Zm24.636%207.323c0%203.882-2.358%206.525-5.763%207.727-1.298.453-2.632.643-4.62.643h-10.169V48.324h9.085c1.691%200%203.156.143%204.049.38%203.465.93%205.727%203.68%205.727%207.335%200%202.441-.81%204.156-2.762%205.644%202.905%201.417%204.453%203.727%204.453%206.966Zm-15.634-8.656h4.584c1.024%200%201.917-.143%202.536-.417%201.215-.548%201.905-1.608%201.905-3.167%200-1.548-.643-2.572-1.845-3.132-.691-.31-1.762-.452-2.763-.452h-4.417v7.168Zm10.716%208.465c0-1.536-.893-3.37-3.227-3.893-.428-.095-1.036-.143-1.571-.143h-5.918v8.085h5.501c.56%200%201.429-.048%201.953-.167%201.94-.453%203.262-1.846%203.262-3.882Zm47.747-11.847-8.097%2020.408h-4.429l-8.109-20.408h5.191l5.192%2014.574%205.108-14.574h5.144Zm-20.218%2010.002c0%20.69-.036%201.262-.155%201.94h-15.943c.631%202.87%202.714%204.728%205.882%204.728%202.131%200%203.607-.882%204.703-2.525h4.87c-1.762%204.144-5.204%206.692-9.657%206.692-6.084%200-10.537-4.858-10.537-10.49%200-6.108%204.524-10.776%2010.335-10.776%206.239%200%2010.442%204.954%2010.502%2010.43Zm-4.763-1.405c-.333-2.846-2.643-4.858-5.691-4.858-2.894%200-5.287%201.929-5.621%204.858h11.312Zm-72.667%203.44c0%204.787-3.287%208.371-9.419%208.371H119.363V64.66c-1.917.274-3.87.69-5.811%201.238l4.537%2011.121h-5.418l-3.596-9.585c-5.144%202.084-10.085%205.216-14.217%209.585h-4.786L101.8%2048.312h4.56l5.68%2013.883a44.112%2044.112%200%200%201%207.323-1.774V48.312h9.084c1.703%200%203.156.143%204.061.393%203.453.929%205.727%203.667%205.727%207.323%200%201.917-.738%204.179-2.81%205.691%203.06%201.56%204.501%204.025%204.501%206.93Zm-15.634-8.667a62.664%2062.664%200%200%201%202.06-.036c1.703.012%203.239.131%204.608.37%201.441-.549%202.357-1.727%202.357-3.537%200-1.941-.881-3.144-2.488-3.667-.548-.18-1.358-.286-2.322-.286h-4.215v7.156Zm-16.55%203.905-3.715-9.894-6.394%2016.502c2.833-2.595%206.263-4.858%2010.109-6.608Zm27.254%204.74c0-2.775-3.131-4.347-8.513-4.418-.715%200-1.441.011-2.191.047v8.252h5.918c2.548%200%204.786-1.37%204.786-3.882Z'%20clip-rule='evenodd'/%3e%3c/g%3e%3cdefs%3e%3clinearGradient%20id='b'%20x1='51.47'%20x2='85.916'%20y1='62.946'%20y2='62.946'%20gradientUnits='userSpaceOnUse'%3e%3cstop%20stop-color='%23CD9F28'/%3e%3cstop%20offset='1'%20stop-color='%23ECD80B'/%3e%3c/linearGradient%3e%3cclipPath%20id='a'%3e%3cpath%20fill='%23fff'%20d='M51.47%2045.728h186.104V80.14H51.47z'/%3e%3c/clipPath%3e%3c/defs%3e%3c/svg%3e)


More from Raymond

Explore Other Assets


© 2026 MaintainX. All rights reserved.