


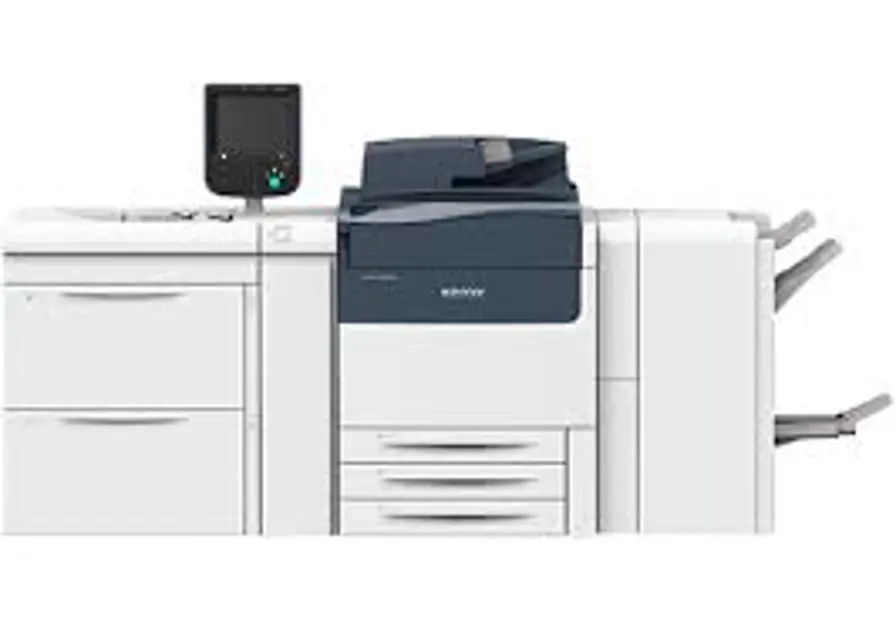
Xerox Holdings Press V280
Need answers fast?
Explore the manual using AI.
Turn manuals into instant answers
with your AI-powered assistantTurn manuals into instant answers
with your AI-powered assistant
Manual for Xerox Holdings Press V280
Complete asset maintenance, one click away
Get instant access to all the maintenance information you need. Empower technicians to perform preventive maintenance with asset packages, ready to use right out of the box.

Documents & Manuals
Find all the essential guides in one place.
 Tensioning Guide
- Belt-diagram
- C-120 pulleys
+ 13 more

Work Order Templates
Pre-built workflows to keep your asset running smoothly.
- Daily Electrical System Inspection
- Replace Roller and Pulley
- Install Engine B-120
+ 29 more

Procedures
Integrate maintenance plans directly into your work orders.
- Motion Industries
- Applied Industrial Technologies
- Electrical Brothers
+ 5 more

Parts
Access the parts list for your equipment in MaintainX.
- Drive Motor
- B2 Rollers
- Tensioning System
+ 40 more
Xerox Holdings Press V280
Create an account to install this asset package.
Maintenance Plans for Xerox Holdings Press Model V280
Integrate maintenance plans directly into your work orders in MaintainX.
Tray 5 Feed Roll Replacement
Use this procedure by Tray 5 is installed on top of Trays 6 and 7./ 8 and 9
Tip: Replace the bypass tray feed rolls when experiencing frequent multifeeds, single feeds, or blank prints in the stack of the output prints.
Use this procedure to replace the Bypass tray feed rolls, which includes:
• Feed Roll
• Nudger Roll
• Separator Roll
Note: After you replace all of the feed rolls, contact your system administrator who will reset the HFSI counter for these CRU components to zero (0).
1. Locate and access the Bypass Tray on top of Trays 6 and 7/ 8 and 9 .
2. Lift up and open the Bypass Tray cover to access the feed roll components.

Document Cover And Glass Cleaning
Before you start to clean the press, be sure to switch off the power using the rear breaker switch and unplug the press.; Cleaning the press without switching off the power may cause an electric shock.
• Always use a dry lint-free cloth for all cleaning actions unless otherwise directed.
• Do not use benzene, paint thinner, other volatile liquids, or spray insect repellent on the press as doing so may discolor, deform, or crack covers.
• If a moistened cloth is used, wipe afterwards with a dry lint-free cloth.; Cleaning the press with an excessive amount of water may cause the press to malfunction and/or damage documents during printing.
Cleaning the Document Cover and Glass
1. Cleaning the document cover
a) Raise the document feeder.
b) To remove dirt, wipe the document cover with a soft cloth moistened with water and then wipe it dry with a soft cloth.; If dirt is difficult to remove, try gently wiping with a soft cloth moistened with a small amount of neutral detergent.
2.Cleaning the document (platen) glass
Hole Punch Waste Container Emptying
WARNING: Do not perform this procedure while the printer is copying or printing.
Open the front door of the Business Ready Finisher.
Remove the hole punch waste container from its slot near the top left of the finisher.
Wait 10 seconds before reinserting the container into the printer. The hole punch counter resets after 10 seconds.
If you remove the hole punch waste container before the device instructs you to, empty the container before you reinsert it into the finisher.
Empty the container.
Insert the container all the way into the finisher.
Close the front door of the Business Ready Finisher.
Sign off on the procedure completion
Finisher Staple Waste Container Replacement
WARNING: To avoid personal injury, use care when removing staple waste container.
Important: Before you perform this procedure, ensure that the press is not running.
When you replace the staple waste container, keep the press powered on. If the press is powered off, it does not recognize that the waste container was replaced, and the full message remains displayed.
To ensure that the press continues running after you replace the waste container, close the finisher front cover.
Note: A staple waste container comes with the basic staple cartridge.
Open the finisher front cover.
Move the lock lever under R5 toward the left to the opened-lock mark.
Pull out R5.
Place the used staple waste container into the supplied plastic bag.
Booklet Staple Cartridge For Saddle Stitching Replacement
Ensure that the press is not running before performing this procedure.
This procedure is applicable only for the PR Booklet Maker Finisher.
Open the finisher front cover.
Pull out the Saddle Stitch Unit 3 toward you until it stops.
While holding the tabs on the staple cartridge, pull out the cartridge to remove it.
There are two booklet staple cartridges provided. Check the message to see which cartridge needs replacing.
While holding the tabs on the new staple cartridge, push in the cartridge until it seats.
Make sure that the marks are aligned.
Push the Saddle Stitch Unit 3 gently into the finisher until it stops.
Unlock efficiency
with MaintainX CoPilot
MaintainX CoPilot is your expert colleague, on call 24/7, helping your team find the answers they need to keep equipment running.
Reduce Unplanned Downtime
Ensure your team follows consistent procedures to minimize equipment failures and costly delays.
Maximize Asset Availability
Keep your assets running longer and more reliably, with standardized maintenance workflows from OEM manuals.
Lower Maintenance Costs
Turn any technician into an expert to streamline operations, maintain more assets, and reduce overall costs.
Thousands of companies manage their assets with MaintainX

'%3e%3cpath%20fill='url(%23b)'%20d='M66.008%2080.068c-5.084-.786-9.763-3.834-12.442-8.68a16.942%2016.942%200%200%201-1.87-5.18c1.096.19%202.203.476%203.298.87%206.525%202.333%2010.836%207.68%2011.014%2012.99ZM51.47%2061.576c.488-5.524%203.62-10.716%208.847-13.597a17.132%2017.132%200%200%201%2011.335-1.882c-.798%208.145-7.43%2014.848-16.038%2015.599-1.417.119-2.799.07-4.144-.12Zm28.564-11.478a17.513%2017.513%200%200%201%203.727%204.62c4.608%208.335%201.584%2018.813-6.75%2023.409a16.988%2016.988%200%200%201-4.359%201.679%2019.624%2019.624%200%200%201-3.977-12.776c.346-7.561%204.942-13.931%2011.36-16.932Z'/%3e%3cpath%20fill='%23110F0D'%20fill-rule='evenodd'%20d='M142.831%2048.324h4.977V77.03h-4.977V48.324Zm27.278%2013.002c.322%201.048.453%202.263.453%203.62v12.073h-4.787V66.208c0-.75-.047-1.572-.154-2.143-.453-2.382-1.822-3.572-4.215-3.572-2.31%200-3.882%201.274-4.43%203.476-.143.596-.226%201.405-.226%202.25v10.8h-4.787V56.623h4.477v2.989c1.536-2.5%203.906-3.43%206.371-3.43%203.488%200%206.263%201.68%207.298%205.144Zm24.636%207.323c0%203.882-2.358%206.525-5.763%207.727-1.298.453-2.632.643-4.62.643h-10.169V48.324h9.085c1.691%200%203.156.143%204.049.38%203.465.93%205.727%203.68%205.727%207.335%200%202.441-.81%204.156-2.762%205.644%202.905%201.417%204.453%203.727%204.453%206.966Zm-15.634-8.656h4.584c1.024%200%201.917-.143%202.536-.417%201.215-.548%201.905-1.608%201.905-3.167%200-1.548-.643-2.572-1.845-3.132-.691-.31-1.762-.452-2.763-.452h-4.417v7.168Zm10.716%208.465c0-1.536-.893-3.37-3.227-3.893-.428-.095-1.036-.143-1.571-.143h-5.918v8.085h5.501c.56%200%201.429-.048%201.953-.167%201.94-.453%203.262-1.846%203.262-3.882Zm47.747-11.847-8.097%2020.408h-4.429l-8.109-20.408h5.191l5.192%2014.574%205.108-14.574h5.144Zm-20.218%2010.002c0%20.69-.036%201.262-.155%201.94h-15.943c.631%202.87%202.714%204.728%205.882%204.728%202.131%200%203.607-.882%204.703-2.525h4.87c-1.762%204.144-5.204%206.692-9.657%206.692-6.084%200-10.537-4.858-10.537-10.49%200-6.108%204.524-10.776%2010.335-10.776%206.239%200%2010.442%204.954%2010.502%2010.43Zm-4.763-1.405c-.333-2.846-2.643-4.858-5.691-4.858-2.894%200-5.287%201.929-5.621%204.858h11.312Zm-72.667%203.44c0%204.787-3.287%208.371-9.419%208.371H119.363V64.66c-1.917.274-3.87.69-5.811%201.238l4.537%2011.121h-5.418l-3.596-9.585c-5.144%202.084-10.085%205.216-14.217%209.585h-4.786L101.8%2048.312h4.56l5.68%2013.883a44.112%2044.112%200%200%201%207.323-1.774V48.312h9.084c1.703%200%203.156.143%204.061.393%203.453.929%205.727%203.667%205.727%207.323%200%201.917-.738%204.179-2.81%205.691%203.06%201.56%204.501%204.025%204.501%206.93Zm-15.634-8.667a62.664%2062.664%200%200%201%202.06-.036c1.703.012%203.239.131%204.608.37%201.441-.549%202.357-1.727%202.357-3.537%200-1.941-.881-3.144-2.488-3.667-.548-.18-1.358-.286-2.322-.286h-4.215v7.156Zm-16.55%203.905-3.715-9.894-6.394%2016.502c2.833-2.595%206.263-4.858%2010.109-6.608Zm27.254%204.74c0-2.775-3.131-4.347-8.513-4.418-.715%200-1.441.011-2.191.047v8.252h5.918c2.548%200%204.786-1.37%204.786-3.882Z'%20clip-rule='evenodd'/%3e%3c/g%3e%3cdefs%3e%3clinearGradient%20id='b'%20x1='51.47'%20x2='85.916'%20y1='62.946'%20y2='62.946'%20gradientUnits='userSpaceOnUse'%3e%3cstop%20stop-color='%23CD9F28'/%3e%3cstop%20offset='1'%20stop-color='%23ECD80B'/%3e%3c/linearGradient%3e%3cclipPath%20id='a'%3e%3cpath%20fill='%23fff'%20d='M51.47%2045.728h186.104V80.14H51.47z'/%3e%3c/clipPath%3e%3c/defs%3e%3c/svg%3e)


More from Xerox Holdings

Explore Other Assets


© 2026 MaintainX. All rights reserved.