

Site inspections are your first line of defense against on-the-job accidents, liability issues, and OSHA violations. A standardized checklist helps you catch hazards before they turn into serious problems, keeping workers safe and cutting costly delays, rework, and compliance risk.
Below, you'll find a checklist covering six core areas of a building site, followed by a step-by-step guide to running an inspection and documenting it to support OSHA compliance.
Key takeaways
- A site inspection checklist ensures safety, compliance, and accessibility, and helps prevent costly oversights.
- A site inspection should cover six core areas: safety, personal protective equipment, accessibility, facilities, equipment, and emergency readiness.
- Documenting inspections and their findings protects your company during OSHA inspections, audits, and insurance claims.
- Using a mobile-friendly CMMS like MaintainX is the best way to run site inspections effectively.
What is a site inspection checklist?
A site inspection checklist is a set of systematized inspection tasks that ensure a project is safe, accessible, and compliant with applicable regulations.
On this page, you’ll find a site inspection checklist template tailor-made for construction managers, safety officers, general contractors, or anyone else responsible for a building site. Use this list on its own or with a Computerized Maintenance Management System (CMMS) to review hazard controls, access routes, and other factors in line with OSHA requirements.
What should be included in a building site inspection checklist?
A building site inspection checklist must cover the six critical areas discussed below.
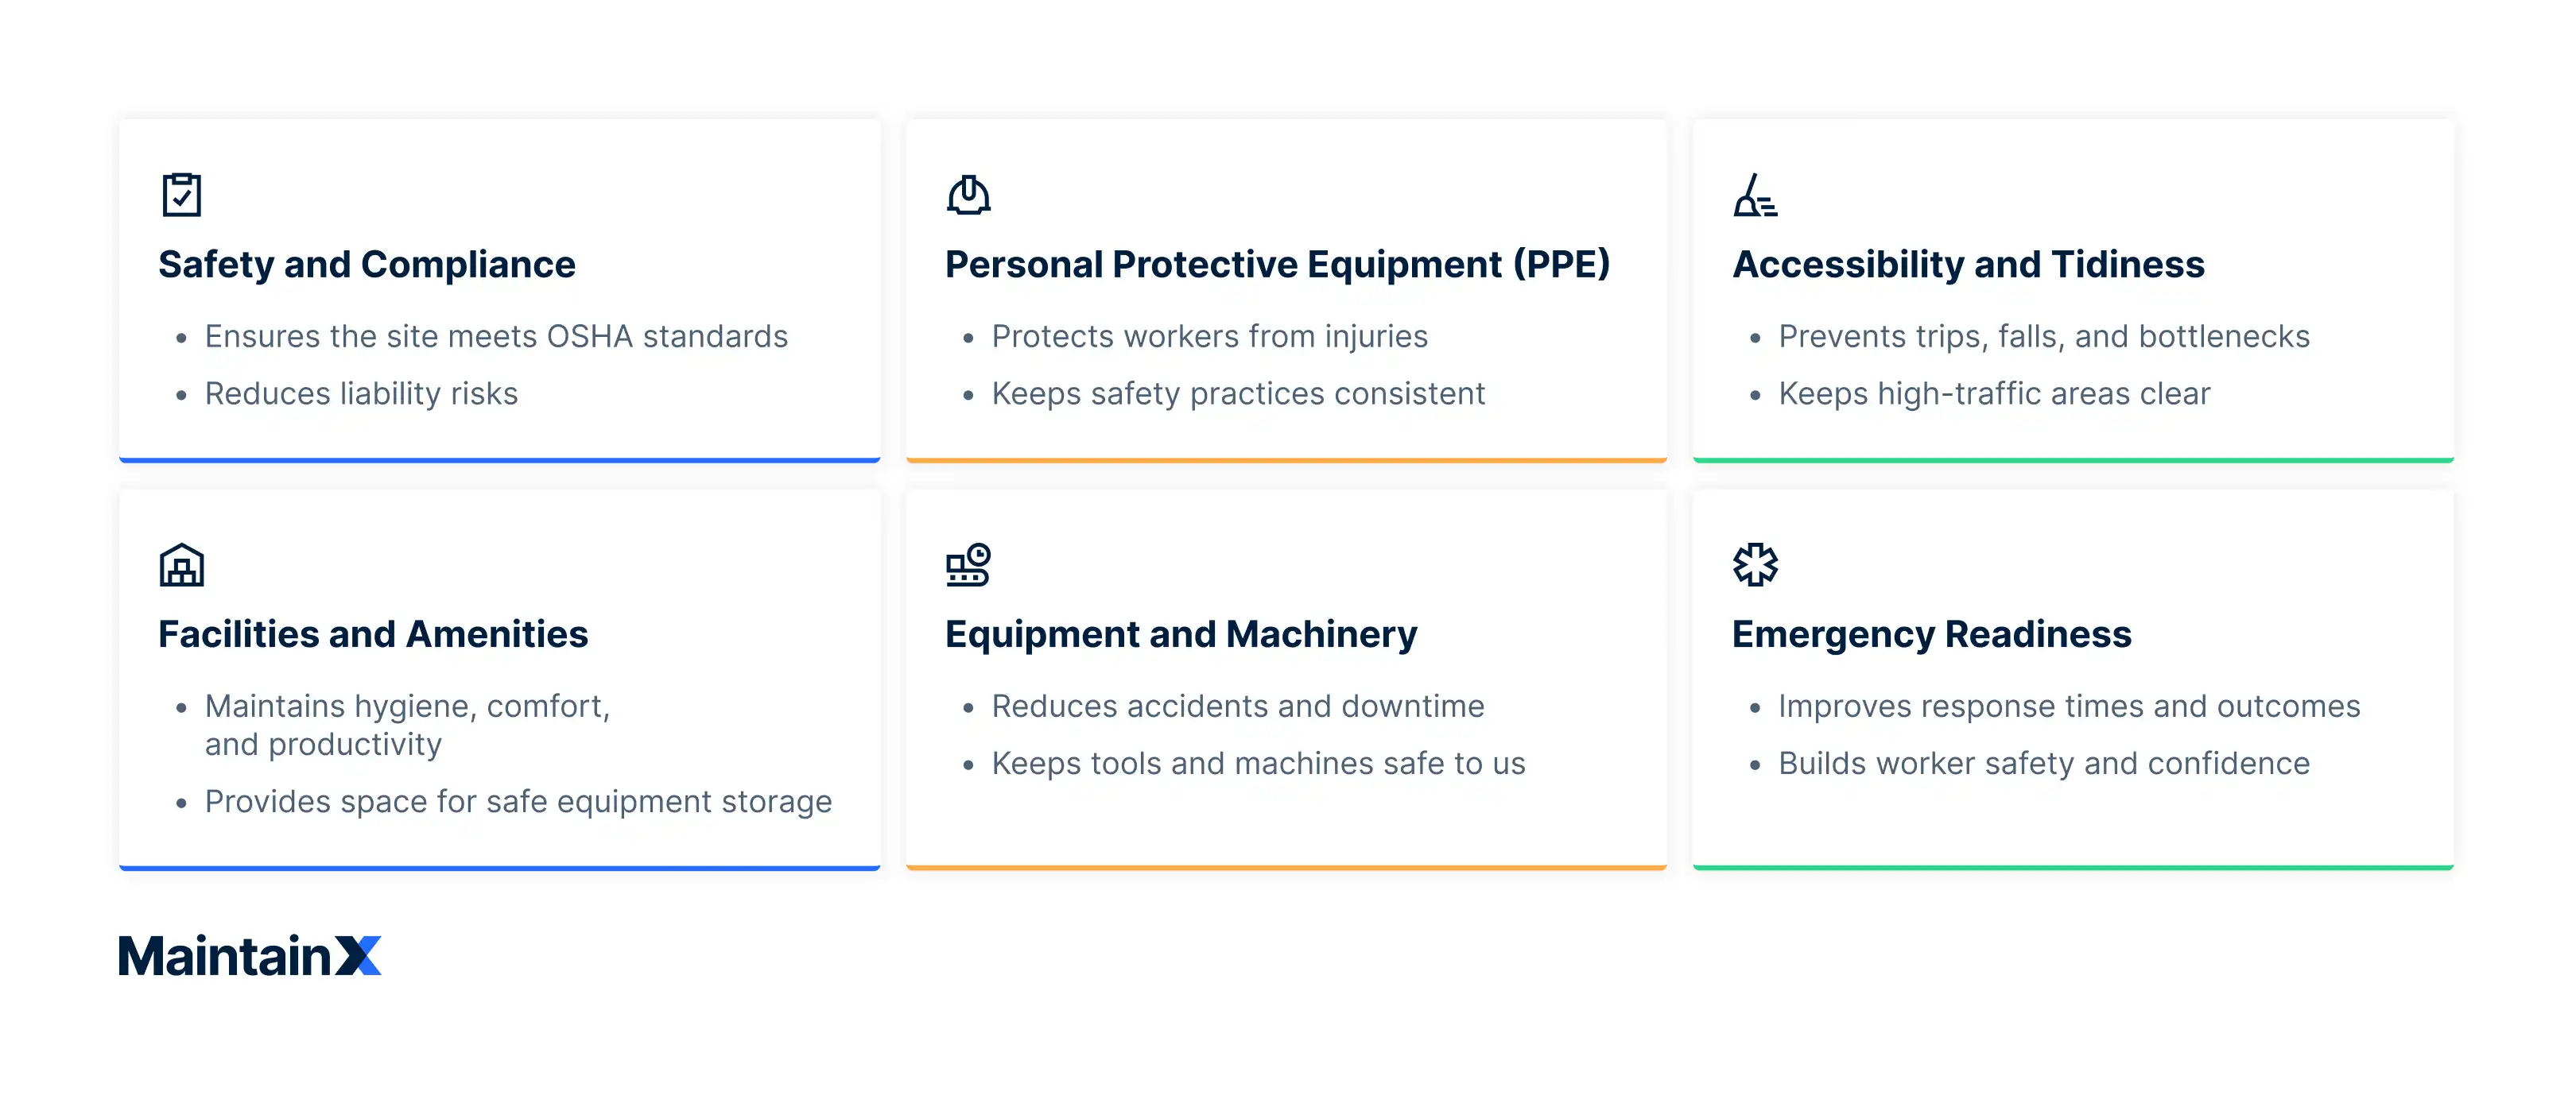
Site safety and compliance
Personal protective equipment
Site accessibility and tidiness
Facilities and amenities
Equipment and machinery
Emergency and first aid preparedness
*Disclaimer: This checklist is to be used only by those with appropriate training, expertise, and professional judgment. You are solely responsible for reviewing this checklist to ensure that it meets all professional standards and legal requirements, as well as your needs and intent.
Adapting the checklist to your construction site
Adapt the checklist above by matching it to two things: the current phase of your project and the specific high-risk work happening on site.
During site setup, the focus is on perimeter fencing, access routes, and identifying underground and overhead utilities before any digging or lifting starts. During active construction, the risk shifts to work at height, heavy equipment, and trades working on top of each other. Near handover, it moves to dismantling scaffolding and temporary structures, energizing permanent electrical systems, and keeping walkways clear as finishing trades move in.
Some high-risk activities also need their own review beyond this checklist. Excavations and trenches are the most common example: OSHA requires a competent person to inspect them daily before work starts and after any event that could change conditions, such as heavy rain. Confined spaces and chemical storage may also need their own checks. If your project includes any of these, add them to the checklist you carry so your inspections match the hazards actually on site.
How to perform a site inspection using this checklist
OSHA expects site inspections to be carried out by a competent person the employer designates: someone who can identify existing and predictable hazards and has the authority to correct them. If that's you, these six steps turn the checklist above into a repeatable process.
1. Define the purpose and scope
Decide what the inspection covers before you head to the site. A walk can be scoped to:
- A single trade
- A distinct area
- A specific hazard or activity, such as fall protection or hot work
- A follow-up on previous findings
- A trigger event, such as severe weather or a near miss
- The whole site
The scope determines which documents and permits you bring, who joins the walk, and which hazards you focus on. For example, a compliance check against a written standard calls for different paperwork and people than a routine hazard walk. Write the scope down so you and the project managers agree on what gets reviewed.
2. Prepare before you arrive
Doing a few minutes of prep makes the walk faster and more focused. Before you head out:
- Review previous inspection reports: Check whether last time's action items were closed, and note any problem areas that keep coming back.
- Check what's on site that day: Find out which crews, equipment, and materials will be there so you can focus on the hazards that are actually present.
- Give notice for scheduled inspections: Let your team and subcontractors know when you're coming so the right people are available to answer questions.
- Arrange access: Organize keys and digital passes for any restricted areas so you're not held up on site.
When you arrive, open with a short briefing on the walk's purpose and scope. Mix in occasional unannounced spot checks too, since they show you conditions nobody has tidied up in advance.
3. Start with the highest-risk areas
Begin with the hazards OSHA calls the Focus Four: falls, caught-in or caught-between, struck-by, and electrocution. These are the leading causes of construction worker deaths, so they deserve your attention first.
In practice, that means checking scaffolding, ladders, and open edges for fall risks, trenches and moving machinery for caught-in hazards, cranes and site vehicles for struck-by risks, and temporary power and overhead lines for electrical hazards.
Working in this order means the most serious hazards get covered even if time runs short. Once they're addressed, work through the remaining areas of the checklist.
4. Talk to the people on site
Crews and supervisors work in these conditions all day, so they often spot hazards an inspector walking through would miss: the ladder that wobbles, the extension cord that keeps ending up across a walkway, or the corner where forklifts cut close to foot traffic.
Ask specific questions rather than "any issues?" For example, ask what's slowed them down this week, whether there have been any near misses, and whether they have the equipment and PPE they need. Near misses are especially worth asking about, since they point to hazards that haven't caused an injury yet.
Use the same conversation to reinforce the safety rules crews are expected to follow, and record what you hear as a finding like any other.
5. Document findings to support OSHA compliance
As you walk, log findings in a CMMS that carries the inspection record. Each entry needs:
- The date and time
- The area inspected
- The issue found, with photos
- The corrective action and its owner
- The deadline
- The completion date
- The verification result
- The inspector's name or signature
OSHA requires frequent and regular inspections of job sites, materials, and equipment by a competent person the employer designates, but it doesn't set a specific interval. That makes your inspection records the main evidence that you're meeting the requirement during an OSHA inspection or audit.
6. Close the loop with corrective actions
An inspection isn't finished until the problems it has found are fixed. Rank your findings by severity and how often they recur, so the scaffold tie that keeps failing moves ahead of a housekeeping item. Then make sure every corrective action has an owner and a deadline.
At the next inspection, open the previous report and confirm on site that each action was completed. Keep any unresolved item open until it's verified as fixed, rather than letting it drop off the list.
Between formal inspections, the competent person should also run shorter daily checks: a pre-shift walkthrough, spot checks during the shift, and an end-of-shift review. A condensed daily checklist keeps these quick and documented.


Mobile-friendly site inspection checklist software
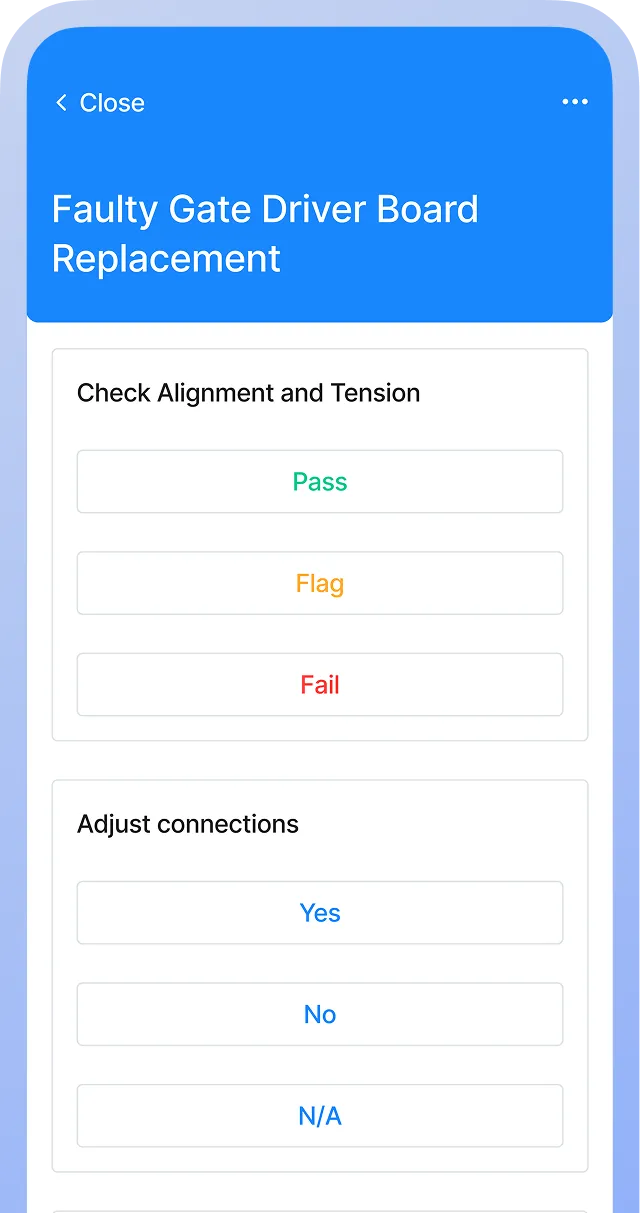
A mobile-friendly CMMS makes the lengthy inspection process less tedious and eliminates paper forms and handwritten notes. Technicians can capture photos on the spot while performing maintenance, and you can assign corrective actions instantly and follow up on overdue work requests.
If you’re looking to streamline inspections and make them more consistent and transparent, try a CMMS like MaintainX. MaintainX is the mobile-friendly CMMS built for checklists and inspections. We help construction managers and safety inspectors manage safety and compliance, streamline remediations, and report on all the important work they do.
Site inspection checklist FAQs
What does a typical construction site inspection include?
A typical construction site inspection covers six core areas: site safety and compliance, personal protective equipment, site accessibility and tidiness, facilities and amenities, equipment and machinery, and emergency preparedness. Inspectors also check phase-specific hazards and high-risk work such as excavations, then document any issues found along with the corrective actions assigned to fix them.
What is the difference between a site inspection and a safety audit?
A site inspection is a routine check of day-to-day safety, accessibility, and compliance on a construction site. On the other hand, a safety audit is more formal and involves an in-depth review of a company’s overall safety program and policies.
How often should site inspections be done on construction sites?
OSHA requires frequent and regular inspections by a competent person but doesn't set a fixed interval, so frequency depends on the project's scope and risk level. Some standards do set their own schedules: Excavations must be inspected daily and after events like heavy rain, and scaffolds must be inspected before each work shift. Beyond those requirements, many sites pair short daily walkthroughs with more thorough formal inspections on a regular schedule, with high-risk or fast-moving projects inspected more often.
What software is best for managing construction site inspections?
Mobile-friendly CMMS platforms like MaintainX are the best software for managing construction site inspections. They offer checklist templates, real-time reports, photo documentation, AI and automation capabilities, and more.

Marc Cousineau is the Senior Content Marketing Manager at MaintainX. Marc has over a decade of experience telling stories for technology brands, including more than five years writing about the maintenance and asset management industry.

.webp)