


Turn manuals into instant answers
with your AI-powered assistantTurn manuals into instant answers
with your AI-powered assistant
Complete asset maintenance, one click away
Get instant access to all the maintenance information you need. Empower technicians to perform preventive maintenance with asset packages, ready to use right out of the box.

Documents & Manuals
Find all the essential guides in one place.
 Tensioning Guide
- Belt-diagram
- C-120 pulleys
+ 13 more

Work Order Templates
Pre-built workflows to keep your asset running smoothly.
- Daily Electrical System Inspection
- Replace Roller and Pulley
- Install Engine B-120
+ 29 more

Procedures
Integrate maintenance plans directly into your work orders.
- Motion Industries
- Applied Industrial Technologies
- Electrical Brothers
+ 5 more

Parts
Access the parts list for your equipment in MaintainX.
- Drive Motor
- B2 Rollers
- Tensioning System
+ 40 more
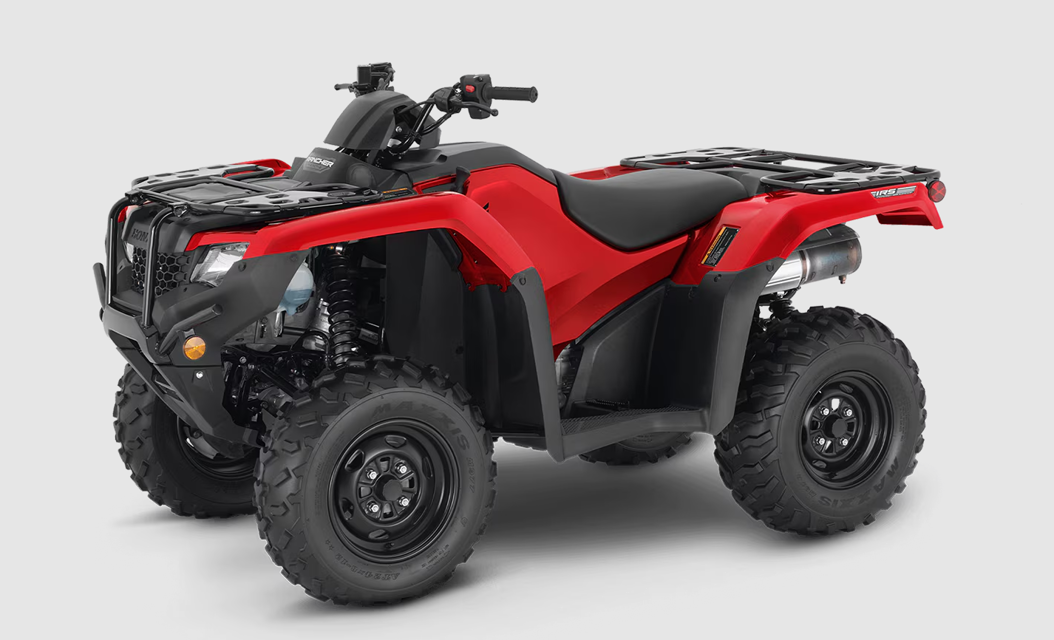
Honda Quad Bike Rancher
Create an account to install this asset package.
Maintenance Plans for Honda Quad Bike Model Rancher
Integrate maintenance plans directly into your work orders in MaintainX.
20 Hourly / 1 Monthly Quad Bike Maintenance
VALVE CLEARANCE Inspect
Refer to Safety Precautions on page 111.
Valve clearance should be:
intake: 0.006 ± 0.001 in (0.15 ± 0.02 mm)
exhaust: 0.009 ± 0.001 in (0.23 ± 0.02 mm)
Excessive clearance will cause noise. Insufficient clearance will cause loss of power and possibly damage the valves.
For those who are mechanically proficient and have the proper tools, instructions on adjusting valve clearances are given in the official Honda Service Manual. Otherwise, the valves should be adjusted by your dealer.
ENGINE IDLE SPEED Inspect
BRAKE LIGHT SWITCH Inspect

Radiator Core Cleaning
Refer to Safety Precautions on page 111.
Check the air passages for clogging or damage. Remove insects, mud, or any obstruction with low water pressure. Have the radiator checked by your dealer if the air flow is restricted over more than 20% of the radiator surface.
Clean the radiator core after riding the ATV in mud.
To clean the radiator core and radiator grill cover:
1.Unhook the reserve tank tube (1).
2.Remove the reserve tank (2) from the left radiator grill cover (3) by removing the bolt (4) and clip (5).
3.Remove the clips (6).
4.Unhook the tab A (7) and tab B (8) on both of the left and right side.
5.Unhook the left side of the center radiator grill cover hook (9) and slide the left radiator grill cover.
100 Hourly / 6 Monthly Spark Plug Inspection
Use only the recommended type of spark plug in the recommended heat range. Using spark plugs with an improper heat range can cause engine damage.
Refer to Safety Precautions on page 111.
Seat and tank cover assembly removed
Area around the spark plug base cleaned
Spark plug cap disconnected without damaging the spark plug wire
Spark plug removed using a spark plug wrench
Electrodes and center porcelain inspected for deposits, corrosion, or carbon fouling
Spark plug replaced if corrosion or deposits are heavy
Carbon or wet-fouled plug cleaned with a plug cleaner or a wire brush
1 Daily Engine Coolant Level Check
Refer to Safety Precautions on page 111.
Check the engine coolant level each day before operating your ATV and add if needed.
Vehicle is on level ground
With the engine at normal operating temperature, check the coolant level in the reserve tank (1). It should be between the UPPER (2) and LOWER (3) level marks.
Is the reserve tank empty?
Is coolant loss excessive?
If the reserve tank is empty, or if coolant loss is excessive, check for leaks and see your dealer for repair.
Remove the radiator cap lid (4) and reserve tank cap (5). Always add coolant to the reserve tank. Do not attempt to add coolant by removing the radiator cap.
Add coolant to the reserve tank as required to bring the coolant level to the UPPER level mark.
Tank Cover Assembly Removal
Refer to Safety Precautions on page 111.
Seat removed (Refer to page 122)
Prongs (1) removed from the grommets (2)
Tank cover assembly (3) removed by releasing the tabs A (4) and tabs B (5)
Sign off on the tank cover assembly removal
Unlock efficiency
with MaintainX CoPilot
MaintainX CoPilot is your expert colleague, on call 24/7, helping your team find the answers they need to keep equipment running.
Reduce Unplanned Downtime
Ensure your team follows consistent procedures to minimize equipment failures and costly delays.
Maximize Asset Availability
Keep your assets running longer and more reliably, with standardized maintenance workflows from OEM manuals.
Lower Maintenance Costs
Turn any technician into an expert to streamline operations, maintain more assets, and reduce overall costs.
Thousands of companies manage their assets with MaintainX

'%3e%3cpath%20fill='url(%23b)'%20d='M66.008%2080.068c-5.084-.786-9.763-3.834-12.442-8.68a16.942%2016.942%200%200%201-1.87-5.18c1.096.19%202.203.476%203.298.87%206.525%202.333%2010.836%207.68%2011.014%2012.99ZM51.47%2061.576c.488-5.524%203.62-10.716%208.847-13.597a17.132%2017.132%200%200%201%2011.335-1.882c-.798%208.145-7.43%2014.848-16.038%2015.599-1.417.119-2.799.07-4.144-.12Zm28.564-11.478a17.513%2017.513%200%200%201%203.727%204.62c4.608%208.335%201.584%2018.813-6.75%2023.409a16.988%2016.988%200%200%201-4.359%201.679%2019.624%2019.624%200%200%201-3.977-12.776c.346-7.561%204.942-13.931%2011.36-16.932Z'/%3e%3cpath%20fill='%23110F0D'%20fill-rule='evenodd'%20d='M142.831%2048.324h4.977V77.03h-4.977V48.324Zm27.278%2013.002c.322%201.048.453%202.263.453%203.62v12.073h-4.787V66.208c0-.75-.047-1.572-.154-2.143-.453-2.382-1.822-3.572-4.215-3.572-2.31%200-3.882%201.274-4.43%203.476-.143.596-.226%201.405-.226%202.25v10.8h-4.787V56.623h4.477v2.989c1.536-2.5%203.906-3.43%206.371-3.43%203.488%200%206.263%201.68%207.298%205.144Zm24.636%207.323c0%203.882-2.358%206.525-5.763%207.727-1.298.453-2.632.643-4.62.643h-10.169V48.324h9.085c1.691%200%203.156.143%204.049.38%203.465.93%205.727%203.68%205.727%207.335%200%202.441-.81%204.156-2.762%205.644%202.905%201.417%204.453%203.727%204.453%206.966Zm-15.634-8.656h4.584c1.024%200%201.917-.143%202.536-.417%201.215-.548%201.905-1.608%201.905-3.167%200-1.548-.643-2.572-1.845-3.132-.691-.31-1.762-.452-2.763-.452h-4.417v7.168Zm10.716%208.465c0-1.536-.893-3.37-3.227-3.893-.428-.095-1.036-.143-1.571-.143h-5.918v8.085h5.501c.56%200%201.429-.048%201.953-.167%201.94-.453%203.262-1.846%203.262-3.882Zm47.747-11.847-8.097%2020.408h-4.429l-8.109-20.408h5.191l5.192%2014.574%205.108-14.574h5.144Zm-20.218%2010.002c0%20.69-.036%201.262-.155%201.94h-15.943c.631%202.87%202.714%204.728%205.882%204.728%202.131%200%203.607-.882%204.703-2.525h4.87c-1.762%204.144-5.204%206.692-9.657%206.692-6.084%200-10.537-4.858-10.537-10.49%200-6.108%204.524-10.776%2010.335-10.776%206.239%200%2010.442%204.954%2010.502%2010.43Zm-4.763-1.405c-.333-2.846-2.643-4.858-5.691-4.858-2.894%200-5.287%201.929-5.621%204.858h11.312Zm-72.667%203.44c0%204.787-3.287%208.371-9.419%208.371H119.363V64.66c-1.917.274-3.87.69-5.811%201.238l4.537%2011.121h-5.418l-3.596-9.585c-5.144%202.084-10.085%205.216-14.217%209.585h-4.786L101.8%2048.312h4.56l5.68%2013.883a44.112%2044.112%200%200%201%207.323-1.774V48.312h9.084c1.703%200%203.156.143%204.061.393%203.453.929%205.727%203.667%205.727%207.323%200%201.917-.738%204.179-2.81%205.691%203.06%201.56%204.501%204.025%204.501%206.93Zm-15.634-8.667a62.664%2062.664%200%200%201%202.06-.036c1.703.012%203.239.131%204.608.37%201.441-.549%202.357-1.727%202.357-3.537%200-1.941-.881-3.144-2.488-3.667-.548-.18-1.358-.286-2.322-.286h-4.215v7.156Zm-16.55%203.905-3.715-9.894-6.394%2016.502c2.833-2.595%206.263-4.858%2010.109-6.608Zm27.254%204.74c0-2.775-3.131-4.347-8.513-4.418-.715%200-1.441.011-2.191.047v8.252h5.918c2.548%200%204.786-1.37%204.786-3.882Z'%20clip-rule='evenodd'/%3e%3c/g%3e%3cdefs%3e%3clinearGradient%20id='b'%20x1='51.47'%20x2='85.916'%20y1='62.946'%20y2='62.946'%20gradientUnits='userSpaceOnUse'%3e%3cstop%20stop-color='%23CD9F28'/%3e%3cstop%20offset='1'%20stop-color='%23ECD80B'/%3e%3c/linearGradient%3e%3cclipPath%20id='a'%3e%3cpath%20fill='%23fff'%20d='M51.47%2045.728h186.104V80.14H51.47z'/%3e%3c/clipPath%3e%3c/defs%3e%3c/svg%3e)


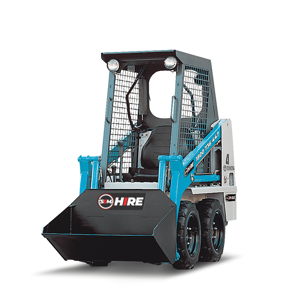
More from Honda
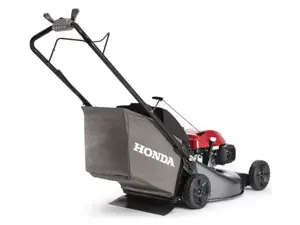

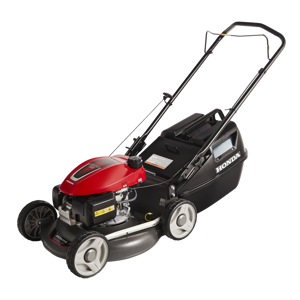


Explore Other Assets


© 2026 MaintainX. All rights reserved.