


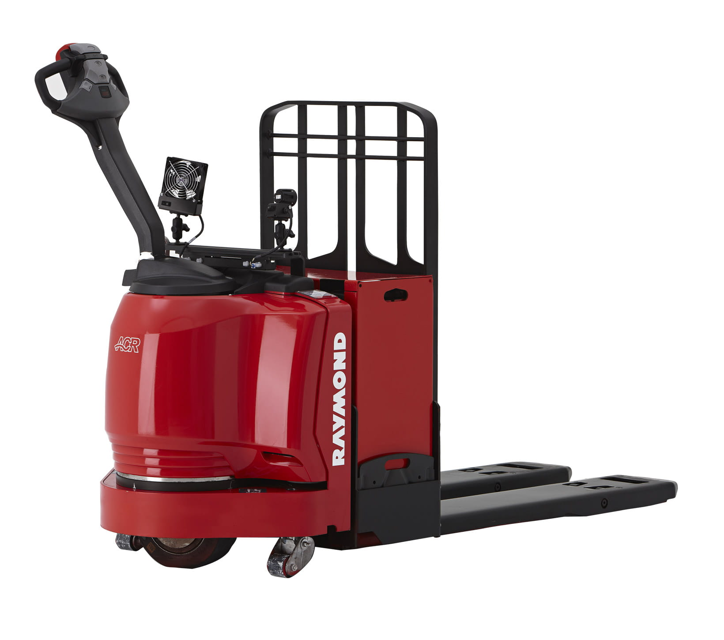
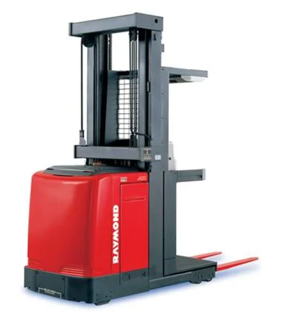
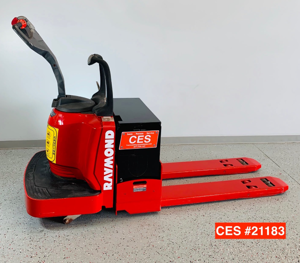
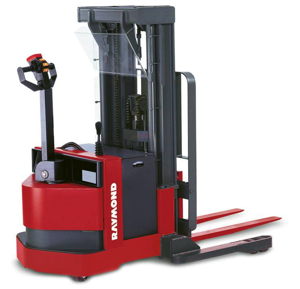
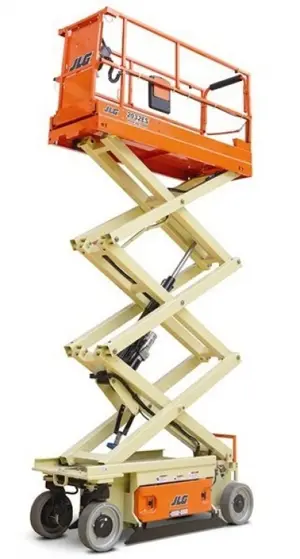
Raymond Pallet Truck 8310
Need answers fast?
Explore the manual using AI.
Turn manuals into instant answers
with your AI-powered assistantTurn manuals into instant answers
with your AI-powered assistant
Manual for Raymond Pallet Truck 8310
Complete asset maintenance, one click away
Get instant access to all the maintenance information you need. Empower technicians to perform preventive maintenance with asset packages, ready to use right out of the box.

Documents & Manuals
Find all the essential guides in one place.
 Tensioning Guide
- Belt-diagram
- C-120 pulleys
+ 13 more

Work Order Templates
Pre-built workflows to keep your asset running smoothly.
- Daily Electrical System Inspection
- Replace Roller and Pulley
- Install Engine B-120
+ 29 more

Procedures
Integrate maintenance plans directly into your work orders.
- Motion Industries
- Applied Industrial Technologies
- Electrical Brothers
+ 5 more

Parts
Access the parts list for your equipment in MaintainX.
- Drive Motor
- B2 Rollers
- Tensioning System
+ 40 more
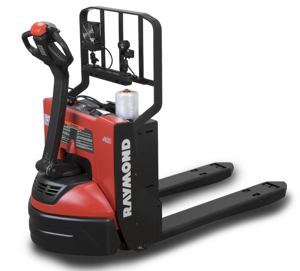
Raymond Pallet Truck 8310
Create an account to install this asset package.
Maintenance Plans for Raymond Pallet Truck Model 8310
Integrate maintenance plans directly into your work orders in MaintainX.
Wiring Harness Inspection
Warning: Handle wiring harnesses with care. Do not pull on wires or pry apart connectors with unspecified tools.
All connectors carefully connected and disconnected?
All added materials used to dress or protect the wire examined and maintained?
Harness wires checked for abrasions, scrapes, nicks, overheating damage, burns, or other general insulation damage?
All terminations with exposed wire visible at the connectors replaced?
Note: During troubleshooting and repairs, it may be necessary to separate a connector, move a harness, cut a cable tie, or remove the wire from a bracket. Note carefully the location of the wire and all protective or securing attachments before moving the harness.
After repair, all protective and/or securing hardware returned or replaced to its original condition?
Wire marker present at each termination? If missing or not readable, remark the wire for easier identification.
Note: It is normal to find unused connectors for uninstalled options that have had heat shrink applied over them and have been strapped to the harness.

Initial 90 Day / 250 Hours Pallet Truck (Tow Tractor) Maintenance
Perform the following maintenance tasks 90 days after the truck was put into service or at 250 Deadman Hours, whichever comes first.
Component Task:
Drive Unit: Break mounting bolts free and reapply thread-locking compound (P/N 990-463).Re-torque mounting cap screws to 30 ft. lb. (41 Nm). See “Drive Unit” on page 7-50. Change fluid. See “Drive Housing Lubrication” on page 7-57.
Hydraulic Reservoir: Change hydraulic fluid. Clean screen and magnet. See “Filter Screen and Suction Tube” on page 7-114.;
180 Daily / 500 Hourly Battery Maintenance
Enter the weight stamped on the battery
Does the weight fall within the minimum and maximum allowable weights?
Inspect all battery connectors and leads for damage and cuts in protective coatings
Are the battery gates in position and not damaged?
Enter the battery's free play in inches
Is the battery's free play no more than 0.5 inch?
Sign off on the battery maintenance
Brake Gap Check
Turn the truck OFF and disconnect the battery connector.
Check the gap between the brake housing and the upper plate using a feeler gauge.
Check in three locations, approximately in the center between the three mounting screws.
Sign off on the brake gap check
Power Steer Unit Replacement
1. Turn the truck OFF and disconnect the battery connector.
2. Remove the four screws [20] securing the PSU housing to the drive unit steering bearing.
3. Remove the screw securing the PSU housing to the tractor frame.
4. Remove the three screws [18] securing the power steering unit (PSU) [32] to the housing [26]. Lift the PSU from the housing.
5. Secure the new power steering unit [32] to the housing with three screws [18]. Apply thread-locking compound (P/N 990-462) to the screws [18]. Torque to 120 in. lb. (13.5 Nm).
6. Install the housing on the drive unit. Tighten the four screws [20] and the screw through the tractor frame finger tight.
7. Check for play between the pinion gear and the ring gear. If necessary, loosen the four screws [20] securing the PSU housing to the drive unit steering bearing and the screw securing the PSU to the tractor frame. Adjust the backlash to 0.002 to 0.010 in. (0.05 to 0.25 mm).
8. Apply thread-locking compound (P/N 990-462) to the four screws [20]. Torque to 28 to 32 ft. lb. (38 to 43 Nm).
9. Tighten the screw through the tractor frame finger tight. Torque the nuts to 36 to 40 ft. lb. (49 to 54 Nm).
Parts for Raymond Pallet Truck 8310
Access the parts list for your equipment in MaintainX.
Service Key
851-201-500
Connect Cable
163793A
USB/CAN Interface
230489-001
Test Pin
1035066/001
Anti-Static Kit
1-187-059
Service Key
851-201-500
Connect Cable
163793A
USB/CAN Interface
230489-001
Test Pin
1035066/001
Anti-Static Kit
1-187-059
Service Key
851-201-500
Connect Cable
163793A
USB/CAN Interface
230489-001
Test Pin
1035066/001
Anti-Static Kit
1-187-059
Unlock efficiency
with MaintainX CoPilot
MaintainX CoPilot is your expert colleague, on call 24/7, helping your team find the answers they need to keep equipment running.
Reduce Unplanned Downtime
Ensure your team follows consistent procedures to minimize equipment failures and costly delays.
Maximize Asset Availability
Keep your assets running longer and more reliably, with standardized maintenance workflows from OEM manuals.
Lower Maintenance Costs
Turn any technician into an expert to streamline operations, maintain more assets, and reduce overall costs.
Thousands of companies manage their assets with MaintainX

'%3e%3cpath%20fill='url(%23b)'%20d='M66.008%2080.068c-5.084-.786-9.763-3.834-12.442-8.68a16.942%2016.942%200%200%201-1.87-5.18c1.096.19%202.203.476%203.298.87%206.525%202.333%2010.836%207.68%2011.014%2012.99ZM51.47%2061.576c.488-5.524%203.62-10.716%208.847-13.597a17.132%2017.132%200%200%201%2011.335-1.882c-.798%208.145-7.43%2014.848-16.038%2015.599-1.417.119-2.799.07-4.144-.12Zm28.564-11.478a17.513%2017.513%200%200%201%203.727%204.62c4.608%208.335%201.584%2018.813-6.75%2023.409a16.988%2016.988%200%200%201-4.359%201.679%2019.624%2019.624%200%200%201-3.977-12.776c.346-7.561%204.942-13.931%2011.36-16.932Z'/%3e%3cpath%20fill='%23110F0D'%20fill-rule='evenodd'%20d='M142.831%2048.324h4.977V77.03h-4.977V48.324Zm27.278%2013.002c.322%201.048.453%202.263.453%203.62v12.073h-4.787V66.208c0-.75-.047-1.572-.154-2.143-.453-2.382-1.822-3.572-4.215-3.572-2.31%200-3.882%201.274-4.43%203.476-.143.596-.226%201.405-.226%202.25v10.8h-4.787V56.623h4.477v2.989c1.536-2.5%203.906-3.43%206.371-3.43%203.488%200%206.263%201.68%207.298%205.144Zm24.636%207.323c0%203.882-2.358%206.525-5.763%207.727-1.298.453-2.632.643-4.62.643h-10.169V48.324h9.085c1.691%200%203.156.143%204.049.38%203.465.93%205.727%203.68%205.727%207.335%200%202.441-.81%204.156-2.762%205.644%202.905%201.417%204.453%203.727%204.453%206.966Zm-15.634-8.656h4.584c1.024%200%201.917-.143%202.536-.417%201.215-.548%201.905-1.608%201.905-3.167%200-1.548-.643-2.572-1.845-3.132-.691-.31-1.762-.452-2.763-.452h-4.417v7.168Zm10.716%208.465c0-1.536-.893-3.37-3.227-3.893-.428-.095-1.036-.143-1.571-.143h-5.918v8.085h5.501c.56%200%201.429-.048%201.953-.167%201.94-.453%203.262-1.846%203.262-3.882Zm47.747-11.847-8.097%2020.408h-4.429l-8.109-20.408h5.191l5.192%2014.574%205.108-14.574h5.144Zm-20.218%2010.002c0%20.69-.036%201.262-.155%201.94h-15.943c.631%202.87%202.714%204.728%205.882%204.728%202.131%200%203.607-.882%204.703-2.525h4.87c-1.762%204.144-5.204%206.692-9.657%206.692-6.084%200-10.537-4.858-10.537-10.49%200-6.108%204.524-10.776%2010.335-10.776%206.239%200%2010.442%204.954%2010.502%2010.43Zm-4.763-1.405c-.333-2.846-2.643-4.858-5.691-4.858-2.894%200-5.287%201.929-5.621%204.858h11.312Zm-72.667%203.44c0%204.787-3.287%208.371-9.419%208.371H119.363V64.66c-1.917.274-3.87.69-5.811%201.238l4.537%2011.121h-5.418l-3.596-9.585c-5.144%202.084-10.085%205.216-14.217%209.585h-4.786L101.8%2048.312h4.56l5.68%2013.883a44.112%2044.112%200%200%201%207.323-1.774V48.312h9.084c1.703%200%203.156.143%204.061.393%203.453.929%205.727%203.667%205.727%207.323%200%201.917-.738%204.179-2.81%205.691%203.06%201.56%204.501%204.025%204.501%206.93Zm-15.634-8.667a62.664%2062.664%200%200%201%202.06-.036c1.703.012%203.239.131%204.608.37%201.441-.549%202.357-1.727%202.357-3.537%200-1.941-.881-3.144-2.488-3.667-.548-.18-1.358-.286-2.322-.286h-4.215v7.156Zm-16.55%203.905-3.715-9.894-6.394%2016.502c2.833-2.595%206.263-4.858%2010.109-6.608Zm27.254%204.74c0-2.775-3.131-4.347-8.513-4.418-.715%200-1.441.011-2.191.047v8.252h5.918c2.548%200%204.786-1.37%204.786-3.882Z'%20clip-rule='evenodd'/%3e%3c/g%3e%3cdefs%3e%3clinearGradient%20id='b'%20x1='51.47'%20x2='85.916'%20y1='62.946'%20y2='62.946'%20gradientUnits='userSpaceOnUse'%3e%3cstop%20stop-color='%23CD9F28'/%3e%3cstop%20offset='1'%20stop-color='%23ECD80B'/%3e%3c/linearGradient%3e%3cclipPath%20id='a'%3e%3cpath%20fill='%23fff'%20d='M51.47%2045.728h186.104V80.14H51.47z'/%3e%3c/clipPath%3e%3c/defs%3e%3c/svg%3e)


More from Raymond


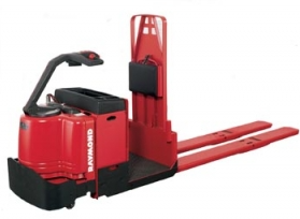
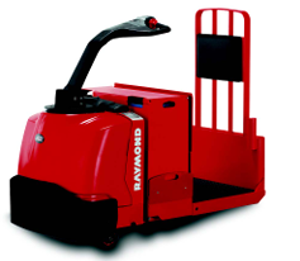
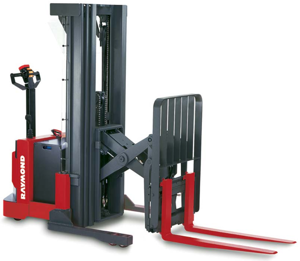
Explore Other Assets


© 2026 MaintainX. All rights reserved.