


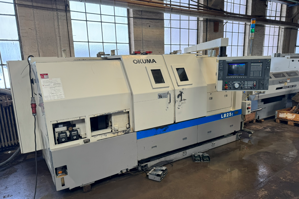
Okuma Lathe LU15
Need answers fast?
Explore the manual using AI.
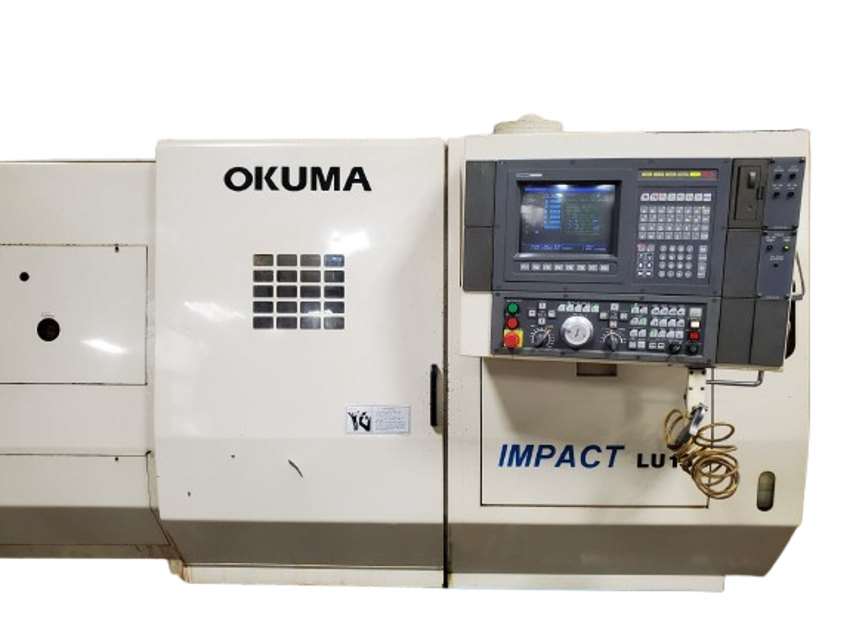
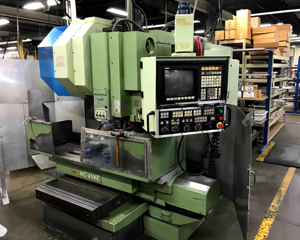
The Okuma Lathe LU15 is a high-performance CNC lathe designed for precision machining in industrial applications. Known for its reliability and advanced features, the LU15 enhances productivity and efficiency, making it an ideal choice for manufacturers seeking quality and durability in their machining processes.
Turn manuals into instant answers
with your AI-powered assistantTurn manuals into instant answers
with your AI-powered assistant
Manual for Okuma Lathe LU15
Complete asset maintenance, one click away
Get instant access to all the maintenance information you need. Empower technicians to perform preventive maintenance with asset packages, ready to use right out of the box.

Documents & Manuals
Find all the essential guides in one place.
 Tensioning Guide
- Belt-diagram
- C-120 pulleys
+ 13 more

Work Order Templates
Pre-built workflows to keep your asset running smoothly.
- Daily Electrical System Inspection
- Replace Roller and Pulley
- Install Engine B-120
+ 29 more

Procedures
Integrate maintenance plans directly into your work orders.
- Motion Industries
- Applied Industrial Technologies
- Electrical Brothers
+ 5 more

Parts
Access the parts list for your equipment in MaintainX.
- Drive Motor
- B2 Rollers
- Tensioning System
+ 40 more
Okuma Lathe LU15
Create an account to install this asset package.
Maintenance Plans for Okuma Lathe Model LU15
Integrate maintenance plans directly into your work orders in MaintainX.
6 Monthly Lower-Cross Slide Wiper Inspection
Coolant nozzle is not clogged with chips
Guard has not been loosened or detached by flying chips
No chips between the guard and scraper
Wiper is not broken, or its end bent or damaged
Wiper end makes contact with the slideway in a uniform manner
No penetration or gouging by minute chips
Check the rib wear condition
Felt is free of chips
Felt has not hardened

1 Daily Lathe Service
Check oil level in the hydraulic power unit
Check oil level in the slideway lubricating oil tank
Check oil level in the spindle coolant unit
Check oil flow through the oil window
Check source pressure of the hydraulic unit
Check chuck pressure
Check tailstock pressure
Supply lubricating oil to the power chuck master jaw
Sign off on the daily lathe service
Headstock Alignment
Loosen the headstock clamping screws (M20, 6 pcs.)
Align the headstock in A direction
After loosening the adjusting screw (b), secure the adjusting screw (a). This shifts the headstock in the A direction
Align the headstock in B direction
After loosening the adjusting screw (a), secure the adjusting screw (b). This shifts the headstock in the B direction
Carry out this adjustment while reading the dial indicator applied at the front end of the test piece
For Your Information: The Japanese Industrial Standard (JIS) specifies that the lathe should turn cylindrically to within 0.015 per 225 mm (0.0006 per 8.86 in.) of finishing length of work held in a chuck without the use of the tailstock center to hold the work
After the required accuracy is obtained, tighten the six headstock clamping screws. Note that the reading of the dial indicator applied at the test piece end must not change
Sign off on the headstock alignment
Initial 1 Monthly Lathe Maintenance
Check the bedways for level and straightness
Flush out the hydraulic power unit and change the hydraulic fluid
Change cooling oil in the spindle cooling unit
Sign off on the lathe maintenance
1 Yearly Lower Saddle Wiper Inspection
Verify that there is no chip penetration
Check the rib wear condition
Check for the presence of minute and embedded chips
Check for wear at the wiper contact area
Verify that felt is free of chips
Check to see if the felt has hardened
Sign off on the inspection
Parts for Okuma Lathe LU15
Access the parts list for your equipment in MaintainX.
Hydraulic Unit Solenoid Valve Upper/Lower Turret
F0001-431-000-83
Reducing Valve Talistock Manifold Block
F0011-621-000-01
Hydraulic Unit Line Filter
H0032-0009-17
Tailstock Dester Plunger 0.03 x 6 x 1
H0012-0007-05
Lower Cross-slide Dester Block 0.1 x 1 x 1
H0012-0007-03
Hydraulic Unit Solenoid Valve Upper/Lower Turret
F0001-431-000-83
Reducing Valve Talistock Manifold Block
F0011-621-000-01
Hydraulic Unit Line Filter
H0032-0009-17
Tailstock Dester Plunger 0.03 x 6 x 1
H0012-0007-05
Lower Cross-slide Dester Block 0.1 x 1 x 1
H0012-0007-03
Hydraulic Unit Solenoid Valve Upper/Lower Turret
F0001-431-000-83
Reducing Valve Talistock Manifold Block
F0011-621-000-01
Hydraulic Unit Line Filter
H0032-0009-17
Tailstock Dester Plunger 0.03 x 6 x 1
H0012-0007-05
Lower Cross-slide Dester Block 0.1 x 1 x 1
H0012-0007-03
Unlock efficiency
with MaintainX CoPilot
MaintainX CoPilot is your expert colleague, on call 24/7, helping your team find the answers they need to keep equipment running.
Reduce Unplanned Downtime
Ensure your team follows consistent procedures to minimize equipment failures and costly delays.
Maximize Asset Availability
Keep your assets running longer and more reliably, with standardized maintenance workflows from OEM manuals.
Lower Maintenance Costs
Turn any technician into an expert to streamline operations, maintain more assets, and reduce overall costs.
Thousands of companies manage their assets with MaintainX

'%3e%3cpath%20fill='url(%23b)'%20d='M66.008%2080.068c-5.084-.786-9.763-3.834-12.442-8.68a16.942%2016.942%200%200%201-1.87-5.18c1.096.19%202.203.476%203.298.87%206.525%202.333%2010.836%207.68%2011.014%2012.99ZM51.47%2061.576c.488-5.524%203.62-10.716%208.847-13.597a17.132%2017.132%200%200%201%2011.335-1.882c-.798%208.145-7.43%2014.848-16.038%2015.599-1.417.119-2.799.07-4.144-.12Zm28.564-11.478a17.513%2017.513%200%200%201%203.727%204.62c4.608%208.335%201.584%2018.813-6.75%2023.409a16.988%2016.988%200%200%201-4.359%201.679%2019.624%2019.624%200%200%201-3.977-12.776c.346-7.561%204.942-13.931%2011.36-16.932Z'/%3e%3cpath%20fill='%23110F0D'%20fill-rule='evenodd'%20d='M142.831%2048.324h4.977V77.03h-4.977V48.324Zm27.278%2013.002c.322%201.048.453%202.263.453%203.62v12.073h-4.787V66.208c0-.75-.047-1.572-.154-2.143-.453-2.382-1.822-3.572-4.215-3.572-2.31%200-3.882%201.274-4.43%203.476-.143.596-.226%201.405-.226%202.25v10.8h-4.787V56.623h4.477v2.989c1.536-2.5%203.906-3.43%206.371-3.43%203.488%200%206.263%201.68%207.298%205.144Zm24.636%207.323c0%203.882-2.358%206.525-5.763%207.727-1.298.453-2.632.643-4.62.643h-10.169V48.324h9.085c1.691%200%203.156.143%204.049.38%203.465.93%205.727%203.68%205.727%207.335%200%202.441-.81%204.156-2.762%205.644%202.905%201.417%204.453%203.727%204.453%206.966Zm-15.634-8.656h4.584c1.024%200%201.917-.143%202.536-.417%201.215-.548%201.905-1.608%201.905-3.167%200-1.548-.643-2.572-1.845-3.132-.691-.31-1.762-.452-2.763-.452h-4.417v7.168Zm10.716%208.465c0-1.536-.893-3.37-3.227-3.893-.428-.095-1.036-.143-1.571-.143h-5.918v8.085h5.501c.56%200%201.429-.048%201.953-.167%201.94-.453%203.262-1.846%203.262-3.882Zm47.747-11.847-8.097%2020.408h-4.429l-8.109-20.408h5.191l5.192%2014.574%205.108-14.574h5.144Zm-20.218%2010.002c0%20.69-.036%201.262-.155%201.94h-15.943c.631%202.87%202.714%204.728%205.882%204.728%202.131%200%203.607-.882%204.703-2.525h4.87c-1.762%204.144-5.204%206.692-9.657%206.692-6.084%200-10.537-4.858-10.537-10.49%200-6.108%204.524-10.776%2010.335-10.776%206.239%200%2010.442%204.954%2010.502%2010.43Zm-4.763-1.405c-.333-2.846-2.643-4.858-5.691-4.858-2.894%200-5.287%201.929-5.621%204.858h11.312Zm-72.667%203.44c0%204.787-3.287%208.371-9.419%208.371H119.363V64.66c-1.917.274-3.87.69-5.811%201.238l4.537%2011.121h-5.418l-3.596-9.585c-5.144%202.084-10.085%205.216-14.217%209.585h-4.786L101.8%2048.312h4.56l5.68%2013.883a44.112%2044.112%200%200%201%207.323-1.774V48.312h9.084c1.703%200%203.156.143%204.061.393%203.453.929%205.727%203.667%205.727%207.323%200%201.917-.738%204.179-2.81%205.691%203.06%201.56%204.501%204.025%204.501%206.93Zm-15.634-8.667a62.664%2062.664%200%200%201%202.06-.036c1.703.012%203.239.131%204.608.37%201.441-.549%202.357-1.727%202.357-3.537%200-1.941-.881-3.144-2.488-3.667-.548-.18-1.358-.286-2.322-.286h-4.215v7.156Zm-16.55%203.905-3.715-9.894-6.394%2016.502c2.833-2.595%206.263-4.858%2010.109-6.608Zm27.254%204.74c0-2.775-3.131-4.347-8.513-4.418-.715%200-1.441.011-2.191.047v8.252h5.918c2.548%200%204.786-1.37%204.786-3.882Z'%20clip-rule='evenodd'/%3e%3c/g%3e%3cdefs%3e%3clinearGradient%20id='b'%20x1='51.47'%20x2='85.916'%20y1='62.946'%20y2='62.946'%20gradientUnits='userSpaceOnUse'%3e%3cstop%20stop-color='%23CD9F28'/%3e%3cstop%20offset='1'%20stop-color='%23ECD80B'/%3e%3c/linearGradient%3e%3cclipPath%20id='a'%3e%3cpath%20fill='%23fff'%20d='M51.47%2045.728h186.104V80.14H51.47z'/%3e%3c/clipPath%3e%3c/defs%3e%3c/svg%3e)


More from Okuma
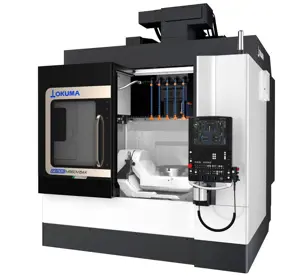
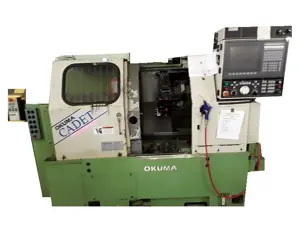


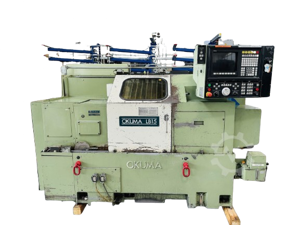


Explore Other Assets


© 2026 MaintainX. All rights reserved.