


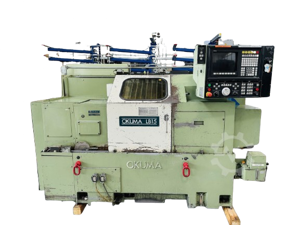
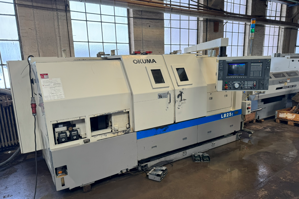
Okuma Lathe LB15 II
Need answers fast?
Explore the manual using AI.
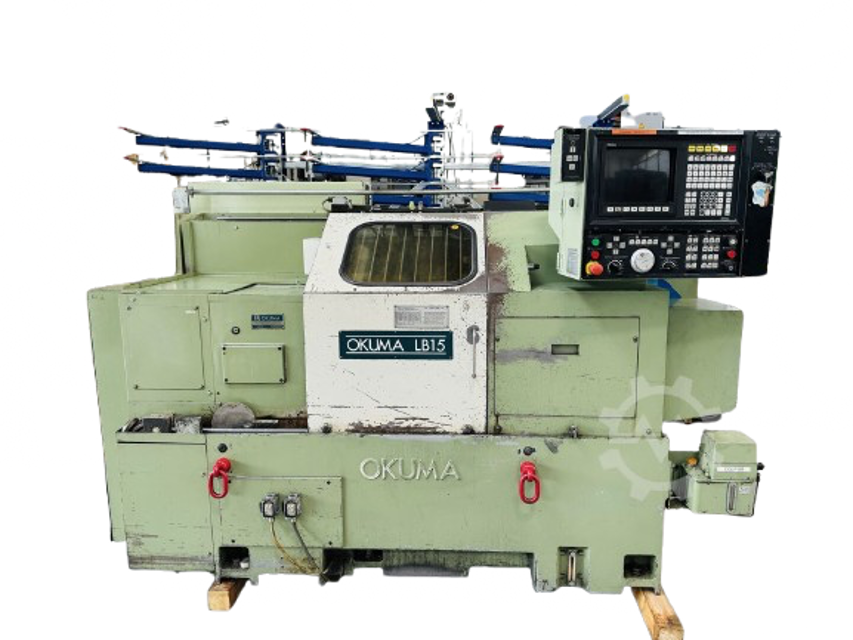
The Okuma Lathe LB15 II is a high-performance CNC lathe designed for precision machining in industrial applications. Known for its reliability and advanced features, this model enhances productivity and accuracy, making it an ideal choice for manufacturers seeking efficient metalworking solutions.
Turn manuals into instant answers
with your AI-powered assistantTurn manuals into instant answers
with your AI-powered assistant
Manual for Okuma Lathe LB15 II
Complete asset maintenance, one click away
Get instant access to all the maintenance information you need. Empower technicians to perform preventive maintenance with asset packages, ready to use right out of the box.

Documents & Manuals
Find all the essential guides in one place.
 Tensioning Guide
- Belt-diagram
- C-120 pulleys
+ 13 more

Work Order Templates
Pre-built workflows to keep your asset running smoothly.
- Daily Electrical System Inspection
- Replace Roller and Pulley
- Install Engine B-120
+ 29 more

Procedures
Integrate maintenance plans directly into your work orders.
- Motion Industries
- Applied Industrial Technologies
- Electrical Brothers
+ 5 more

Parts
Access the parts list for your equipment in MaintainX.
- Drive Motor
- B2 Rollers
- Tensioning System
+ 40 more
Okuma Lathe LB15 II
Create an account to install this asset package.
Maintenance Plans for Okuma Lathe Model LB15 II
Integrate maintenance plans directly into your work orders in MaintainX.
1 Daily Lathe Service
Check oil level through the oil level gauges in the hydraulic power unit
Check oil level in the guideway lube oil tank
Check oil level in the headstock tube oil tank
Check oil flow through the oil window at the front of the headstock
Check gripping pressure of the hydraulic power chuck through the oil pressure gauge
Check working pressure for the turret drive through the oil pressure gauge
Greasing to power chuck jaw slide surfaces
Check lubricated conditions of bed and saddle slideway surfaces
Check the bedways for level and straightness

Turret Indexing Time Check
Warning: This procedure requires trained personnel!
Turret manually indexed
Turret indexing done either automatically or in the MDI mode operation
Display page switched to the CHECK DATA page by pressing the function key [F7] (CHECK DATA)
Accessed the page on which the AXIS DATA is displayed
Enter the turret indexing time displayed at X and Z columns at parameter RTRTM
Values at X and Z columns are identical
Turret indexing from one station to the next attempted
Enter the turret indexing time per station displayed
Filter Cleaning
Warning: Handle the filter element carefully to avoid damage.
Filter element removed from casing
Cotton thread unwound from the element
Two layers of all-wool white mousseline renewed
Inside and outside of the element cleaned with solvent naphtha or petroleum benzine
Never use a wipe cloth on the element
Sign off on the filter cleaning
Headstock Alignment
Warning: This procedure requires trained personnel with PPE!
Secure the headstock alignment fixture at the front of the headstock with three M12 screws
Tighten two M12 screws to the base lightly
Screw in two M12 screws into the fixture until they touch the base
Loosen six M24 screws
Align the headstock with screws
After completing headstock alignment, secure screws then remove the fixture
Sign off on the headstock alignment
Tapered Gib Adjustment
Warning: This procedure requires trained personnel with PPE!
Machine showing irregular feed movement?
If machine is not showing irregular feed movement, stop the procedure
Upload a photo of the machine before adjustment
Covers from the left- and right-hand sides of the Z-axis slide removed?
Gib A at the thinner side loosened?
Thicker side of gib A fully tightened and then returned by one-half turn?
Thinner side of gib A tightened?
Thicker side of gib A tightened?
Parts for Okuma Lathe LB15 II
Access the parts list for your equipment in MaintainX.
Filter Unit Headstock
H0032-1161-03
Solenoid Valve Spindle Speed Change
F9001-431-000-07
Solenoid Valve for V12 Turret Clamp
F9001-431-000-06
Solenoid Valve Hydraulic Power Unit Tailstock DC 24V
F000-442-000-13
SPC M65.5×78×4.8 Packing V12 Turret
H0031-0011-87
Filter Unit Headstock
H0032-1161-03
Solenoid Valve Spindle Speed Change
F9001-431-000-07
Solenoid Valve for V12 Turret Clamp
F9001-431-000-06
Solenoid Valve Hydraulic Power Unit Tailstock DC 24V
F000-442-000-13
SPC M65.5×78×4.8 Packing V12 Turret
H0031-0011-87
Filter Unit Headstock
H0032-1161-03
Solenoid Valve Spindle Speed Change
F9001-431-000-07
Solenoid Valve for V12 Turret Clamp
F9001-431-000-06
Solenoid Valve Hydraulic Power Unit Tailstock DC 24V
F000-442-000-13
SPC M65.5×78×4.8 Packing V12 Turret
H0031-0011-87
Unlock efficiency
with MaintainX CoPilot
MaintainX CoPilot is your expert colleague, on call 24/7, helping your team find the answers they need to keep equipment running.
Reduce Unplanned Downtime
Ensure your team follows consistent procedures to minimize equipment failures and costly delays.
Maximize Asset Availability
Keep your assets running longer and more reliably, with standardized maintenance workflows from OEM manuals.
Lower Maintenance Costs
Turn any technician into an expert to streamline operations, maintain more assets, and reduce overall costs.
Thousands of companies manage their assets with MaintainX

'%3e%3cpath%20fill='url(%23b)'%20d='M66.008%2080.068c-5.084-.786-9.763-3.834-12.442-8.68a16.942%2016.942%200%200%201-1.87-5.18c1.096.19%202.203.476%203.298.87%206.525%202.333%2010.836%207.68%2011.014%2012.99ZM51.47%2061.576c.488-5.524%203.62-10.716%208.847-13.597a17.132%2017.132%200%200%201%2011.335-1.882c-.798%208.145-7.43%2014.848-16.038%2015.599-1.417.119-2.799.07-4.144-.12Zm28.564-11.478a17.513%2017.513%200%200%201%203.727%204.62c4.608%208.335%201.584%2018.813-6.75%2023.409a16.988%2016.988%200%200%201-4.359%201.679%2019.624%2019.624%200%200%201-3.977-12.776c.346-7.561%204.942-13.931%2011.36-16.932Z'/%3e%3cpath%20fill='%23110F0D'%20fill-rule='evenodd'%20d='M142.831%2048.324h4.977V77.03h-4.977V48.324Zm27.278%2013.002c.322%201.048.453%202.263.453%203.62v12.073h-4.787V66.208c0-.75-.047-1.572-.154-2.143-.453-2.382-1.822-3.572-4.215-3.572-2.31%200-3.882%201.274-4.43%203.476-.143.596-.226%201.405-.226%202.25v10.8h-4.787V56.623h4.477v2.989c1.536-2.5%203.906-3.43%206.371-3.43%203.488%200%206.263%201.68%207.298%205.144Zm24.636%207.323c0%203.882-2.358%206.525-5.763%207.727-1.298.453-2.632.643-4.62.643h-10.169V48.324h9.085c1.691%200%203.156.143%204.049.38%203.465.93%205.727%203.68%205.727%207.335%200%202.441-.81%204.156-2.762%205.644%202.905%201.417%204.453%203.727%204.453%206.966Zm-15.634-8.656h4.584c1.024%200%201.917-.143%202.536-.417%201.215-.548%201.905-1.608%201.905-3.167%200-1.548-.643-2.572-1.845-3.132-.691-.31-1.762-.452-2.763-.452h-4.417v7.168Zm10.716%208.465c0-1.536-.893-3.37-3.227-3.893-.428-.095-1.036-.143-1.571-.143h-5.918v8.085h5.501c.56%200%201.429-.048%201.953-.167%201.94-.453%203.262-1.846%203.262-3.882Zm47.747-11.847-8.097%2020.408h-4.429l-8.109-20.408h5.191l5.192%2014.574%205.108-14.574h5.144Zm-20.218%2010.002c0%20.69-.036%201.262-.155%201.94h-15.943c.631%202.87%202.714%204.728%205.882%204.728%202.131%200%203.607-.882%204.703-2.525h4.87c-1.762%204.144-5.204%206.692-9.657%206.692-6.084%200-10.537-4.858-10.537-10.49%200-6.108%204.524-10.776%2010.335-10.776%206.239%200%2010.442%204.954%2010.502%2010.43Zm-4.763-1.405c-.333-2.846-2.643-4.858-5.691-4.858-2.894%200-5.287%201.929-5.621%204.858h11.312Zm-72.667%203.44c0%204.787-3.287%208.371-9.419%208.371H119.363V64.66c-1.917.274-3.87.69-5.811%201.238l4.537%2011.121h-5.418l-3.596-9.585c-5.144%202.084-10.085%205.216-14.217%209.585h-4.786L101.8%2048.312h4.56l5.68%2013.883a44.112%2044.112%200%200%201%207.323-1.774V48.312h9.084c1.703%200%203.156.143%204.061.393%203.453.929%205.727%203.667%205.727%207.323%200%201.917-.738%204.179-2.81%205.691%203.06%201.56%204.501%204.025%204.501%206.93Zm-15.634-8.667a62.664%2062.664%200%200%201%202.06-.036c1.703.012%203.239.131%204.608.37%201.441-.549%202.357-1.727%202.357-3.537%200-1.941-.881-3.144-2.488-3.667-.548-.18-1.358-.286-2.322-.286h-4.215v7.156Zm-16.55%203.905-3.715-9.894-6.394%2016.502c2.833-2.595%206.263-4.858%2010.109-6.608Zm27.254%204.74c0-2.775-3.131-4.347-8.513-4.418-.715%200-1.441.011-2.191.047v8.252h5.918c2.548%200%204.786-1.37%204.786-3.882Z'%20clip-rule='evenodd'/%3e%3c/g%3e%3cdefs%3e%3clinearGradient%20id='b'%20x1='51.47'%20x2='85.916'%20y1='62.946'%20y2='62.946'%20gradientUnits='userSpaceOnUse'%3e%3cstop%20stop-color='%23CD9F28'/%3e%3cstop%20offset='1'%20stop-color='%23ECD80B'/%3e%3c/linearGradient%3e%3cclipPath%20id='a'%3e%3cpath%20fill='%23fff'%20d='M51.47%2045.728h186.104V80.14H51.47z'/%3e%3c/clipPath%3e%3c/defs%3e%3c/svg%3e)


More from Okuma
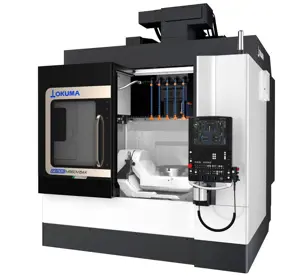
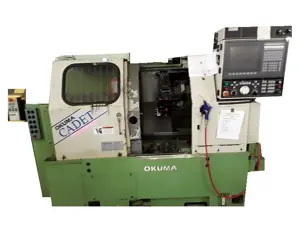


Explore Other Assets


© 2026 MaintainX. All rights reserved.