Also known as a cause-and-effect analysis or an Ishikawa diagram, a simple fishbone visual map can pinpoint possible issues by breaking down the steps involved in the process.
Designed to assist with root cause analysis (RCA), the fishbone diagram helps maintenance teams discover the cause of a problem when other, more obvious identification methods fail.
This diagram is based on a series of linked elements that combine to create the shape of a fish skeleton, with the problem at its head. By listing out potential causes of the problem on the radiating “bones” from the spine, each element can be systematically analyzed to see how it might contribute to the problem.

Where Did the Fish Bone Diagram Originate?
Japanese organizational theorist Kaoru Ishikawa is credited for his involvement in several lean concepts, most notably the cause-and-effect diagram.
Ishikawa was a professor at the University of Tokyo. He wanted to improve industrial quality and efficiency. So, in the early 1980s, he developed the fishbone diagram to determine the root cause of a problem.
Like many lean methodologies, the fishbone or Ishikawa diagram is simple yet incredibly effective. It’s even more effective when used alongside lean concepts and systems, such as Kata, Six Sigma, Kamibashi boards, and poka-yoke.
Fishbone Diagrams vs. The 5 Whys
The fishbone diagram is often used with another lean RCA tool–the 5 Whys. Although managers can execute the two methodologies differently, they both help manufacturing and production teams quickly identify the root cause of a problem.
The Five Whys is a simple method for drilling down to find the root cause of any given maintenance mishap. For example, here are five whys:
- Why did the maintenance tech slip?
- Because there was an oil leak near the equipment.
- Why was there a leak?
- Because a seal had deteriorated.
- Why had the seal deteriorated?
- Because it was too weak for its application.
- Why was the seal too weak for its use?
- Because we purchased a cheaper seal.
- Why did we purchase a cheaper seal?
- The service manual didn’t specify a seal type.
For example, while it’s easy to blame an individual for not following a standard operating procedure (SOP), one or more underlying issues may have caused this issue. The problem may recur again and again until the root cause is identified.
Both the 5 Whys technique and the fishbone diagram assist in clarifying the cause-and-effect relationship of problems. Each approach tackles both the cause (the why) and the effect (the what).
In the same way, a Pareto chart offers another lean Six Sigma tool for analyzing manufacturing and maintenance problems, particularly concerning the frequency of occurrence. The Pareto principle states that 80% of results come from 20% of all actions. In other words, seemingly small amounts of activity can have large-scale negative and positive results.

Ultimately, the fishbone diagram, the Pareto chart, and the 5 Whys are all methods for unpacking the root cause of a maintenance or equipment problem. Whether you choose a mind map, a chart, or a line of questioning, these process improvement tools aim to solve the same problem: “Why did this issue happen, and how can we prevent it from happening again?”
How to Create an Ishikawa Diagram
A group brainstorming session is the best way to approach this problem-solving methodology. The group can include quality control and quality management staff, production teams, warehouse workers, and supervisors. Begin by appointing a facilitator to lead the discussion and keep your meeting on track.
The four main steps to creating an Ishikawa or Fishbone Diagram include:
- Identifying the main problem
- Brainstorming the primary factors involved
- Identifying possible causes
- Analyzing the diagram and start working on possible solutions.

1. Identifying the Main Problem
Gather anyone involved and write down the exact problem, including when and where it occurs. Then, using a flip chart or a whiteboard, start with your problem statement: this should encapsulate the main issue you are trying to solve. Next, place this issue at the head of the fish, with a ‘spine’ continuing horizontally along the page.
This horizontal line allows you to begin exploring different potential categories of problems that radiate out from the “spine.”
2. Brainstorming the Primary Factors of the Problem
Next, list all the possible causes of the issue, each line representing the major categories of causes. Work with your team members to discuss these factors–look at operating procedures and systems, machinery and equipment, material defects, environmental issues, and other possible contributing factors.
There is no one “standard” set of problem categories. However, the equipment or tools used to do the job, the people involved, the task itself, and where the problem is happening are good starting points. Place each problem category on a “bone” of your fish.
3. Identifying Possible Causes
For each of the main factors your team has identified, work with them to find ideas for possible causes of the problem. Then, add these to the appropriate category, considering all possible factors that could influence the main problem at the fish’s head.
For example, say the work environment is one of the categories you’ve identified as the potential cause of a manufacturing bottleneck. You could then consider different issues within that work environment.
For example, a lack of natural light in one area, impractical forklift traffic flow, or cramped workstations could contribute to human error. Any of these factors could have a secondary effect on production efficiency and, in turn, be a significant contributor to your main problem.
Continue on this path for each of your worksheet’s primary categories of problems. Drill down into each category and break items into sub-causes as necessary. Each cause is another bone in the diagram.
4. Taking a Step Back to Analyze Your Fishbone Diagram
Once your team has collected as much data as possible on all the potential influencing factors on the issue, you’ll have a detailed cause analysis tool that shows “effect relationships” that may impact other business processes. This fourth analysis step is intended to test which of the possible causes is actually causing the problem.
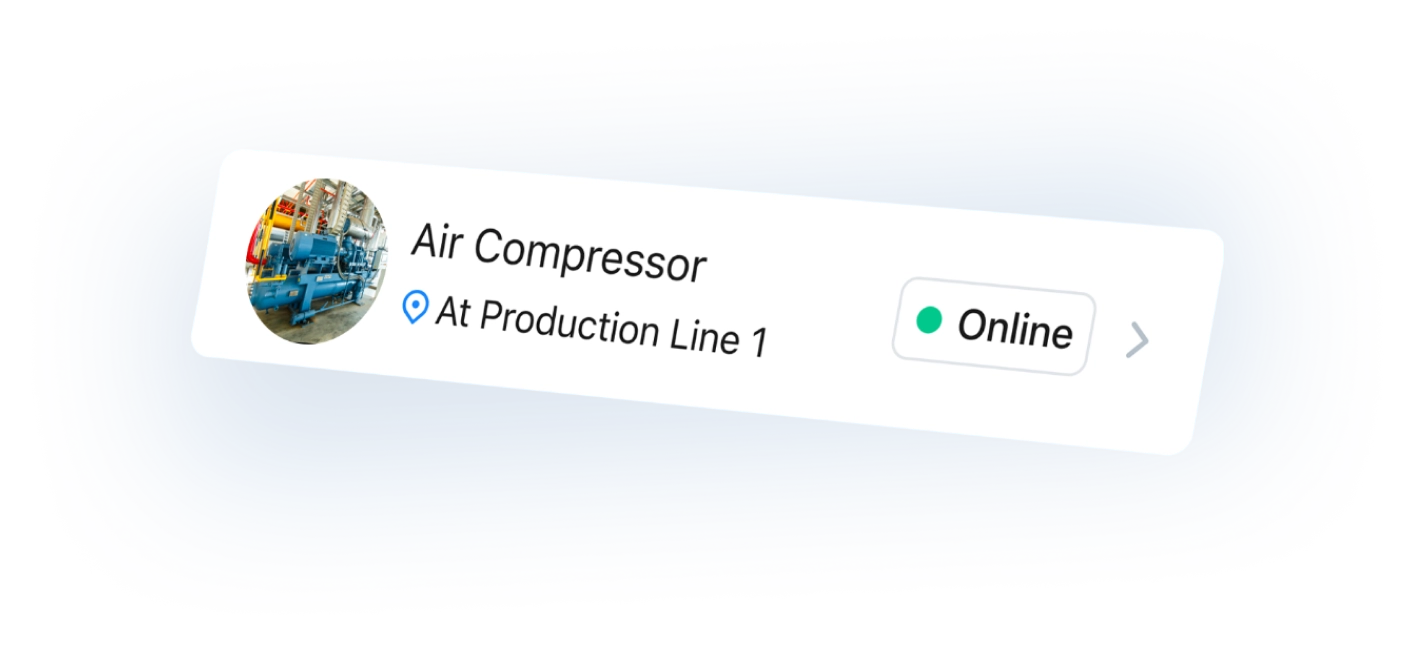
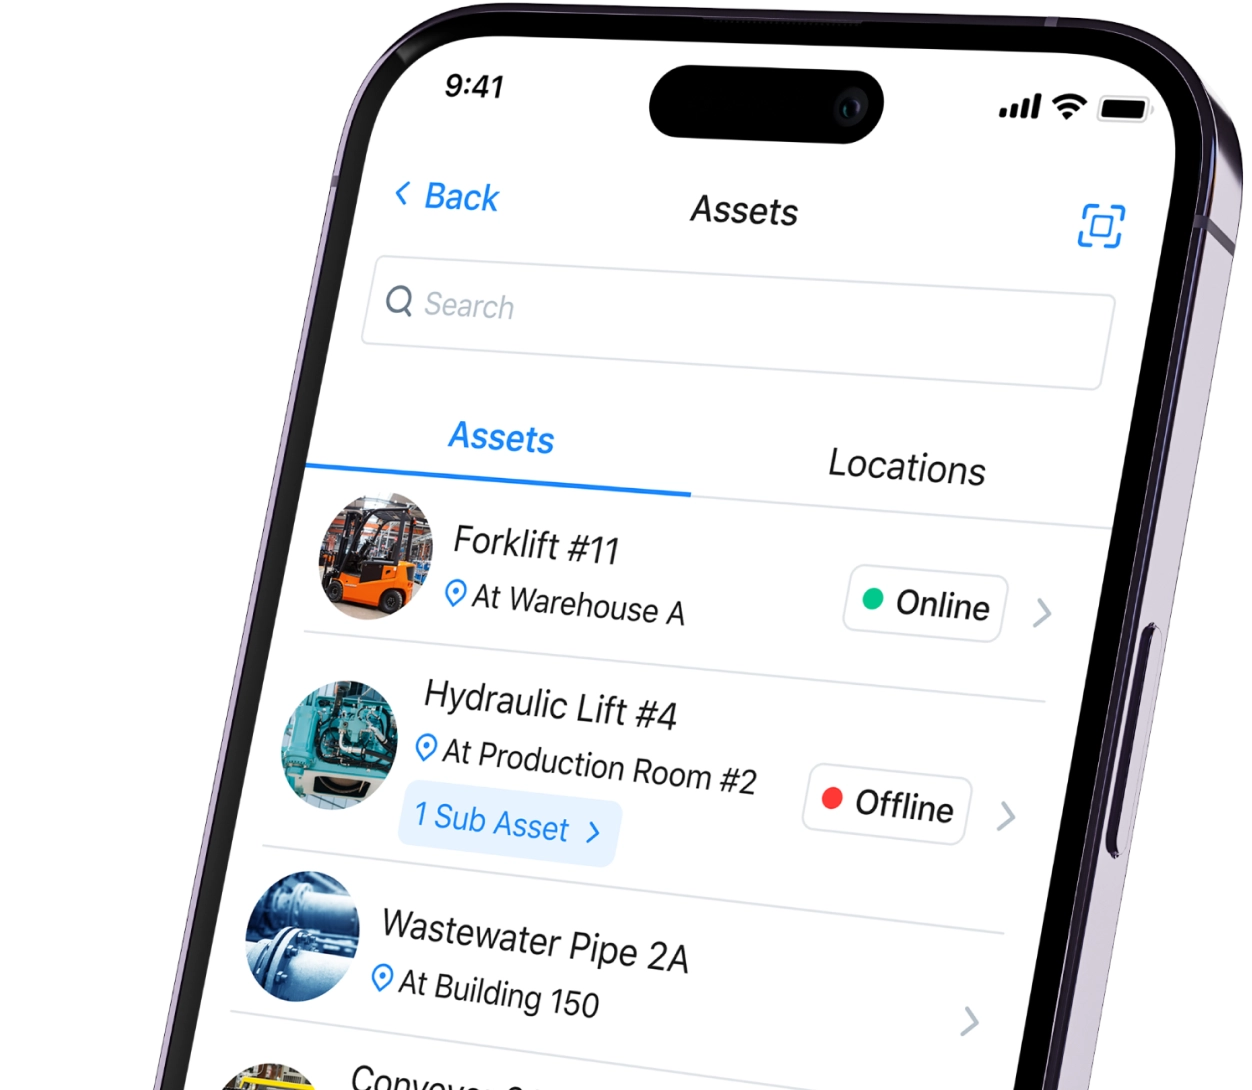
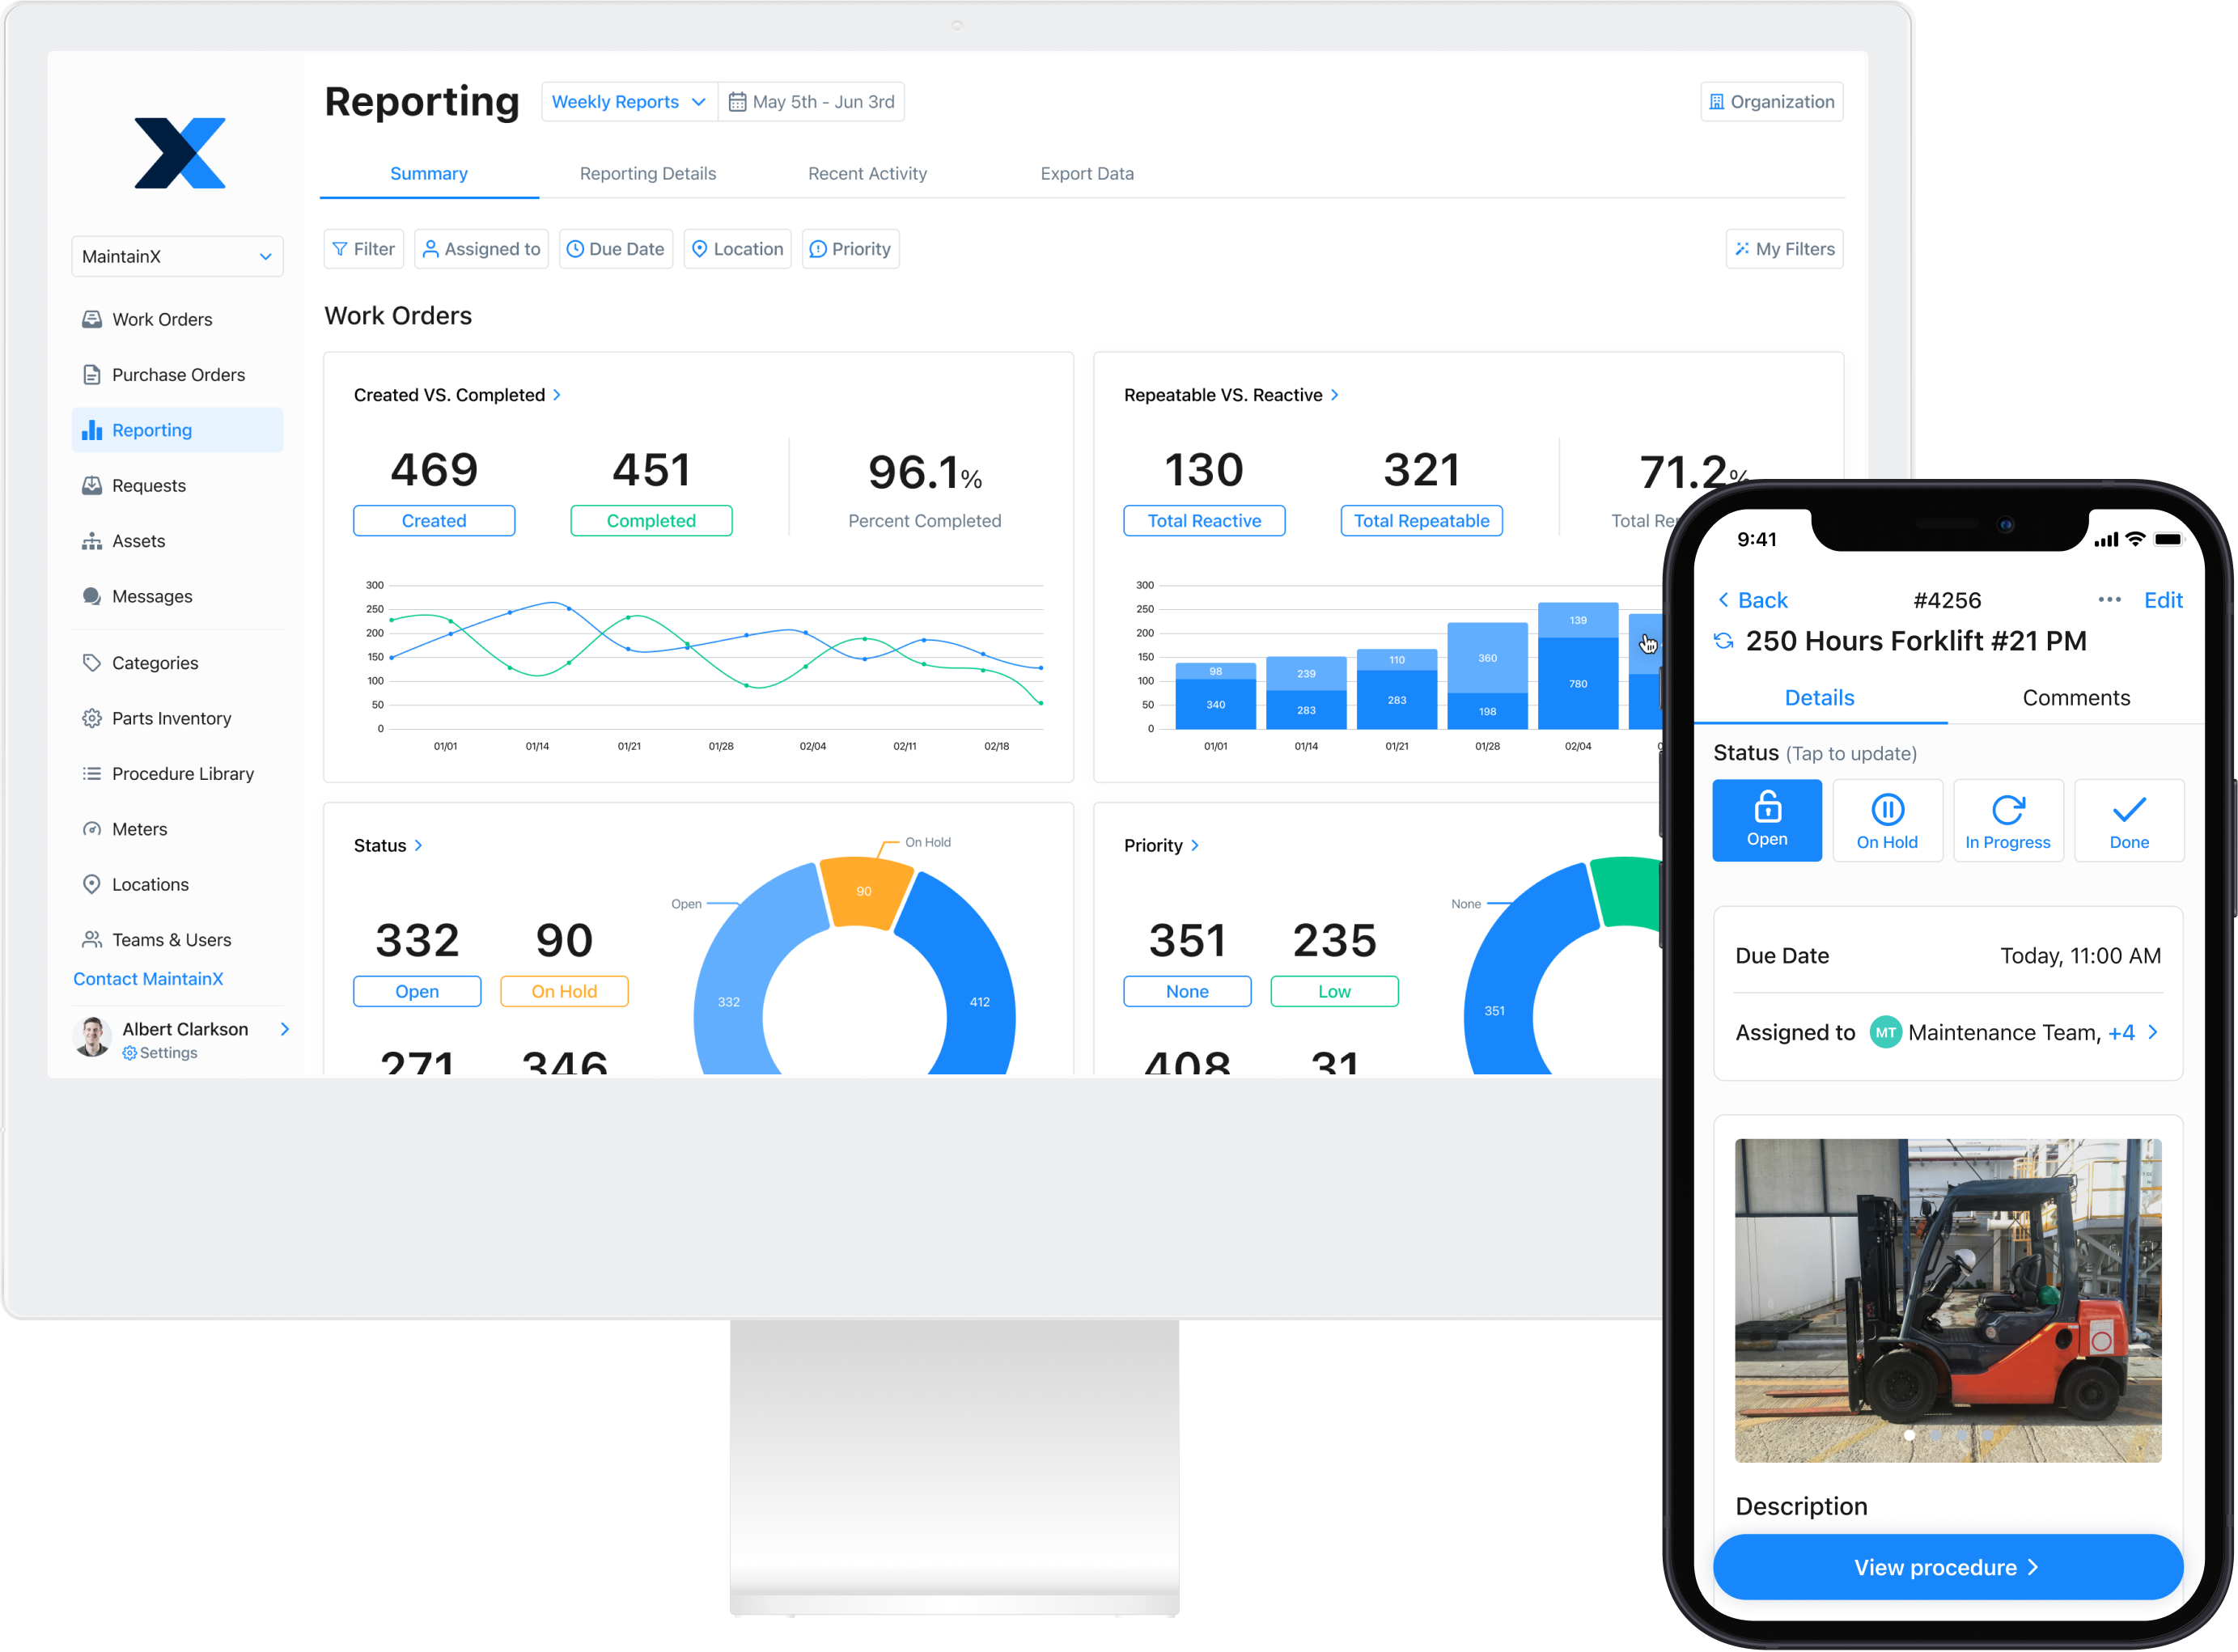
To round out this troubleshooting process, you can also use the real-time and historical data from your computerized maintenance management systems (CMMS), such as asset and parts inventory, KPI reporting, flagged and failed work orders, and asset tracking.
Throughout every stage of your fishbone diagram, record your findings along with feedback from workers and supervisors. Holding this information digitally in a CMMS like MaintainX will make it much easier to review at a later stage to ensure your root cause analysis efforts have been successful.
Get MaintainX to Lean Up Your Maintenance
A CMMS like MaintainX with a robust preventive maintenance program will help you decrease costly equipment downtime and unexpected parts and inventory delays. MaintainX also can help improve maintenance efficiency and easily assign safety procedures.
MaintainX can seriously help improve your maintenance and manufacturing goals. Check us out.

Caroline Eisner
Caroline Eisner is a writer and editor with experience across the profit and nonprofit sectors, government, education, and financial organizations. She has held leadership positions in K16 institutions and has led large-scale digital projects, interactive websites, and a business writing consultancy.
See MaintainX in action