


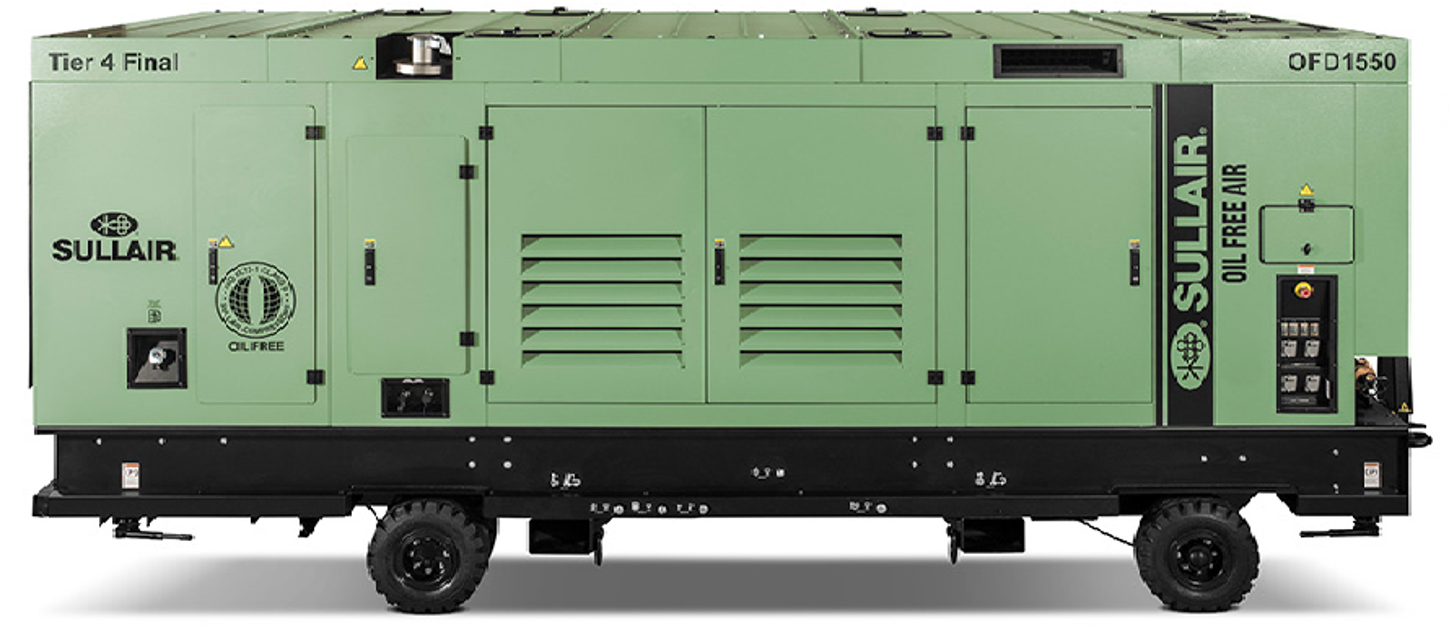
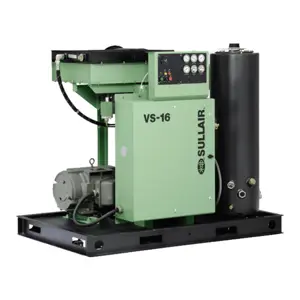
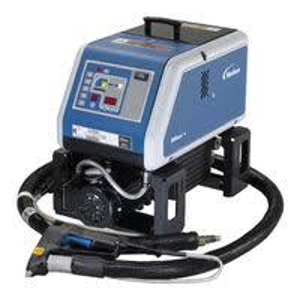
Sullair Compressor PDR32XL
Need answers fast?
Explore the manual using AI.
Turn manuals into instant answers
with your AI-powered assistantTurn manuals into instant answers
with your AI-powered assistant
Manual for Sullair Compressor PDR32XL
Complete asset maintenance, one click away
Get instant access to all the maintenance information you need. Empower technicians to perform preventive maintenance with asset packages, ready to use right out of the box.

Documents & Manuals
Find all the essential guides in one place.
 Tensioning Guide
- Belt-diagram
- C-120 pulleys
+ 13 more

Work Order Templates
Pre-built workflows to keep your asset running smoothly.
- Daily Electrical System Inspection
- Replace Roller and Pulley
- Install Engine B-120
+ 29 more

Procedures
Integrate maintenance plans directly into your work orders.
- Motion Industries
- Applied Industrial Technologies
- Electrical Brothers
+ 5 more

Parts
Access the parts list for your equipment in MaintainX.
- Drive Motor
- B2 Rollers
- Tensioning System
+ 40 more
Sullair Compressor PDR32XL
Create an account to install this asset package.
Maintenance Plans for Sullair Compressor Model PDR32XL
Integrate maintenance plans directly into your work orders in MaintainX.
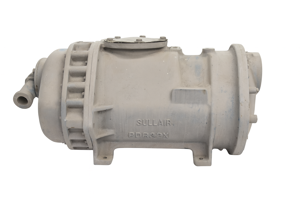
Primary Separator Maintenance
Warning: Only trained personnel should perform this procedure
Separator maintenance indicator shows a red signal
Enter the primary separator replacement kit number used
All piping connected to the sump cover removed
Cover bolts removed and cover lifted from sump
Separator element removed
Old gasket material scraped from cover and flange on sump
Gaskets installed
New separator element installed

Minimum Pressure Valve Maintenance
Refer to Figure 5-5. Minimum Pressure Valve Maintenance is quite minimal. The only parts which normally require replacement are the seal ring on the piston rod and the O" rings which seal the housing."
Evenly remove the four bolts securing the cover to the housing. CAUTION: This cover is spring loaded, remove carefully.
Remove cover and O" ring."
Remove the spring.
Remove piston rod.
Remove quad ring.
Remove the cover plate and sleeve.
Discard the stop and cover plate O" ring."
Clean all parts thoroughly including the cover bore, housing bore and sleeve.
Electrical Wiring Check
DANGER: Lethal shock hazard inside. Disconnect all power at source, before opening or servicing.
Check incoming voltage
Is the incoming voltage the same as the machine was wired for?
Check starter and overload heater sizes. (See instrument panel and electrical parts in Section 6.)
Are all electrical connections tight?
'DRY RUN' the electrical controls by disconnecting the three (3) motor leads from the starter.
Did all protective devices de-energize the starter coil when activated?
Reconnect the three (3) motor leads and jog the motor for a direction of rotation check, as explained in Section 3.6.
Sign off on the electrical wiring check
Motor Check
Warning: Only trained personnel should perform this check
Is the electrical wiring done?
If wiring is not done, stop the procedure and report to the supervisor
Is the motor shaft turning clockwise when looking from the end opposite the compressor unit?
If the motor shaft is not turning clockwise, follow the next step
Did you disconnect the power to the starter and exchange any two of the three power input leads?
After exchanging the power input leads, is the motor shaft now turning clockwise?
Sign off on the motor check
Air FIlter Element Inspection
Place a bright light inside the element to inspect for damage or leak holes. Concentrated light will shine through the element and disclose any holes.
Inspect all gaskets and gasket contact surfaces of the housing. Should faulty gaskets be evident, correct the condition immediately.
If the clean element is to be stored for later use, it must be stored in a clean container.
After the element has been installed, inspect and tighten, if necessary, all air inlet connections prior to resuming operation.
Sign off on the air filter element inspection
Parts for Sullair Compressor PDR32XL
Access the parts list for your equipment in MaintainX.
Coupling, Flexible Pipe 3"
40327
Support, Inlet
12227
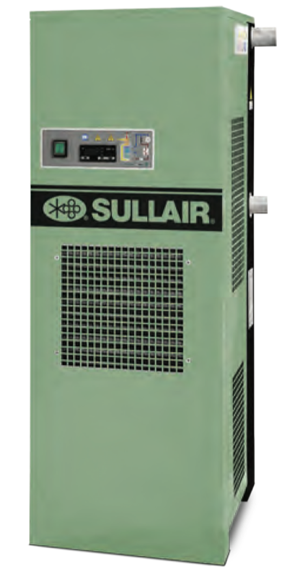
Aftercooler
46467
Support, Outlet
12228
Gasket, Flange
42032
Coupling, Flexible Pipe 3"
40327
Support, Inlet
12227
Aftercooler
46467
Support, Outlet
12228
Gasket, Flange
42032
Coupling, Flexible Pipe 3"
40327
Support, Inlet
12227
Aftercooler
46467
Support, Outlet
12228
Gasket, Flange
42032
Unlock efficiency
with MaintainX CoPilot
MaintainX CoPilot is your expert colleague, on call 24/7, helping your team find the answers they need to keep equipment running.
Reduce Unplanned Downtime
Ensure your team follows consistent procedures to minimize equipment failures and costly delays.
Maximize Asset Availability
Keep your assets running longer and more reliably, with standardized maintenance workflows from OEM manuals.
Lower Maintenance Costs
Turn any technician into an expert to streamline operations, maintain more assets, and reduce overall costs.
Thousands of companies manage their assets with MaintainX

'%3e%3cpath%20fill='url(%23b)'%20d='M66.008%2080.068c-5.084-.786-9.763-3.834-12.442-8.68a16.942%2016.942%200%200%201-1.87-5.18c1.096.19%202.203.476%203.298.87%206.525%202.333%2010.836%207.68%2011.014%2012.99ZM51.47%2061.576c.488-5.524%203.62-10.716%208.847-13.597a17.132%2017.132%200%200%201%2011.335-1.882c-.798%208.145-7.43%2014.848-16.038%2015.599-1.417.119-2.799.07-4.144-.12Zm28.564-11.478a17.513%2017.513%200%200%201%203.727%204.62c4.608%208.335%201.584%2018.813-6.75%2023.409a16.988%2016.988%200%200%201-4.359%201.679%2019.624%2019.624%200%200%201-3.977-12.776c.346-7.561%204.942-13.931%2011.36-16.932Z'/%3e%3cpath%20fill='%23110F0D'%20fill-rule='evenodd'%20d='M142.831%2048.324h4.977V77.03h-4.977V48.324Zm27.278%2013.002c.322%201.048.453%202.263.453%203.62v12.073h-4.787V66.208c0-.75-.047-1.572-.154-2.143-.453-2.382-1.822-3.572-4.215-3.572-2.31%200-3.882%201.274-4.43%203.476-.143.596-.226%201.405-.226%202.25v10.8h-4.787V56.623h4.477v2.989c1.536-2.5%203.906-3.43%206.371-3.43%203.488%200%206.263%201.68%207.298%205.144Zm24.636%207.323c0%203.882-2.358%206.525-5.763%207.727-1.298.453-2.632.643-4.62.643h-10.169V48.324h9.085c1.691%200%203.156.143%204.049.38%203.465.93%205.727%203.68%205.727%207.335%200%202.441-.81%204.156-2.762%205.644%202.905%201.417%204.453%203.727%204.453%206.966Zm-15.634-8.656h4.584c1.024%200%201.917-.143%202.536-.417%201.215-.548%201.905-1.608%201.905-3.167%200-1.548-.643-2.572-1.845-3.132-.691-.31-1.762-.452-2.763-.452h-4.417v7.168Zm10.716%208.465c0-1.536-.893-3.37-3.227-3.893-.428-.095-1.036-.143-1.571-.143h-5.918v8.085h5.501c.56%200%201.429-.048%201.953-.167%201.94-.453%203.262-1.846%203.262-3.882Zm47.747-11.847-8.097%2020.408h-4.429l-8.109-20.408h5.191l5.192%2014.574%205.108-14.574h5.144Zm-20.218%2010.002c0%20.69-.036%201.262-.155%201.94h-15.943c.631%202.87%202.714%204.728%205.882%204.728%202.131%200%203.607-.882%204.703-2.525h4.87c-1.762%204.144-5.204%206.692-9.657%206.692-6.084%200-10.537-4.858-10.537-10.49%200-6.108%204.524-10.776%2010.335-10.776%206.239%200%2010.442%204.954%2010.502%2010.43Zm-4.763-1.405c-.333-2.846-2.643-4.858-5.691-4.858-2.894%200-5.287%201.929-5.621%204.858h11.312Zm-72.667%203.44c0%204.787-3.287%208.371-9.419%208.371H119.363V64.66c-1.917.274-3.87.69-5.811%201.238l4.537%2011.121h-5.418l-3.596-9.585c-5.144%202.084-10.085%205.216-14.217%209.585h-4.786L101.8%2048.312h4.56l5.68%2013.883a44.112%2044.112%200%200%201%207.323-1.774V48.312h9.084c1.703%200%203.156.143%204.061.393%203.453.929%205.727%203.667%205.727%207.323%200%201.917-.738%204.179-2.81%205.691%203.06%201.56%204.501%204.025%204.501%206.93Zm-15.634-8.667a62.664%2062.664%200%200%201%202.06-.036c1.703.012%203.239.131%204.608.37%201.441-.549%202.357-1.727%202.357-3.537%200-1.941-.881-3.144-2.488-3.667-.548-.18-1.358-.286-2.322-.286h-4.215v7.156Zm-16.55%203.905-3.715-9.894-6.394%2016.502c2.833-2.595%206.263-4.858%2010.109-6.608Zm27.254%204.74c0-2.775-3.131-4.347-8.513-4.418-.715%200-1.441.011-2.191.047v8.252h5.918c2.548%200%204.786-1.37%204.786-3.882Z'%20clip-rule='evenodd'/%3e%3c/g%3e%3cdefs%3e%3clinearGradient%20id='b'%20x1='51.47'%20x2='85.916'%20y1='62.946'%20y2='62.946'%20gradientUnits='userSpaceOnUse'%3e%3cstop%20stop-color='%23CD9F28'/%3e%3cstop%20offset='1'%20stop-color='%23ECD80B'/%3e%3c/linearGradient%3e%3cclipPath%20id='a'%3e%3cpath%20fill='%23fff'%20d='M51.47%2045.728h186.104V80.14H51.47z'/%3e%3c/clipPath%3e%3c/defs%3e%3c/svg%3e)


More from Sullair


Explore Other Assets


© 2026 MaintainX. All rights reserved.