


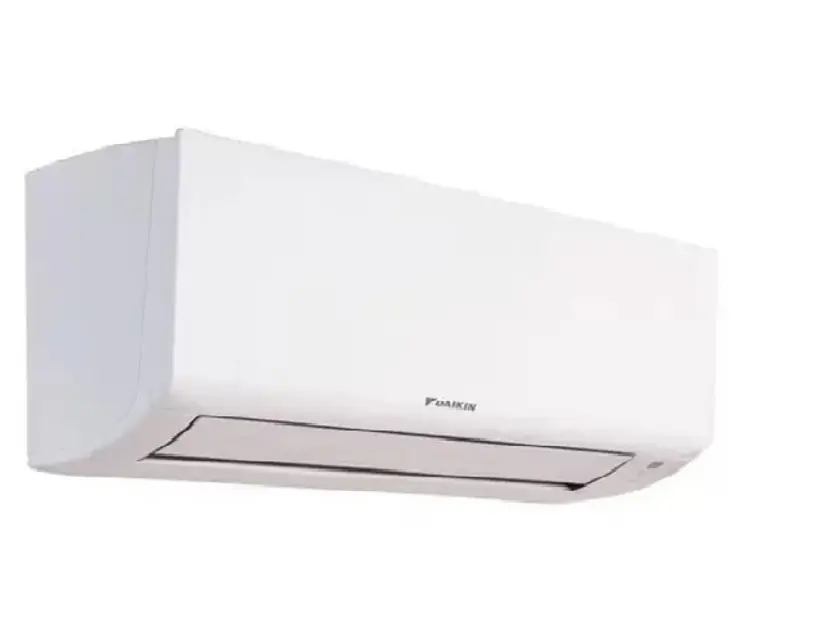
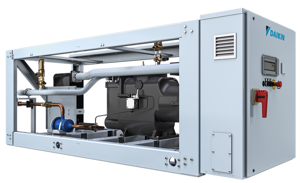
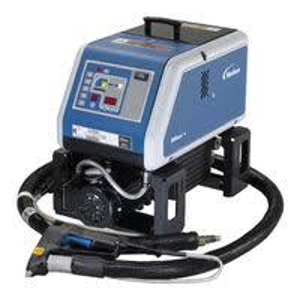
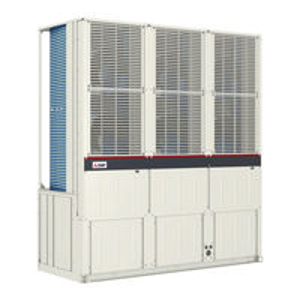
Daikin Fan Coil Unit HHDB-106A
Need answers fast?
Explore the manual using AI.
Turn manuals into instant answers
with your AI-powered assistantTurn manuals into instant answers
with your AI-powered assistant
Manual for Daikin Fan Coil Unit HHDB-106A
Complete asset maintenance, one click away
Get instant access to all the maintenance information you need. Empower technicians to perform preventive maintenance with asset packages, ready to use right out of the box.

Documents & Manuals
Find all the essential guides in one place.
 Tensioning Guide
- Belt-diagram
- C-120 pulleys
+ 13 more

Work Order Templates
Pre-built workflows to keep your asset running smoothly.
- Daily Electrical System Inspection
- Replace Roller and Pulley
- Install Engine B-120
+ 29 more

Procedures
Integrate maintenance plans directly into your work orders.
- Motion Industries
- Applied Industrial Technologies
- Electrical Brothers
+ 5 more

Parts
Access the parts list for your equipment in MaintainX.
- Drive Motor
- B2 Rollers
- Tensioning System
+ 40 more
Daikin Fan Coil Unit HHDB-106A
Create an account to install this asset package.
Maintenance Plans for Daikin Fan Coil Unit Model HHDB-106A
Integrate maintenance plans directly into your work orders in MaintainX.
Filters Maintenance
Standard filters are the disposable type and should be renewed frequently to obtain maximum performance.
Was the filter replaced?
Periodic vacuuming of cleanable filters from the inlet side reduces the need for frequent washing.
Was the filter vacuumed?
Filters can be removed through either side or the bottom of the unit.
Select the side from which the filter was removed
Sign off on the filter maintenance

Fan Assembly Cleaning
Warning: Ensure the fan assembly is powered off before starting the cleaning process.
Is the blower wheel and housing free of dust and dirt?
Upload a photo of the cleaned blower wheel and housing.
Motor Removal
Motor wire leads disconnected?
Set screw on the motor shaft loosened?
3 mounting screws removed?
Motor slid out of the housing?
Upload a photo of the removed motor.
Fan Coil Unit Inspection
Check all items against the bill of lading to ensure all crates and cartons have been received.
Inspect all units for damage upon receipt.
Report any visible or concealed damage to the carrier and file a claim.
Record and report any hidden damage to the carrier and file a claim.
In the event of a claim for shipping damage, retain the unit, shipping carton, and all packaging for physical inspection by the freight carrier.
Store all equipment in the factory shipping carton with internal packing in place until installation.
Perform a final visual inspection as the initial step in any start-up operation.
Inspect all equipment, plenums, ductwork, and piping to verify that all systems are complete and properly installed and mounted.
Ensure no debris or foreign articles such as paper or tools are left in the units or other areas.
Fan Speed Adjustment
Warning: Only trained personnel should perform this procedure.
Is the fan running at factory set flow rates?
If different flow rate is required, follow the next steps.
Measure the DC reference voltage between the com port and corresponding flo port.
Select the Flo terminal
Enter the desired CFM or the measured DC reference voltage.
For example, if terminal Flo1 is on and the Flo1 dial is turned until the Flo1 reference voltage = 2.5, then the motor will run at the CFM that corresponds to 2.5V.
Is the Flo0 dial set at 0V?
Note: The Flo0 dial should always be set at 0V to prevent the fan from running when all speed outputs are OFF.
Heating/Cooling System Maintenance
Prior to the water system start-up and balancing, the chilled and hot water systems should be flushed to clean out dirt and debris, which may have collected in the piping during construction.
All unit service valves closed?
This prevents foreign matter from entering the unit and clogging the valves and metering devices.
Strainers installed in the piping mains?
During system filling, air venting from the unit is accomplished by the use of a manual air vent installed on the coil.
Turn the screw on the manual air vent counterclockwise no more than 1.5 turns to operate the air vent.
The entire system should be checked for potential air traps and vented through the main air vents as often as required.
The unit air vent does not replace the main system vents.
Sign off on the Heating/Cooling System Maintenance
Parts for Daikin Fan Coil Unit HHDB-106A
Access the parts list for your equipment in MaintainX.
Motor, Unit Sizes: 08, 12; Frame: 48; Voltage: 115/208-230/60/1;1/3 HP
205066400
Motor, Unit Sizes: 08, 12; Frame: 48; Voltage: 208-230/460/60/3; 1/3 HP
910119268
Motor, Unit Sizes: 08, 12; Frame: 48; Voltage: 208-230/460/60/3; 1/3 HP
910119268
Motor, Unit Sizes: 08, 12; Frame: 48; Voltage: 277/60/1; 1/3 HP
910119270
Motor, Unit Sizes: 08, 12, 16; Frame: 56; Voltage: 115/208-230/60/1; 1/2 HP
910119270
Unlock efficiency
with MaintainX CoPilot
MaintainX CoPilot is your expert colleague, on call 24/7, helping your team find the answers they need to keep equipment running.
Reduce Unplanned Downtime
Ensure your team follows consistent procedures to minimize equipment failures and costly delays.
Maximize Asset Availability
Keep your assets running longer and more reliably, with standardized maintenance workflows from OEM manuals.
Lower Maintenance Costs
Turn any technician into an expert to streamline operations, maintain more assets, and reduce overall costs.
Thousands of companies manage their assets with MaintainX

'%3e%3cpath%20fill='url(%23b)'%20d='M66.008%2080.068c-5.084-.786-9.763-3.834-12.442-8.68a16.942%2016.942%200%200%201-1.87-5.18c1.096.19%202.203.476%203.298.87%206.525%202.333%2010.836%207.68%2011.014%2012.99ZM51.47%2061.576c.488-5.524%203.62-10.716%208.847-13.597a17.132%2017.132%200%200%201%2011.335-1.882c-.798%208.145-7.43%2014.848-16.038%2015.599-1.417.119-2.799.07-4.144-.12Zm28.564-11.478a17.513%2017.513%200%200%201%203.727%204.62c4.608%208.335%201.584%2018.813-6.75%2023.409a16.988%2016.988%200%200%201-4.359%201.679%2019.624%2019.624%200%200%201-3.977-12.776c.346-7.561%204.942-13.931%2011.36-16.932Z'/%3e%3cpath%20fill='%23110F0D'%20fill-rule='evenodd'%20d='M142.831%2048.324h4.977V77.03h-4.977V48.324Zm27.278%2013.002c.322%201.048.453%202.263.453%203.62v12.073h-4.787V66.208c0-.75-.047-1.572-.154-2.143-.453-2.382-1.822-3.572-4.215-3.572-2.31%200-3.882%201.274-4.43%203.476-.143.596-.226%201.405-.226%202.25v10.8h-4.787V56.623h4.477v2.989c1.536-2.5%203.906-3.43%206.371-3.43%203.488%200%206.263%201.68%207.298%205.144Zm24.636%207.323c0%203.882-2.358%206.525-5.763%207.727-1.298.453-2.632.643-4.62.643h-10.169V48.324h9.085c1.691%200%203.156.143%204.049.38%203.465.93%205.727%203.68%205.727%207.335%200%202.441-.81%204.156-2.762%205.644%202.905%201.417%204.453%203.727%204.453%206.966Zm-15.634-8.656h4.584c1.024%200%201.917-.143%202.536-.417%201.215-.548%201.905-1.608%201.905-3.167%200-1.548-.643-2.572-1.845-3.132-.691-.31-1.762-.452-2.763-.452h-4.417v7.168Zm10.716%208.465c0-1.536-.893-3.37-3.227-3.893-.428-.095-1.036-.143-1.571-.143h-5.918v8.085h5.501c.56%200%201.429-.048%201.953-.167%201.94-.453%203.262-1.846%203.262-3.882Zm47.747-11.847-8.097%2020.408h-4.429l-8.109-20.408h5.191l5.192%2014.574%205.108-14.574h5.144Zm-20.218%2010.002c0%20.69-.036%201.262-.155%201.94h-15.943c.631%202.87%202.714%204.728%205.882%204.728%202.131%200%203.607-.882%204.703-2.525h4.87c-1.762%204.144-5.204%206.692-9.657%206.692-6.084%200-10.537-4.858-10.537-10.49%200-6.108%204.524-10.776%2010.335-10.776%206.239%200%2010.442%204.954%2010.502%2010.43Zm-4.763-1.405c-.333-2.846-2.643-4.858-5.691-4.858-2.894%200-5.287%201.929-5.621%204.858h11.312Zm-72.667%203.44c0%204.787-3.287%208.371-9.419%208.371H119.363V64.66c-1.917.274-3.87.69-5.811%201.238l4.537%2011.121h-5.418l-3.596-9.585c-5.144%202.084-10.085%205.216-14.217%209.585h-4.786L101.8%2048.312h4.56l5.68%2013.883a44.112%2044.112%200%200%201%207.323-1.774V48.312h9.084c1.703%200%203.156.143%204.061.393%203.453.929%205.727%203.667%205.727%207.323%200%201.917-.738%204.179-2.81%205.691%203.06%201.56%204.501%204.025%204.501%206.93Zm-15.634-8.667a62.664%2062.664%200%200%201%202.06-.036c1.703.012%203.239.131%204.608.37%201.441-.549%202.357-1.727%202.357-3.537%200-1.941-.881-3.144-2.488-3.667-.548-.18-1.358-.286-2.322-.286h-4.215v7.156Zm-16.55%203.905-3.715-9.894-6.394%2016.502c2.833-2.595%206.263-4.858%2010.109-6.608Zm27.254%204.74c0-2.775-3.131-4.347-8.513-4.418-.715%200-1.441.011-2.191.047v8.252h5.918c2.548%200%204.786-1.37%204.786-3.882Z'%20clip-rule='evenodd'/%3e%3c/g%3e%3cdefs%3e%3clinearGradient%20id='b'%20x1='51.47'%20x2='85.916'%20y1='62.946'%20y2='62.946'%20gradientUnits='userSpaceOnUse'%3e%3cstop%20stop-color='%23CD9F28'/%3e%3cstop%20offset='1'%20stop-color='%23ECD80B'/%3e%3c/linearGradient%3e%3cclipPath%20id='a'%3e%3cpath%20fill='%23fff'%20d='M51.47%2045.728h186.104V80.14H51.47z'/%3e%3c/clipPath%3e%3c/defs%3e%3c/svg%3e)


More from Daikin


Explore Other Assets


© 2026 MaintainX. All rights reserved.