


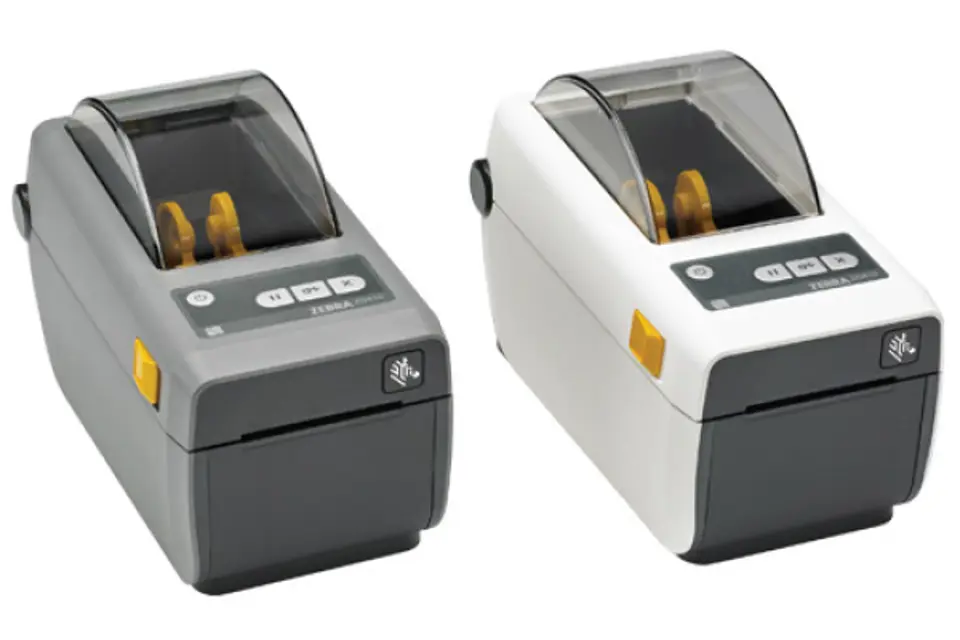
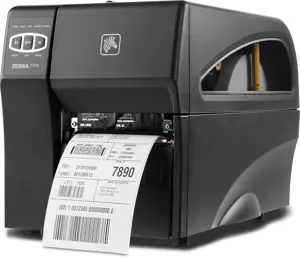
Zebra Printer ZD410
Need answers fast?
Explore the manual using AI.
Turn manuals into instant answers
with your AI-powered assistantTurn manuals into instant answers
with your AI-powered assistant
Manual for Zebra Printer ZD410
Complete asset maintenance, one click away
Get instant access to all the maintenance information you need. Empower technicians to perform preventive maintenance with asset packages, ready to use right out of the box.

Documents & Manuals
Find all the essential guides in one place.
 Tensioning Guide
- Belt-diagram
- C-120 pulleys
+ 13 more

Work Order Templates
Pre-built workflows to keep your asset running smoothly.
- Daily Electrical System Inspection
- Replace Roller and Pulley
- Install Engine B-120
+ 29 more

Procedures
Integrate maintenance plans directly into your work orders.
- Motion Industries
- Applied Industrial Technologies
- Electrical Brothers
+ 5 more

Parts
Access the parts list for your equipment in MaintainX.
- Drive Motor
- B2 Rollers
- Tensioning System
+ 40 more
Zebra Printer ZD410
Create an account to install this asset package.
Maintenance Plans for Zebra Printer Model ZD410
Integrate maintenance plans directly into your work orders in MaintainX.
Label Dispenser Option Cleaning
Clean as needed to improve label dispenser operations.
1. Open the door and clean the peel bar (1), the inner surfaces, and the ridges on the door (4).
2. Wipe the roller (2) while rotating it. Discard the swab or cloth and clean again to remove any residue.
3. Clean any streaks and residue on the label-taken sensor (3) window.

Printhead Replacement
Before you start, review the procedures to remove the existing printhead and install a new one.
CAUTION—ESD: Prepare your work area to protect against static discharge. The area must be static-safe. Use a properly-grounded, conductive-cushioned mat to hold the printer. Be sure to wear a conductive wrist strap.
CAUTION: Unplug the printer from the power supply and allow the printer to cool to prevent injuries or damage to printer circuitry.
Removing the Printhead
1. Turn printer power OFF.
2. If you have not done so already, open the printer.
3. Pull the printhead release latch on the right side of the printhead towards the outside of the printer to release the printhead.
4. Swing the loose right side of the printhead out of the printer. Pull it to the right a little to get the left side of the printhead clear. Pull the printhead free to gain access to its attached cables.
5. Gently but firmly pull the two printhead cable bundle connectors off the printhead.
Cutter Option Cleaning
Warning: The internal cutter blades and mechanism are NOT a user-cleanable component.
You will only need to wipe the areas around the cutter.
Wipe the ridges and the plastic surfaces of the media entry (inside) of the cutter
Wipe the exit slot (outside) of the cutter
Repeat as necessary to remove any adhesive or contaminate residue after the cleaned areas have dried?
Upload a photo of the cleaned cutter
Sign off on the cutter cleaning
Printer Exterior Cleaning
Warning: Only trained personnel should perform this procedure.
Is the printer unplugged and turned off?
Upload a photo of the printer before cleaning
Did you use a soft cloth, brush, or compressed air to wipe or blow dust and particles out of the printer?
Did you use plain soap and water solutions to moisten the cloth for cleaning the exterior?
Did you ensure to use the minimum amount of cleaning solution to avoid getting solution in the printer or other areas?
Did you avoid cleaning connectors or interior of the printer with this method?
For healthcare printer models:
Did you clean the printer user interface controls with the rest of the printer’s exterior?
Media Path Cleaning
Warning: Use fiber-free cleaning swabs and cloths moistened with 99% isopropyl alcohol.
Do NOT clean the printhead, movable sensor, or platen as part of this process.
Cleaned the inside areas of the media compartment?
Cleaned the inside surfaces of the roll holders and the underside of the media guides?
Cleaned the movable sensor slide channel (but not the sensor)?
Wait one minute before closing the printer to allow time for all cleaned areas to dry thoroughly.
Sign off on the media path cleaning
Unlock efficiency
with MaintainX CoPilot
MaintainX CoPilot is your expert colleague, on call 24/7, helping your team find the answers they need to keep equipment running.
Reduce Unplanned Downtime
Ensure your team follows consistent procedures to minimize equipment failures and costly delays.
Maximize Asset Availability
Keep your assets running longer and more reliably, with standardized maintenance workflows from OEM manuals.
Lower Maintenance Costs
Turn any technician into an expert to streamline operations, maintain more assets, and reduce overall costs.
Thousands of companies manage their assets with MaintainX

'%3e%3cpath%20fill='url(%23b)'%20d='M66.008%2080.068c-5.084-.786-9.763-3.834-12.442-8.68a16.942%2016.942%200%200%201-1.87-5.18c1.096.19%202.203.476%203.298.87%206.525%202.333%2010.836%207.68%2011.014%2012.99ZM51.47%2061.576c.488-5.524%203.62-10.716%208.847-13.597a17.132%2017.132%200%200%201%2011.335-1.882c-.798%208.145-7.43%2014.848-16.038%2015.599-1.417.119-2.799.07-4.144-.12Zm28.564-11.478a17.513%2017.513%200%200%201%203.727%204.62c4.608%208.335%201.584%2018.813-6.75%2023.409a16.988%2016.988%200%200%201-4.359%201.679%2019.624%2019.624%200%200%201-3.977-12.776c.346-7.561%204.942-13.931%2011.36-16.932Z'/%3e%3cpath%20fill='%23110F0D'%20fill-rule='evenodd'%20d='M142.831%2048.324h4.977V77.03h-4.977V48.324Zm27.278%2013.002c.322%201.048.453%202.263.453%203.62v12.073h-4.787V66.208c0-.75-.047-1.572-.154-2.143-.453-2.382-1.822-3.572-4.215-3.572-2.31%200-3.882%201.274-4.43%203.476-.143.596-.226%201.405-.226%202.25v10.8h-4.787V56.623h4.477v2.989c1.536-2.5%203.906-3.43%206.371-3.43%203.488%200%206.263%201.68%207.298%205.144Zm24.636%207.323c0%203.882-2.358%206.525-5.763%207.727-1.298.453-2.632.643-4.62.643h-10.169V48.324h9.085c1.691%200%203.156.143%204.049.38%203.465.93%205.727%203.68%205.727%207.335%200%202.441-.81%204.156-2.762%205.644%202.905%201.417%204.453%203.727%204.453%206.966Zm-15.634-8.656h4.584c1.024%200%201.917-.143%202.536-.417%201.215-.548%201.905-1.608%201.905-3.167%200-1.548-.643-2.572-1.845-3.132-.691-.31-1.762-.452-2.763-.452h-4.417v7.168Zm10.716%208.465c0-1.536-.893-3.37-3.227-3.893-.428-.095-1.036-.143-1.571-.143h-5.918v8.085h5.501c.56%200%201.429-.048%201.953-.167%201.94-.453%203.262-1.846%203.262-3.882Zm47.747-11.847-8.097%2020.408h-4.429l-8.109-20.408h5.191l5.192%2014.574%205.108-14.574h5.144Zm-20.218%2010.002c0%20.69-.036%201.262-.155%201.94h-15.943c.631%202.87%202.714%204.728%205.882%204.728%202.131%200%203.607-.882%204.703-2.525h4.87c-1.762%204.144-5.204%206.692-9.657%206.692-6.084%200-10.537-4.858-10.537-10.49%200-6.108%204.524-10.776%2010.335-10.776%206.239%200%2010.442%204.954%2010.502%2010.43Zm-4.763-1.405c-.333-2.846-2.643-4.858-5.691-4.858-2.894%200-5.287%201.929-5.621%204.858h11.312Zm-72.667%203.44c0%204.787-3.287%208.371-9.419%208.371H119.363V64.66c-1.917.274-3.87.69-5.811%201.238l4.537%2011.121h-5.418l-3.596-9.585c-5.144%202.084-10.085%205.216-14.217%209.585h-4.786L101.8%2048.312h4.56l5.68%2013.883a44.112%2044.112%200%200%201%207.323-1.774V48.312h9.084c1.703%200%203.156.143%204.061.393%203.453.929%205.727%203.667%205.727%207.323%200%201.917-.738%204.179-2.81%205.691%203.06%201.56%204.501%204.025%204.501%206.93Zm-15.634-8.667a62.664%2062.664%200%200%201%202.06-.036c1.703.012%203.239.131%204.608.37%201.441-.549%202.357-1.727%202.357-3.537%200-1.941-.881-3.144-2.488-3.667-.548-.18-1.358-.286-2.322-.286h-4.215v7.156Zm-16.55%203.905-3.715-9.894-6.394%2016.502c2.833-2.595%206.263-4.858%2010.109-6.608Zm27.254%204.74c0-2.775-3.131-4.347-8.513-4.418-.715%200-1.441.011-2.191.047v8.252h5.918c2.548%200%204.786-1.37%204.786-3.882Z'%20clip-rule='evenodd'/%3e%3c/g%3e%3cdefs%3e%3clinearGradient%20id='b'%20x1='51.47'%20x2='85.916'%20y1='62.946'%20y2='62.946'%20gradientUnits='userSpaceOnUse'%3e%3cstop%20stop-color='%23CD9F28'/%3e%3cstop%20offset='1'%20stop-color='%23ECD80B'/%3e%3c/linearGradient%3e%3cclipPath%20id='a'%3e%3cpath%20fill='%23fff'%20d='M51.47%2045.728h186.104V80.14H51.47z'/%3e%3c/clipPath%3e%3c/defs%3e%3c/svg%3e)


More from Zebra


Explore Other Assets


© 2026 MaintainX. All rights reserved.