


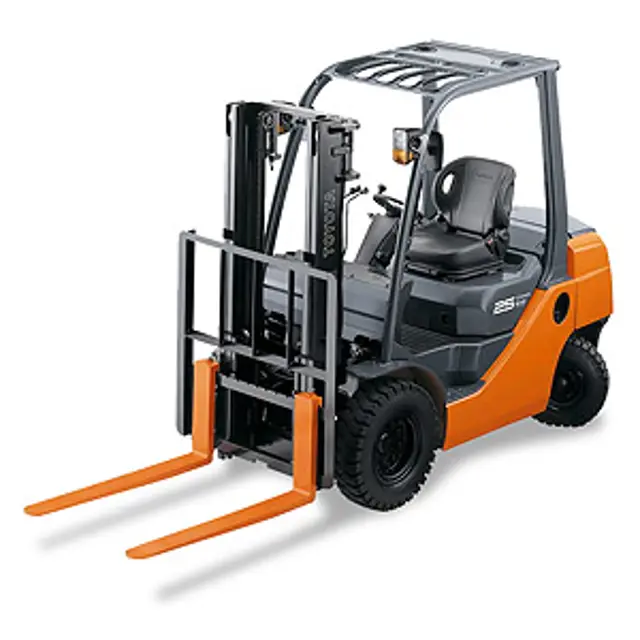
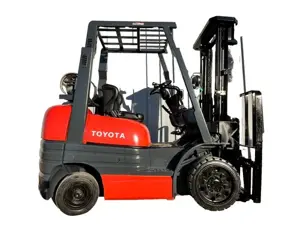
Toyota Forklift 7FD35
Need answers fast?
Explore the manual using AI.
Turn manuals into instant answers
with your AI-powered assistantTurn manuals into instant answers
with your AI-powered assistant
Manual for Toyota Forklift 7FD35
Complete asset maintenance, one click away
Get instant access to all the maintenance information you need. Empower technicians to perform preventive maintenance with asset packages, ready to use right out of the box.

Documents & Manuals
Find all the essential guides in one place.
 Tensioning Guide
- Belt-diagram
- C-120 pulleys
+ 13 more

Work Order Templates
Pre-built workflows to keep your asset running smoothly.
- Daily Electrical System Inspection
- Replace Roller and Pulley
- Install Engine B-120
+ 29 more

Procedures
Integrate maintenance plans directly into your work orders.
- Motion Industries
- Applied Industrial Technologies
- Electrical Brothers
+ 5 more

Parts
Access the parts list for your equipment in MaintainX.
- Drive Motor
- B2 Rollers
- Tensioning System
+ 40 more
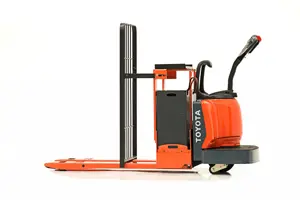
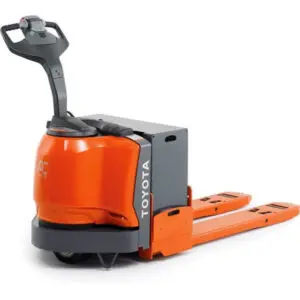
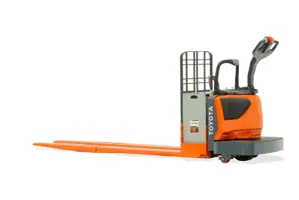
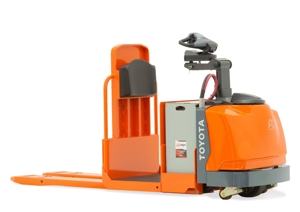
Toyota Forklift 7FD35
Create an account to install this asset package.
Maintenance Plans for Toyota Forklift Model 7FD35
Integrate maintenance plans directly into your work orders in MaintainX.
Front Wheels Replacement
Caution: Use proper safety precautions when jacking the vehicle. Never get under the forks or frame.
In the case of a wheel with a divided rim, do not loosen the rim bolts and nuts when loosening the hub nuts. When loosening the rim nuts or removing the rim bolts, be sure to completely remove the air before loosening.
Refer to service data for hub nut tightening torque and tire air pressure.
Tire air pressure is very high, so pay attention to rim deformation, cracks, etc. Never exceed proper air pressure.
Do not replace any tire without turning on the ignition switch before jacking up the vehicle. Upon completion of the tire replacement, return the ignition switch to the OFF position (SAS models).
Unload the vehicle and place it on level ground.
Set the parking brake and chock the wheels. Locate the jack-up point on the bottom surface of the frame in the rear of a front tire. Securely insert the jack there. Confirm that the jack is properly positioned.
Jack up to just prior to the wheels coming up off the ground and loosen the hub nuts.
Jack up until the wheels come off the ground. Completely remove the air pressure from the tire then remove the hub nuts and remove the wheel.

Engine Oil Inspection
Park the vehicle on a flat ground. If the vehicle is inclined, the indicated level may be incorrect.
The oil level must be checked before starting the engine or at least 3 minutes after the engine is stopped.
Extract the oil level gauge and wipe it with clean cloth. Insert it again and check if the oil level is between the F and L levels.
If the oil level is below the L line, add oil to the F line.
Sign off on the engine oil inspection
2000 Hourly / 1 Yearly Forklift (Clutch Models) Lubrication
3. Front wheel bearing: lubricant replacement, lubricate with MP grease
5. Transmission case: lubricant replacement, lubricate with Hypoid gear oil
6. Rear wheel bearing: lubricant replacement, lubricate with MP grease
2. Differential gear: lubricant replacement, lubricate with Hypoid gear oil
15. Propeller shaft: inspect and service, lubricate with MP grease
Note: In case of the hard operating condition, the service interval of 170 hours or 1 month may be recommendable.;
2000 Hourly / 1 Yearly Forklift Components Replacement
Warning: Only trained personnel should perform this procedure
Select the components replaced
Were only genuine Toyota parts used for replacement?
Were the recommended types of lubricants used?
Note: In case of hard operating conditions, a service interval of 170 hours or 1 month may be recommendable.
Sign off on the forklift components replacement
40 Hourly / 1 Weekly Battery Electrolyte Check
Warning: Wear protective glasses when working on the battery.
Battery electrolyte between the upper and lower levels (10 to 15 mm from the top of the plates)?
Is the electrolyte level below the lower level?
If the electrolyte level is below the lower level, remove the cap and add distilled water to the upper level through the water inlet port.
Sign off on the battery electrolyte check
Unlock efficiency
with MaintainX CoPilot
MaintainX CoPilot is your expert colleague, on call 24/7, helping your team find the answers they need to keep equipment running.
Reduce Unplanned Downtime
Ensure your team follows consistent procedures to minimize equipment failures and costly delays.
Maximize Asset Availability
Keep your assets running longer and more reliably, with standardized maintenance workflows from OEM manuals.
Lower Maintenance Costs
Turn any technician into an expert to streamline operations, maintain more assets, and reduce overall costs.
Thousands of companies manage their assets with MaintainX

'%3e%3cpath%20fill='url(%23b)'%20d='M66.008%2080.068c-5.084-.786-9.763-3.834-12.442-8.68a16.942%2016.942%200%200%201-1.87-5.18c1.096.19%202.203.476%203.298.87%206.525%202.333%2010.836%207.68%2011.014%2012.99ZM51.47%2061.576c.488-5.524%203.62-10.716%208.847-13.597a17.132%2017.132%200%200%201%2011.335-1.882c-.798%208.145-7.43%2014.848-16.038%2015.599-1.417.119-2.799.07-4.144-.12Zm28.564-11.478a17.513%2017.513%200%200%201%203.727%204.62c4.608%208.335%201.584%2018.813-6.75%2023.409a16.988%2016.988%200%200%201-4.359%201.679%2019.624%2019.624%200%200%201-3.977-12.776c.346-7.561%204.942-13.931%2011.36-16.932Z'/%3e%3cpath%20fill='%23110F0D'%20fill-rule='evenodd'%20d='M142.831%2048.324h4.977V77.03h-4.977V48.324Zm27.278%2013.002c.322%201.048.453%202.263.453%203.62v12.073h-4.787V66.208c0-.75-.047-1.572-.154-2.143-.453-2.382-1.822-3.572-4.215-3.572-2.31%200-3.882%201.274-4.43%203.476-.143.596-.226%201.405-.226%202.25v10.8h-4.787V56.623h4.477v2.989c1.536-2.5%203.906-3.43%206.371-3.43%203.488%200%206.263%201.68%207.298%205.144Zm24.636%207.323c0%203.882-2.358%206.525-5.763%207.727-1.298.453-2.632.643-4.62.643h-10.169V48.324h9.085c1.691%200%203.156.143%204.049.38%203.465.93%205.727%203.68%205.727%207.335%200%202.441-.81%204.156-2.762%205.644%202.905%201.417%204.453%203.727%204.453%206.966Zm-15.634-8.656h4.584c1.024%200%201.917-.143%202.536-.417%201.215-.548%201.905-1.608%201.905-3.167%200-1.548-.643-2.572-1.845-3.132-.691-.31-1.762-.452-2.763-.452h-4.417v7.168Zm10.716%208.465c0-1.536-.893-3.37-3.227-3.893-.428-.095-1.036-.143-1.571-.143h-5.918v8.085h5.501c.56%200%201.429-.048%201.953-.167%201.94-.453%203.262-1.846%203.262-3.882Zm47.747-11.847-8.097%2020.408h-4.429l-8.109-20.408h5.191l5.192%2014.574%205.108-14.574h5.144Zm-20.218%2010.002c0%20.69-.036%201.262-.155%201.94h-15.943c.631%202.87%202.714%204.728%205.882%204.728%202.131%200%203.607-.882%204.703-2.525h4.87c-1.762%204.144-5.204%206.692-9.657%206.692-6.084%200-10.537-4.858-10.537-10.49%200-6.108%204.524-10.776%2010.335-10.776%206.239%200%2010.442%204.954%2010.502%2010.43Zm-4.763-1.405c-.333-2.846-2.643-4.858-5.691-4.858-2.894%200-5.287%201.929-5.621%204.858h11.312Zm-72.667%203.44c0%204.787-3.287%208.371-9.419%208.371H119.363V64.66c-1.917.274-3.87.69-5.811%201.238l4.537%2011.121h-5.418l-3.596-9.585c-5.144%202.084-10.085%205.216-14.217%209.585h-4.786L101.8%2048.312h4.56l5.68%2013.883a44.112%2044.112%200%200%201%207.323-1.774V48.312h9.084c1.703%200%203.156.143%204.061.393%203.453.929%205.727%203.667%205.727%207.323%200%201.917-.738%204.179-2.81%205.691%203.06%201.56%204.501%204.025%204.501%206.93Zm-15.634-8.667a62.664%2062.664%200%200%201%202.06-.036c1.703.012%203.239.131%204.608.37%201.441-.549%202.357-1.727%202.357-3.537%200-1.941-.881-3.144-2.488-3.667-.548-.18-1.358-.286-2.322-.286h-4.215v7.156Zm-16.55%203.905-3.715-9.894-6.394%2016.502c2.833-2.595%206.263-4.858%2010.109-6.608Zm27.254%204.74c0-2.775-3.131-4.347-8.513-4.418-.715%200-1.441.011-2.191.047v8.252h5.918c2.548%200%204.786-1.37%204.786-3.882Z'%20clip-rule='evenodd'/%3e%3c/g%3e%3cdefs%3e%3clinearGradient%20id='b'%20x1='51.47'%20x2='85.916'%20y1='62.946'%20y2='62.946'%20gradientUnits='userSpaceOnUse'%3e%3cstop%20stop-color='%23CD9F28'/%3e%3cstop%20offset='1'%20stop-color='%23ECD80B'/%3e%3c/linearGradient%3e%3cclipPath%20id='a'%3e%3cpath%20fill='%23fff'%20d='M51.47%2045.728h186.104V80.14H51.47z'/%3e%3c/clipPath%3e%3c/defs%3e%3c/svg%3e)


More from Toyota

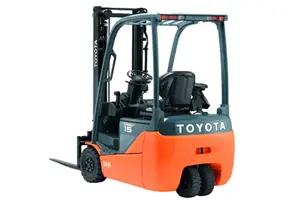
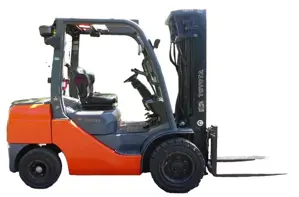
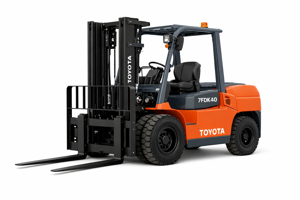


Explore Other Assets


© 2026 MaintainX. All rights reserved.