


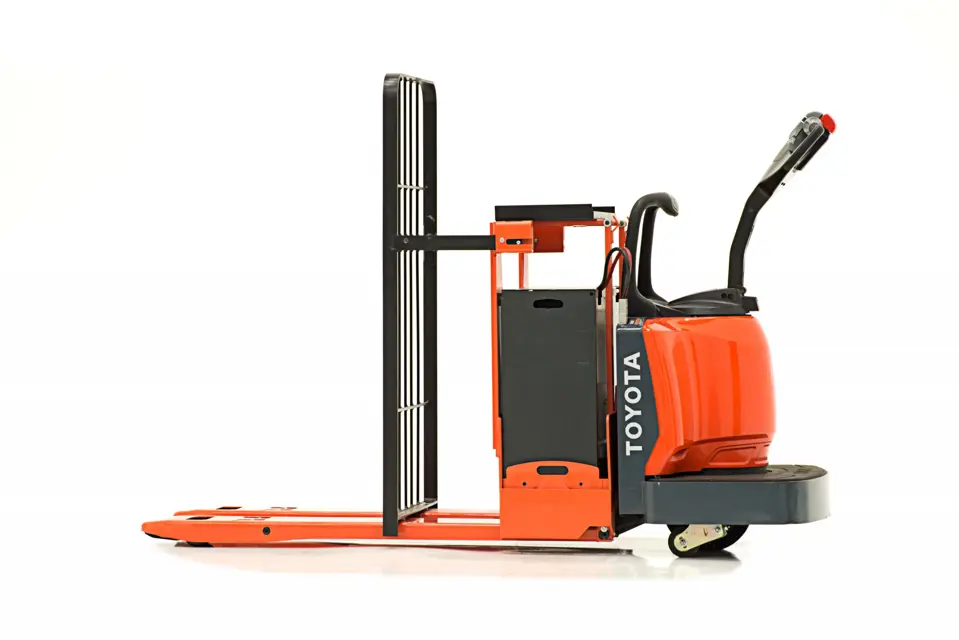
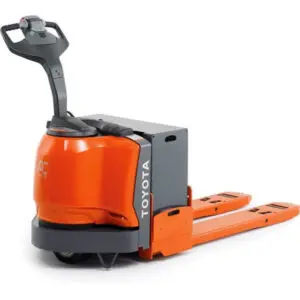
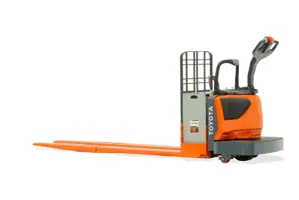
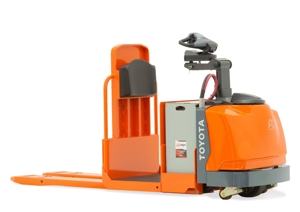
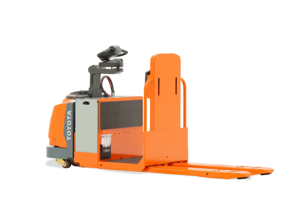
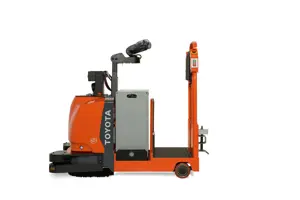
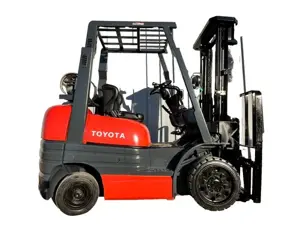
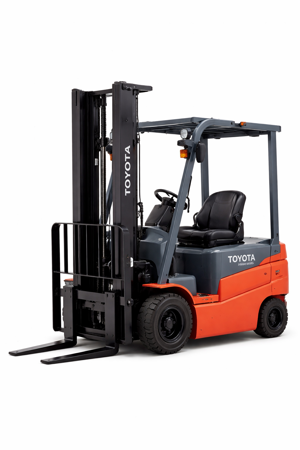
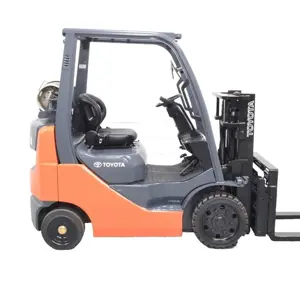
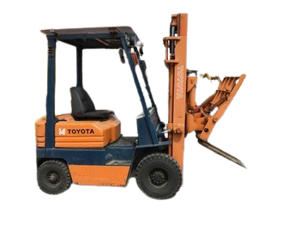
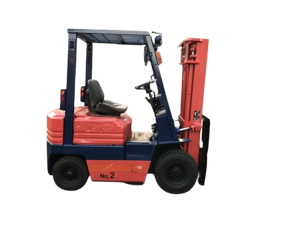
Toyota Pallet Truck 8HBE30
Need answers fast?
Explore the manual using AI.
Turn manuals into instant answers
with your AI-powered assistantTurn manuals into instant answers
with your AI-powered assistant
Manual for Toyota Pallet Truck 8HBE30
Complete asset maintenance, one click away
Get instant access to all the maintenance information you need. Empower technicians to perform preventive maintenance with asset packages, ready to use right out of the box.

Documents & Manuals
Find all the essential guides in one place.
 Tensioning Guide
- Belt-diagram
- C-120 pulleys
+ 13 more

Work Order Templates
Pre-built workflows to keep your asset running smoothly.
- Daily Electrical System Inspection
- Replace Roller and Pulley
- Install Engine B-120
+ 29 more

Procedures
Integrate maintenance plans directly into your work orders.
- Motion Industries
- Applied Industrial Technologies
- Electrical Brothers
+ 5 more

Parts
Access the parts list for your equipment in MaintainX.
- Drive Motor
- B2 Rollers
- Tensioning System
+ 40 more
Toyota Pallet Truck 8HBE30
Create an account to install this asset package.
Maintenance Plans for Toyota Pallet Truck Model 8HBE30
Integrate maintenance plans directly into your work orders in MaintainX.
Jog Trigger and Spring Change
Remove the lower control handle back cover
Remove the trigger mounting screw [42]
Remove the trigger [43] and spring [41]
Upload a photo of the removed parts
Sign off on the jog trigger and spring change

Brake Switch Adjustment
Warning: Ensure the truck is OFF and the battery connector is disconnected before starting the procedure.
Is the brake switch installed within 5/16 in. (8 mm) of the adjusting rod?
Is the mechanical actuator within 5/16 in. (8 mm) of the switch?
Does the amber LED on the switch turn ON when the mechanical actuator is within 5/16 in. (8 mm)?
Does the amber LED remain ON when the mechanical actuator gap exceeds 3/8 in. (9.6 mm)?
If the amber LED remains ON when the mechanical actuator gap exceeds 3/8 in. (9.6 mm), replace the switch.
Is the switch adjusted so that power is disconnected (amber LED OFF) when the handle is approximately 10 degrees from fully raised or fully lowered?
Is the switch adjusted so that power is disconnected (amber LED OFF) when the parking brake is ON?
Did the truck operate correctly during the test?
500 Hourly / 6 Monthly Forks Maintenance
Perform the following maintenance tasks every 180 days or 500 HD, whichever comes first.
- Check the lift-limit switch for lift motor cut-out. Adjust if necessary. Check wear on pull rod bushings.
- Check the fork height adjustment:
1. Remove the hex head bolt that captivates the fork height adjustment eccentric pin. See Figure 6-100.
2. Use a slide hammer and slide the eccentric pin out 1/2 in. (13 mm).
3. Rotate the eccentric pin to adjust the fork height. The indicator mark on the pin is the standard setting for the pin.
4. Make sure the flats of the pin and the cavity are correctly aligned before reinstalling. Slide in the eccentric pin and replace the hex head retaining bolt.
5. Raise and lower the forks a few times, then measure the fork height at the battery compartment and load wheels.
Continue to adjust the eccentric pins until the fork height measurements are correct.;
Return Spring Adjustment
Warning: This procedure requires trained personnel with PPE!
Handle in full vertical position?
Loosen the jam (top) nut.
Measure the handle return spring dimension
Make sure that the handle returns quickly to the vertical position when the handle is released from the normal operating range with Jog Pick disengaged (where applicable).
Does the handle return to the vertical position?
If the handle does not return to the vertical position, turn the adjusting nut down to tighten the spring. The compressed length of the spring must never be less than 8.25 in. (209.5 mm) or more than 8.88 in. (225.5 mm) with the handle in the starting (full upright) position.
Further tightening will cause interference with the handle return mechanism at the lowest position and will not allow the brake to be applied.
Tighten the jam (top) nut into position after the handle return spring is adjusted.
Jog Pick Change
Control Head Removal
Control head assembly removed successfully
Upload a photo of the removed control head assembly
Wiring disconnected and jam nut on the switch loosened
Upload a photo of the jog trigger [44]
Jog trigger replaced and wiring reconnected
Lower control housing and lower control handle cover reinstalled
CAUTION: Verify that all control handle functions operate correctly before placing truck back in service.
Sign off on the jog pick change
Parts for Toyota Pallet Truck 8HBE30
Access the parts list for your equipment in MaintainX.
Service Key
00590-42683-71
Service Key
00590-42683-71
Service Key
00590-42683-71
Unlock efficiency
with MaintainX CoPilot
MaintainX CoPilot is your expert colleague, on call 24/7, helping your team find the answers they need to keep equipment running.
Reduce Unplanned Downtime
Ensure your team follows consistent procedures to minimize equipment failures and costly delays.
Maximize Asset Availability
Keep your assets running longer and more reliably, with standardized maintenance workflows from OEM manuals.
Lower Maintenance Costs
Turn any technician into an expert to streamline operations, maintain more assets, and reduce overall costs.
Thousands of companies manage their assets with MaintainX

'%3e%3cpath%20fill='url(%23b)'%20d='M66.008%2080.068c-5.084-.786-9.763-3.834-12.442-8.68a16.942%2016.942%200%200%201-1.87-5.18c1.096.19%202.203.476%203.298.87%206.525%202.333%2010.836%207.68%2011.014%2012.99ZM51.47%2061.576c.488-5.524%203.62-10.716%208.847-13.597a17.132%2017.132%200%200%201%2011.335-1.882c-.798%208.145-7.43%2014.848-16.038%2015.599-1.417.119-2.799.07-4.144-.12Zm28.564-11.478a17.513%2017.513%200%200%201%203.727%204.62c4.608%208.335%201.584%2018.813-6.75%2023.409a16.988%2016.988%200%200%201-4.359%201.679%2019.624%2019.624%200%200%201-3.977-12.776c.346-7.561%204.942-13.931%2011.36-16.932Z'/%3e%3cpath%20fill='%23110F0D'%20fill-rule='evenodd'%20d='M142.831%2048.324h4.977V77.03h-4.977V48.324Zm27.278%2013.002c.322%201.048.453%202.263.453%203.62v12.073h-4.787V66.208c0-.75-.047-1.572-.154-2.143-.453-2.382-1.822-3.572-4.215-3.572-2.31%200-3.882%201.274-4.43%203.476-.143.596-.226%201.405-.226%202.25v10.8h-4.787V56.623h4.477v2.989c1.536-2.5%203.906-3.43%206.371-3.43%203.488%200%206.263%201.68%207.298%205.144Zm24.636%207.323c0%203.882-2.358%206.525-5.763%207.727-1.298.453-2.632.643-4.62.643h-10.169V48.324h9.085c1.691%200%203.156.143%204.049.38%203.465.93%205.727%203.68%205.727%207.335%200%202.441-.81%204.156-2.762%205.644%202.905%201.417%204.453%203.727%204.453%206.966Zm-15.634-8.656h4.584c1.024%200%201.917-.143%202.536-.417%201.215-.548%201.905-1.608%201.905-3.167%200-1.548-.643-2.572-1.845-3.132-.691-.31-1.762-.452-2.763-.452h-4.417v7.168Zm10.716%208.465c0-1.536-.893-3.37-3.227-3.893-.428-.095-1.036-.143-1.571-.143h-5.918v8.085h5.501c.56%200%201.429-.048%201.953-.167%201.94-.453%203.262-1.846%203.262-3.882Zm47.747-11.847-8.097%2020.408h-4.429l-8.109-20.408h5.191l5.192%2014.574%205.108-14.574h5.144Zm-20.218%2010.002c0%20.69-.036%201.262-.155%201.94h-15.943c.631%202.87%202.714%204.728%205.882%204.728%202.131%200%203.607-.882%204.703-2.525h4.87c-1.762%204.144-5.204%206.692-9.657%206.692-6.084%200-10.537-4.858-10.537-10.49%200-6.108%204.524-10.776%2010.335-10.776%206.239%200%2010.442%204.954%2010.502%2010.43Zm-4.763-1.405c-.333-2.846-2.643-4.858-5.691-4.858-2.894%200-5.287%201.929-5.621%204.858h11.312Zm-72.667%203.44c0%204.787-3.287%208.371-9.419%208.371H119.363V64.66c-1.917.274-3.87.69-5.811%201.238l4.537%2011.121h-5.418l-3.596-9.585c-5.144%202.084-10.085%205.216-14.217%209.585h-4.786L101.8%2048.312h4.56l5.68%2013.883a44.112%2044.112%200%200%201%207.323-1.774V48.312h9.084c1.703%200%203.156.143%204.061.393%203.453.929%205.727%203.667%205.727%207.323%200%201.917-.738%204.179-2.81%205.691%203.06%201.56%204.501%204.025%204.501%206.93Zm-15.634-8.667a62.664%2062.664%200%200%201%202.06-.036c1.703.012%203.239.131%204.608.37%201.441-.549%202.357-1.727%202.357-3.537%200-1.941-.881-3.144-2.488-3.667-.548-.18-1.358-.286-2.322-.286h-4.215v7.156Zm-16.55%203.905-3.715-9.894-6.394%2016.502c2.833-2.595%206.263-4.858%2010.109-6.608Zm27.254%204.74c0-2.775-3.131-4.347-8.513-4.418-.715%200-1.441.011-2.191.047v8.252h5.918c2.548%200%204.786-1.37%204.786-3.882Z'%20clip-rule='evenodd'/%3e%3c/g%3e%3cdefs%3e%3clinearGradient%20id='b'%20x1='51.47'%20x2='85.916'%20y1='62.946'%20y2='62.946'%20gradientUnits='userSpaceOnUse'%3e%3cstop%20stop-color='%23CD9F28'/%3e%3cstop%20offset='1'%20stop-color='%23ECD80B'/%3e%3c/linearGradient%3e%3cclipPath%20id='a'%3e%3cpath%20fill='%23fff'%20d='M51.47%2045.728h186.104V80.14H51.47z'/%3e%3c/clipPath%3e%3c/defs%3e%3c/svg%3e)


More from Toyota

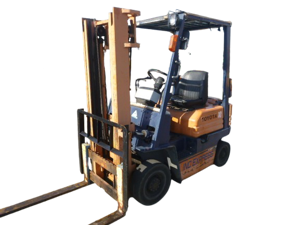

Explore Other Assets


© 2026 MaintainX. All rights reserved.