


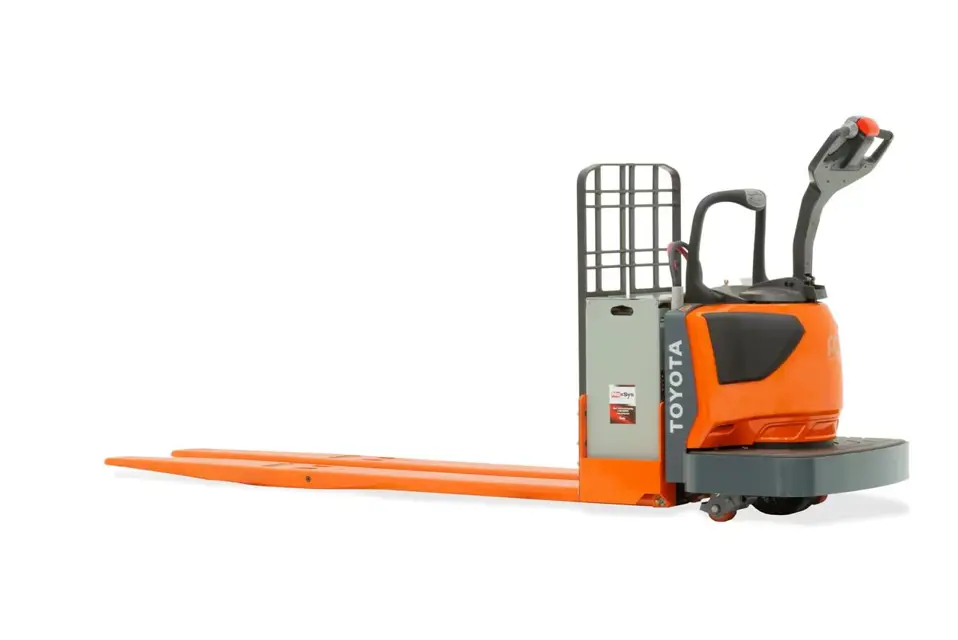
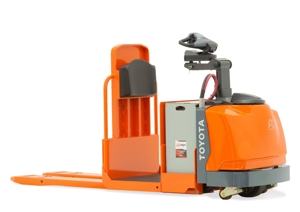
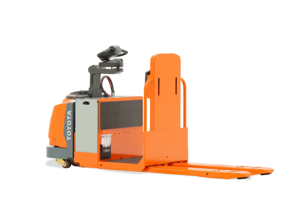
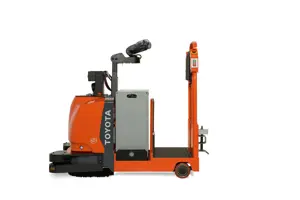
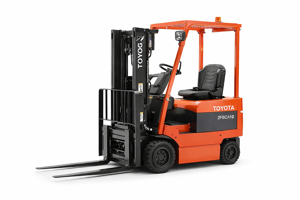
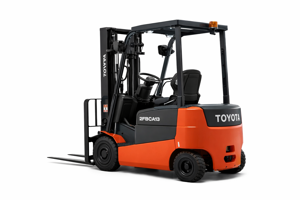
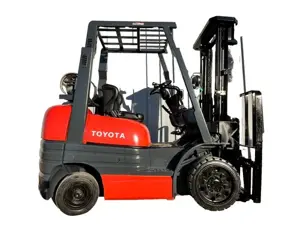
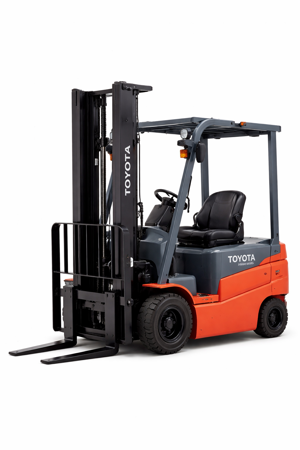
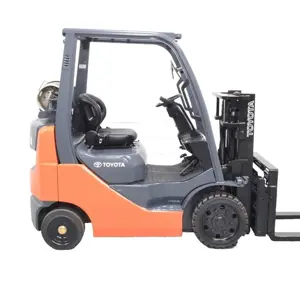
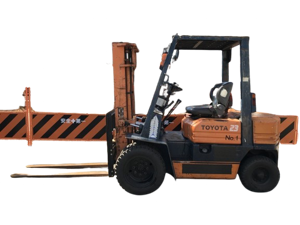
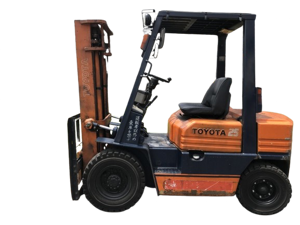
Toyota Pallet Truck 8HBE40
Need answers fast?
Explore the manual using AI.
Turn manuals into instant answers
with your AI-powered assistantTurn manuals into instant answers
with your AI-powered assistant
Manual for Toyota Pallet Truck 8HBE40
Complete asset maintenance, one click away
Get instant access to all the maintenance information you need. Empower technicians to perform preventive maintenance with asset packages, ready to use right out of the box.

Documents & Manuals
Find all the essential guides in one place.
 Tensioning Guide
- Belt-diagram
- C-120 pulleys
+ 13 more

Work Order Templates
Pre-built workflows to keep your asset running smoothly.
- Daily Electrical System Inspection
- Replace Roller and Pulley
- Install Engine B-120
+ 29 more

Procedures
Integrate maintenance plans directly into your work orders.
- Motion Industries
- Applied Industrial Technologies
- Electrical Brothers
+ 5 more

Parts
Access the parts list for your equipment in MaintainX.
- Drive Motor
- B2 Rollers
- Tensioning System
+ 40 more
Toyota Pallet Truck 8HBE40
Create an account to install this asset package.
Maintenance Plans for Toyota Pallet Truck Model 8HBE40
Integrate maintenance plans directly into your work orders in MaintainX.
2000 Hourly / 1 Yearly Drive Unit Gear Oil Change
Drive Unit: Change fluid. See “Drive Housing Lubrication” on page 6-58.
Remove the drain plug from the bottom of the gear housing cover and let the oil drain. See Figure 6-72.
After the oil has drained completely, flush the housing with a suitable solvent and permit it to drain.
Install the drain plug. See Figure 6-72.
Fill the drive housing with the specified gear oil through the fill plug opening in the top cover of the drive unit. The drive housing will hold 2.9 quarts (2.75 liters) of gear oil. Do not overfill.
Sign off on the oil change procedure

Jog Trigger and Spring Change
Warning: Ensure the machine is powered off before starting the procedure
Lower control handle back cover removed
Trigger mounting screw [42] removed
Trigger [43] and spring [41] removed
Upload a photo of the machine after removing the parts
Sign off on the jog trigger and spring change
Return Spring Adjustment
Models: 8HBW30, 8HBE30, 8HBE40
Handle returns to full vertical position when released from any position
Loosen the jam (top) nut
Measure the handle return spring dimension
Make sure that the handle returns quickly to the vertical position when the handle is released from the normal operating range with Jog Pick disengaged (where applicable)
Handle returns to the vertical position
Measure the compressed length of the spring
Tighten the jam (top) nut into position after the handle return spring is adjusted
NOTE: The return spring can also be adjusted with the handle in the lowered position. Adjust the initial return spring length to 7.5 in. (190.5 mm). Do not readjust the spring length to less than 6.75 in. (171 mm)
500 Hourly / 6 Monthly Pallet Entry Wheels and Sliders Maintenance
Pallet Entry Wheels/Sliders: Check and replace damaged wheels/sliders as necessary.
Replacement:
WARNING: Use extreme care when the truck is jacked up. Keep hands and feet clear from the vehicle while jacking the truck. After the truck is jacked, put solid blocks beneath it to hold it. Do not rely on the jack alone to hold the truck.
6000 lb. Models (Single Pallet)
- Raise the forks and block them in the raised position. See “Jacking Safety” on page 2-9.
- Remove the two lock nuts and bolts from the bottom of the entry slider bracket. See Figure 6-99.
- Replace the slider.
- Insert the two 1/4-20 bolts through the slider bracket and slider. Secure with a lock nut. See Figure 6-99.;
500 Hourly / 6 Monthly Shorts to Frame Check
Turn the truck OFF and disconnect the battery connector.
Measure the resistance to an unpainted, grounded surface on the frame at B+, B–, and all fuses.
If resistance reading is less than 1000 ohms, find the source of low resistance or short to frame.
Disconnect the power cables from each motor or major sub-assembly to determine if that item is causing the low resistance.
Do not continue until this condition is corrected.
Remove the battery from the pallet truck: Lift the damaged roller from its slot and replace with a new one.
Connect the battery lead to the truck.
Use an ammeter to measure the leakage current to an unpainted, grounded surface on the frame at B+, B–, all fuses, and all motors.
If the current is less than 0.001 ampere (1 mA), the truck system passes. If the current exceeds 1 mA, go to step 6.
Parts for Toyota Pallet Truck 8HBE40
Access the parts list for your equipment in MaintainX.
Service Key
00590-42683-71
Service Key
00590-42683-71
Service Key
00590-42683-71
Unlock efficiency
with MaintainX CoPilot
MaintainX CoPilot is your expert colleague, on call 24/7, helping your team find the answers they need to keep equipment running.
Reduce Unplanned Downtime
Ensure your team follows consistent procedures to minimize equipment failures and costly delays.
Maximize Asset Availability
Keep your assets running longer and more reliably, with standardized maintenance workflows from OEM manuals.
Lower Maintenance Costs
Turn any technician into an expert to streamline operations, maintain more assets, and reduce overall costs.
Thousands of companies manage their assets with MaintainX

'%3e%3cpath%20fill='url(%23b)'%20d='M66.008%2080.068c-5.084-.786-9.763-3.834-12.442-8.68a16.942%2016.942%200%200%201-1.87-5.18c1.096.19%202.203.476%203.298.87%206.525%202.333%2010.836%207.68%2011.014%2012.99ZM51.47%2061.576c.488-5.524%203.62-10.716%208.847-13.597a17.132%2017.132%200%200%201%2011.335-1.882c-.798%208.145-7.43%2014.848-16.038%2015.599-1.417.119-2.799.07-4.144-.12Zm28.564-11.478a17.513%2017.513%200%200%201%203.727%204.62c4.608%208.335%201.584%2018.813-6.75%2023.409a16.988%2016.988%200%200%201-4.359%201.679%2019.624%2019.624%200%200%201-3.977-12.776c.346-7.561%204.942-13.931%2011.36-16.932Z'/%3e%3cpath%20fill='%23110F0D'%20fill-rule='evenodd'%20d='M142.831%2048.324h4.977V77.03h-4.977V48.324Zm27.278%2013.002c.322%201.048.453%202.263.453%203.62v12.073h-4.787V66.208c0-.75-.047-1.572-.154-2.143-.453-2.382-1.822-3.572-4.215-3.572-2.31%200-3.882%201.274-4.43%203.476-.143.596-.226%201.405-.226%202.25v10.8h-4.787V56.623h4.477v2.989c1.536-2.5%203.906-3.43%206.371-3.43%203.488%200%206.263%201.68%207.298%205.144Zm24.636%207.323c0%203.882-2.358%206.525-5.763%207.727-1.298.453-2.632.643-4.62.643h-10.169V48.324h9.085c1.691%200%203.156.143%204.049.38%203.465.93%205.727%203.68%205.727%207.335%200%202.441-.81%204.156-2.762%205.644%202.905%201.417%204.453%203.727%204.453%206.966Zm-15.634-8.656h4.584c1.024%200%201.917-.143%202.536-.417%201.215-.548%201.905-1.608%201.905-3.167%200-1.548-.643-2.572-1.845-3.132-.691-.31-1.762-.452-2.763-.452h-4.417v7.168Zm10.716%208.465c0-1.536-.893-3.37-3.227-3.893-.428-.095-1.036-.143-1.571-.143h-5.918v8.085h5.501c.56%200%201.429-.048%201.953-.167%201.94-.453%203.262-1.846%203.262-3.882Zm47.747-11.847-8.097%2020.408h-4.429l-8.109-20.408h5.191l5.192%2014.574%205.108-14.574h5.144Zm-20.218%2010.002c0%20.69-.036%201.262-.155%201.94h-15.943c.631%202.87%202.714%204.728%205.882%204.728%202.131%200%203.607-.882%204.703-2.525h4.87c-1.762%204.144-5.204%206.692-9.657%206.692-6.084%200-10.537-4.858-10.537-10.49%200-6.108%204.524-10.776%2010.335-10.776%206.239%200%2010.442%204.954%2010.502%2010.43Zm-4.763-1.405c-.333-2.846-2.643-4.858-5.691-4.858-2.894%200-5.287%201.929-5.621%204.858h11.312Zm-72.667%203.44c0%204.787-3.287%208.371-9.419%208.371H119.363V64.66c-1.917.274-3.87.69-5.811%201.238l4.537%2011.121h-5.418l-3.596-9.585c-5.144%202.084-10.085%205.216-14.217%209.585h-4.786L101.8%2048.312h4.56l5.68%2013.883a44.112%2044.112%200%200%201%207.323-1.774V48.312h9.084c1.703%200%203.156.143%204.061.393%203.453.929%205.727%203.667%205.727%207.323%200%201.917-.738%204.179-2.81%205.691%203.06%201.56%204.501%204.025%204.501%206.93Zm-15.634-8.667a62.664%2062.664%200%200%201%202.06-.036c1.703.012%203.239.131%204.608.37%201.441-.549%202.357-1.727%202.357-3.537%200-1.941-.881-3.144-2.488-3.667-.548-.18-1.358-.286-2.322-.286h-4.215v7.156Zm-16.55%203.905-3.715-9.894-6.394%2016.502c2.833-2.595%206.263-4.858%2010.109-6.608Zm27.254%204.74c0-2.775-3.131-4.347-8.513-4.418-.715%200-1.441.011-2.191.047v8.252h5.918c2.548%200%204.786-1.37%204.786-3.882Z'%20clip-rule='evenodd'/%3e%3c/g%3e%3cdefs%3e%3clinearGradient%20id='b'%20x1='51.47'%20x2='85.916'%20y1='62.946'%20y2='62.946'%20gradientUnits='userSpaceOnUse'%3e%3cstop%20stop-color='%23CD9F28'/%3e%3cstop%20offset='1'%20stop-color='%23ECD80B'/%3e%3c/linearGradient%3e%3cclipPath%20id='a'%3e%3cpath%20fill='%23fff'%20d='M51.47%2045.728h186.104V80.14H51.47z'/%3e%3c/clipPath%3e%3c/defs%3e%3c/svg%3e)


More from Toyota

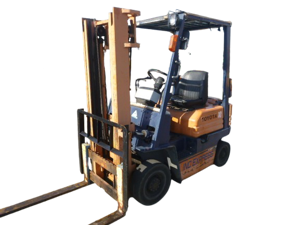
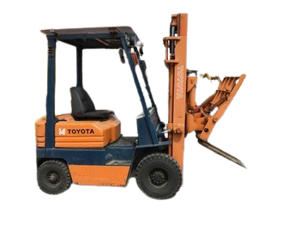
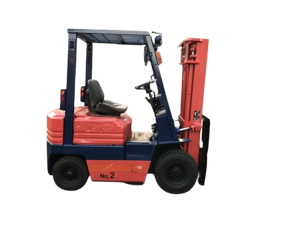

Explore Other Assets


© 2026 MaintainX. All rights reserved.