


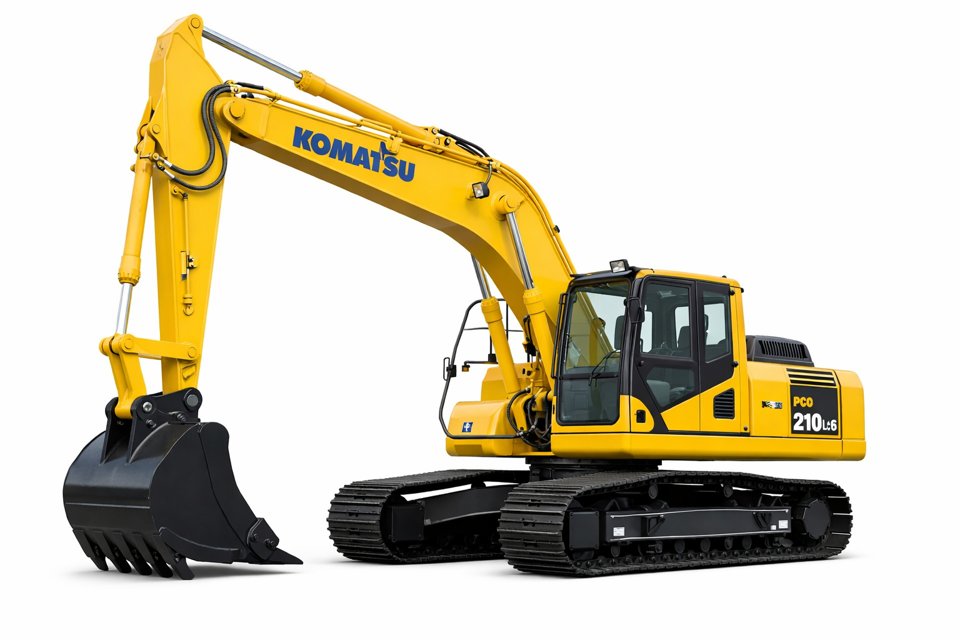
Komatsu Excavator PC210LC-6K
Need answers fast?
Explore the manual using AI.
Turn manuals into instant answers
with your AI-powered assistantTurn manuals into instant answers
with your AI-powered assistant
Manual for Komatsu Excavator PC210LC-6K
Complete asset maintenance, one click away
Get instant access to all the maintenance information you need. Empower technicians to perform preventive maintenance with asset packages, ready to use right out of the box.

Documents & Manuals
Find all the essential guides in one place.
 Tensioning Guide
- Belt-diagram
- C-120 pulleys
+ 13 more

Work Order Templates
Pre-built workflows to keep your asset running smoothly.
- Daily Electrical System Inspection
- Replace Roller and Pulley
- Install Engine B-120
+ 29 more

Procedures
Integrate maintenance plans directly into your work orders.
- Motion Industries
- Applied Industrial Technologies
- Electrical Brothers
+ 5 more

Parts
Access the parts list for your equipment in MaintainX.
- Drive Motor
- B2 Rollers
- Tensioning System
+ 40 more
Komatsu Excavator PC210LC-6K
Create an account to install this asset package.
Maintenance Plans for Komatsu Excavator Model PC210LC-6K
Integrate maintenance plans directly into your work orders in MaintainX.
LS Valve Adjustment
When the differential pressure is measured under the conditions above, and the results show that the differentiaI pressure is not within the standard value, adjust as follows.
1) Loosen locknut (7) and turn screw (8) to adjust the differential pressure. * Turn the screw to adjust the differential pressure as follows.
- To INCREASE pressure, turn CLOCKWISE
- To DECREASE pressure, turn COUN-TERCLOCKWISE
2) After adjusting, tighten locknut (7).
~ Locknut : 29.4 ± 4.9 Nm (3.0 ± 0.5 kgm)
Note: Always measure the differential pressure while adjusting.;

Track Frame and Recoil Spring Check
1. Check item: Vertical width of idler guide (Track frame)
- Standart Clearance: 107
- Remedy: Rebuild or replace
2. Check item: Vertical width of idler guide (Idler support)
- Standart Clearance: 105
- Remedy: Rebuild or replace
3. Check item: Horizontal width of idler guide (Track frame)
- Standart Clearance: 250
- Remedy: Rebuild or replace
Travel PPC Valve Check
- Check item: Metering spring
Standart Clearance:
Free length × O.D.: 26.5 × 8.15
Installed length: 24.7
Installed load: 16.7 N (1.7 kg)
Repair limit:
Free length: –
Installed load: 13.7 N (1.4 kg)
Remedy: Replace spring if any damages or deformations are found
Spring Motor Vlave Spring Check
Standard Clearance
Free length × O.D.
Installed length
Installed load
Repair limit
Free length
Installed load
Check for any damages or deformations
Remedy
Swing PPC Vave Check
- Check item: Centering spring (for P3, P4)
Standart Clearance:
Free length × O.D.: 42.4 × 15.5
Installed length: 34
Installed load: 17.6 N (1.8 kg)
Repair limit: Free length: –
Installed load: 13.7 N (1.4 kg)
Remedy: Replace spring if any damages or deformations are found
- Check item: Centering spring (for P1, P2)
Parts for Komatsu Excavator PC210LC-6K
Access the parts list for your equipment in MaintainX.
Sleeve Nut, For Elbow
07221 - 20210
Sleeve Nut, For Elbow
07221 - 20315
Sleeve Nut, For Elbow
07221 - 20422
Plug, For Elbow
07222 - 00210
Plug, For Elbow
07222 - 00315
Sleeve Nut, For Elbow
07221 - 20210
Sleeve Nut, For Elbow
07221 - 20315
Sleeve Nut, For Elbow
07221 - 20422
Plug, For Elbow
07222 - 00210
Plug, For Elbow
07222 - 00315
Sleeve Nut, For Elbow
07221 - 20210
Sleeve Nut, For Elbow
07221 - 20315
Sleeve Nut, For Elbow
07221 - 20422
Plug, For Elbow
07222 - 00210
Plug, For Elbow
07222 - 00315
Unlock efficiency
with MaintainX CoPilot
MaintainX CoPilot is your expert colleague, on call 24/7, helping your team find the answers they need to keep equipment running.
Reduce Unplanned Downtime
Ensure your team follows consistent procedures to minimize equipment failures and costly delays.
Maximize Asset Availability
Keep your assets running longer and more reliably, with standardized maintenance workflows from OEM manuals.
Lower Maintenance Costs
Turn any technician into an expert to streamline operations, maintain more assets, and reduce overall costs.
Thousands of companies manage their assets with MaintainX

'%3e%3cpath%20fill='url(%23b)'%20d='M66.008%2080.068c-5.084-.786-9.763-3.834-12.442-8.68a16.942%2016.942%200%200%201-1.87-5.18c1.096.19%202.203.476%203.298.87%206.525%202.333%2010.836%207.68%2011.014%2012.99ZM51.47%2061.576c.488-5.524%203.62-10.716%208.847-13.597a17.132%2017.132%200%200%201%2011.335-1.882c-.798%208.145-7.43%2014.848-16.038%2015.599-1.417.119-2.799.07-4.144-.12Zm28.564-11.478a17.513%2017.513%200%200%201%203.727%204.62c4.608%208.335%201.584%2018.813-6.75%2023.409a16.988%2016.988%200%200%201-4.359%201.679%2019.624%2019.624%200%200%201-3.977-12.776c.346-7.561%204.942-13.931%2011.36-16.932Z'/%3e%3cpath%20fill='%23110F0D'%20fill-rule='evenodd'%20d='M142.831%2048.324h4.977V77.03h-4.977V48.324Zm27.278%2013.002c.322%201.048.453%202.263.453%203.62v12.073h-4.787V66.208c0-.75-.047-1.572-.154-2.143-.453-2.382-1.822-3.572-4.215-3.572-2.31%200-3.882%201.274-4.43%203.476-.143.596-.226%201.405-.226%202.25v10.8h-4.787V56.623h4.477v2.989c1.536-2.5%203.906-3.43%206.371-3.43%203.488%200%206.263%201.68%207.298%205.144Zm24.636%207.323c0%203.882-2.358%206.525-5.763%207.727-1.298.453-2.632.643-4.62.643h-10.169V48.324h9.085c1.691%200%203.156.143%204.049.38%203.465.93%205.727%203.68%205.727%207.335%200%202.441-.81%204.156-2.762%205.644%202.905%201.417%204.453%203.727%204.453%206.966Zm-15.634-8.656h4.584c1.024%200%201.917-.143%202.536-.417%201.215-.548%201.905-1.608%201.905-3.167%200-1.548-.643-2.572-1.845-3.132-.691-.31-1.762-.452-2.763-.452h-4.417v7.168Zm10.716%208.465c0-1.536-.893-3.37-3.227-3.893-.428-.095-1.036-.143-1.571-.143h-5.918v8.085h5.501c.56%200%201.429-.048%201.953-.167%201.94-.453%203.262-1.846%203.262-3.882Zm47.747-11.847-8.097%2020.408h-4.429l-8.109-20.408h5.191l5.192%2014.574%205.108-14.574h5.144Zm-20.218%2010.002c0%20.69-.036%201.262-.155%201.94h-15.943c.631%202.87%202.714%204.728%205.882%204.728%202.131%200%203.607-.882%204.703-2.525h4.87c-1.762%204.144-5.204%206.692-9.657%206.692-6.084%200-10.537-4.858-10.537-10.49%200-6.108%204.524-10.776%2010.335-10.776%206.239%200%2010.442%204.954%2010.502%2010.43Zm-4.763-1.405c-.333-2.846-2.643-4.858-5.691-4.858-2.894%200-5.287%201.929-5.621%204.858h11.312Zm-72.667%203.44c0%204.787-3.287%208.371-9.419%208.371H119.363V64.66c-1.917.274-3.87.69-5.811%201.238l4.537%2011.121h-5.418l-3.596-9.585c-5.144%202.084-10.085%205.216-14.217%209.585h-4.786L101.8%2048.312h4.56l5.68%2013.883a44.112%2044.112%200%200%201%207.323-1.774V48.312h9.084c1.703%200%203.156.143%204.061.393%203.453.929%205.727%203.667%205.727%207.323%200%201.917-.738%204.179-2.81%205.691%203.06%201.56%204.501%204.025%204.501%206.93Zm-15.634-8.667a62.664%2062.664%200%200%201%202.06-.036c1.703.012%203.239.131%204.608.37%201.441-.549%202.357-1.727%202.357-3.537%200-1.941-.881-3.144-2.488-3.667-.548-.18-1.358-.286-2.322-.286h-4.215v7.156Zm-16.55%203.905-3.715-9.894-6.394%2016.502c2.833-2.595%206.263-4.858%2010.109-6.608Zm27.254%204.74c0-2.775-3.131-4.347-8.513-4.418-.715%200-1.441.011-2.191.047v8.252h5.918c2.548%200%204.786-1.37%204.786-3.882Z'%20clip-rule='evenodd'/%3e%3c/g%3e%3cdefs%3e%3clinearGradient%20id='b'%20x1='51.47'%20x2='85.916'%20y1='62.946'%20y2='62.946'%20gradientUnits='userSpaceOnUse'%3e%3cstop%20stop-color='%23CD9F28'/%3e%3cstop%20offset='1'%20stop-color='%23ECD80B'/%3e%3c/linearGradient%3e%3cclipPath%20id='a'%3e%3cpath%20fill='%23fff'%20d='M51.47%2045.728h186.104V80.14H51.47z'/%3e%3c/clipPath%3e%3c/defs%3e%3c/svg%3e)


More from Komatsu

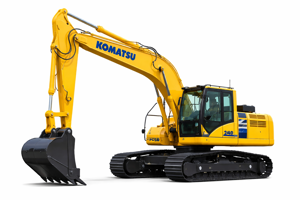


Explore Other Assets


© 2026 MaintainX. All rights reserved.