


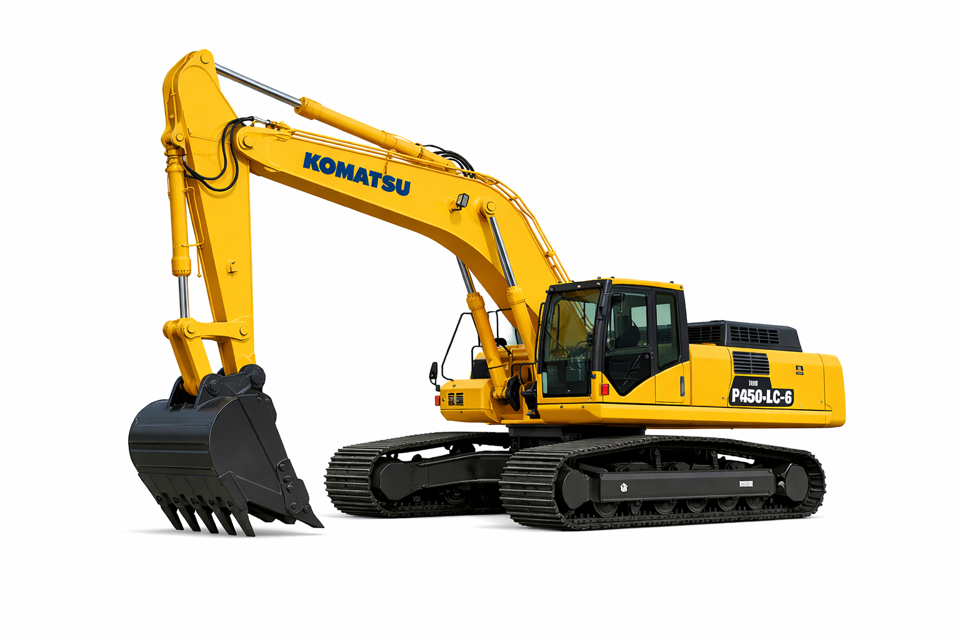
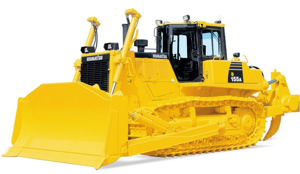
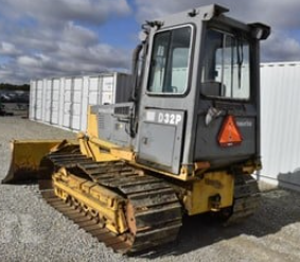
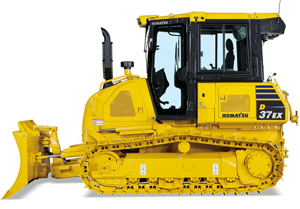
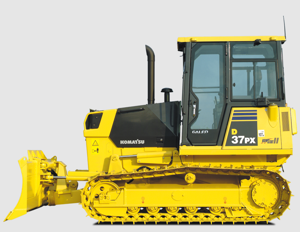
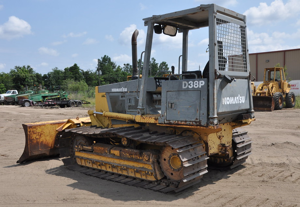
Komatsu Hydraulic Excavator PC450LC-6
Need answers fast?
Explore the manual using AI.
Turn manuals into instant answers
with your AI-powered assistantTurn manuals into instant answers
with your AI-powered assistant
Manual for Komatsu Hydraulic Excavator PC450LC-6
Complete asset maintenance, one click away
Get instant access to all the maintenance information you need. Empower technicians to perform preventive maintenance with asset packages, ready to use right out of the box.

Documents & Manuals
Find all the essential guides in one place.
 Tensioning Guide
- Belt-diagram
- C-120 pulleys
+ 13 more

Work Order Templates
Pre-built workflows to keep your asset running smoothly.
- Daily Electrical System Inspection
- Replace Roller and Pulley
- Install Engine B-120
+ 29 more

Procedures
Integrate maintenance plans directly into your work orders.
- Motion Industries
- Applied Industrial Technologies
- Electrical Brothers
+ 5 more

Parts
Access the parts list for your equipment in MaintainX.
- Drive Motor
- B2 Rollers
- Tensioning System
+ 40 more
Komatsu Hydraulic Excavator PC450LC-6
Create an account to install this asset package.
Maintenance Plans for Komatsu Hydraulic Excavator Model PC450LC-6
Integrate maintenance plans directly into your work orders in MaintainX.
1000 Hourly Swing Machinery Oil Change
WARNING: The oil is at high temperature immediately after the machine has been operated. Wait for the oil to cool down before carrying out maintenance.
Container to catch drained oil: Min. 21.5 ℓ capacity
Refill capacity: 21.5 ℓ (5.7 US gal, 4.7 UK gal)
Set a container under drain valve Ⓔ under the machine body to catch the oil
Loosen drain valve Ⓔ under the machine body, drain the oil, then tighten the drain plug again
Remove dipstick Ⓖ and air bleed plug ①, then add the specified amount of engine oil through filler port Ⓕ of the dipstick guide
NOTICE: For details of the oil to use, see “20. USE OF FUEL, COOLANT AND LUBRICANTS ACCORDING TO AMBIENT TEMPERATURE”
After adding oil, install air bleed plug ①
Wipe off the oil on the dipstick with a cloth

250 Hourly Fan Belt Tension Adjsutment
Warning: This procedure requires trained personnel with PPE!
Loosen nuts and bolts ①, ②, and ③
Turn nut ④ clockwise and move alternator ⑤ so that the deflection of the belt is approx. 10 mm (at approx. 6 kg (13 lb))
Tighten nuts and bolts ①, ②, and ③ to secure alternator ⑤ in position
Enter the tightening torque for lock nuts ①, ②
Enter the tightening torque for bolts ③
Enter the tightening torque for bolts ④
Check each pulley for breakage, wear of the groove, and wear of the belt
Check in particular that the belt does not contact the bottom of the groove
Initial 250 Hours Fuel Filter Cartridge Replacement
WARNING: Engine is at high temperature immediately after the machine has been operated. Wait for engine to cool down before replacing the filter. Do not bring fire or sparks near the fuel.
Prepare a filter wrench and a container to catch the fuel.
Set the container to catch the fuel under the filter cartridge.
Using a filter wrench, turn filter cartridge ① counterclockwise to remove it.
Clean the filter holder, fill a new filter cartridge with clean fuel, coat the packing surface with engine oil, then install it to the filter holder.
When installing, tighten until the packing surface contacts the seal surface of the filter holder, then tighten it up 1/2 to 3/4 of a turn.
If the filter cartridge is tightened too far, the packing will be damaged and this will lead to leakage of fuel. If the filter cartridge is too loose, fuel will also leak from the packing, so always tighten to the correct amount.
After replacing the fuel filter cartridge, bleed the air from the system.
Fill the fuel tank with fuel (to the position where the float is at the maximum position).
1 Daily Pre-Strartup Coolant Level Check
WARNING
Do not open the radiator cap unless necessary
When checking the coolant, always check the radiator reserve tank when the engine is cold
1. Open the right rear cover on the machine and check that the cooling water level is between the FULL and LOW marks on radiator reserve tank (①) (shown in the diagram on the right)
If the water level is low, add water through the water filler of reserve tank (①) to the FULL level
2. After adding water, tighten the caps securely
3. If the reserve tank becomes empty, first inspect for water leaks and then fill the radiator and the reserve tank with water;
1 Daily Pre-Startup Electric Wirings Check
WARNING: If fuses are frequently blown or if there are traces of short circuit on the electrical wiring, locate the cause and carry out repair
Accumulation of flammable material (dead leaves, twigs, grass, etc.) around the battery may cause fire, so always check and remove such material
Keep the top surface of the battery clean and check the breather hole in the battery cap
If it is clogged with dirt or dust, wash the battery cap to clean the breather hole
Check for damage and wrong capacity of the fuse and any sign of disconnection or short circuit on the electric wiring
Check also for loose terminals and tighten any loose parts
Check the wiring of the “battery”, “starting motor” and “alternator” carefully in particular
When carrying out walk-around checks or checks before starting, always check if there is any accumulation of flammable material around the battery, and remove such flammable material
Please contact your Komatsu distributor for investigation and correction of the cause
Parts for Komatsu Hydraulic Excavator PC450LC-6
Access the parts list for your equipment in MaintainX.
Cartridge, Engine Oil Filter
600-21-1231
Element, Hydraulic Oil Filter
208-60-61180
O-Ring, Hydraulic Oil Filter
07000-05210
Cartridge, Fuel Filter
600-311-8293
Element, Hydraulic Tank Breather
20Y-60-21470
Cartridge, Engine Oil Filter
600-21-1231
Element, Hydraulic Oil Filter
208-60-61180
O-Ring, Hydraulic Oil Filter
07000-05210
Cartridge, Fuel Filter
600-311-8293
Element, Hydraulic Tank Breather
20Y-60-21470
Cartridge, Engine Oil Filter
600-21-1231
Element, Hydraulic Oil Filter
208-60-61180
O-Ring, Hydraulic Oil Filter
07000-05210
Cartridge, Fuel Filter
600-311-8293
Element, Hydraulic Tank Breather
20Y-60-21470
Unlock efficiency
with MaintainX CoPilot
MaintainX CoPilot is your expert colleague, on call 24/7, helping your team find the answers they need to keep equipment running.
Reduce Unplanned Downtime
Ensure your team follows consistent procedures to minimize equipment failures and costly delays.
Maximize Asset Availability
Keep your assets running longer and more reliably, with standardized maintenance workflows from OEM manuals.
Lower Maintenance Costs
Turn any technician into an expert to streamline operations, maintain more assets, and reduce overall costs.
Thousands of companies manage their assets with MaintainX

'%3e%3cpath%20fill='url(%23b)'%20d='M66.008%2080.068c-5.084-.786-9.763-3.834-12.442-8.68a16.942%2016.942%200%200%201-1.87-5.18c1.096.19%202.203.476%203.298.87%206.525%202.333%2010.836%207.68%2011.014%2012.99ZM51.47%2061.576c.488-5.524%203.62-10.716%208.847-13.597a17.132%2017.132%200%200%201%2011.335-1.882c-.798%208.145-7.43%2014.848-16.038%2015.599-1.417.119-2.799.07-4.144-.12Zm28.564-11.478a17.513%2017.513%200%200%201%203.727%204.62c4.608%208.335%201.584%2018.813-6.75%2023.409a16.988%2016.988%200%200%201-4.359%201.679%2019.624%2019.624%200%200%201-3.977-12.776c.346-7.561%204.942-13.931%2011.36-16.932Z'/%3e%3cpath%20fill='%23110F0D'%20fill-rule='evenodd'%20d='M142.831%2048.324h4.977V77.03h-4.977V48.324Zm27.278%2013.002c.322%201.048.453%202.263.453%203.62v12.073h-4.787V66.208c0-.75-.047-1.572-.154-2.143-.453-2.382-1.822-3.572-4.215-3.572-2.31%200-3.882%201.274-4.43%203.476-.143.596-.226%201.405-.226%202.25v10.8h-4.787V56.623h4.477v2.989c1.536-2.5%203.906-3.43%206.371-3.43%203.488%200%206.263%201.68%207.298%205.144Zm24.636%207.323c0%203.882-2.358%206.525-5.763%207.727-1.298.453-2.632.643-4.62.643h-10.169V48.324h9.085c1.691%200%203.156.143%204.049.38%203.465.93%205.727%203.68%205.727%207.335%200%202.441-.81%204.156-2.762%205.644%202.905%201.417%204.453%203.727%204.453%206.966Zm-15.634-8.656h4.584c1.024%200%201.917-.143%202.536-.417%201.215-.548%201.905-1.608%201.905-3.167%200-1.548-.643-2.572-1.845-3.132-.691-.31-1.762-.452-2.763-.452h-4.417v7.168Zm10.716%208.465c0-1.536-.893-3.37-3.227-3.893-.428-.095-1.036-.143-1.571-.143h-5.918v8.085h5.501c.56%200%201.429-.048%201.953-.167%201.94-.453%203.262-1.846%203.262-3.882Zm47.747-11.847-8.097%2020.408h-4.429l-8.109-20.408h5.191l5.192%2014.574%205.108-14.574h5.144Zm-20.218%2010.002c0%20.69-.036%201.262-.155%201.94h-15.943c.631%202.87%202.714%204.728%205.882%204.728%202.131%200%203.607-.882%204.703-2.525h4.87c-1.762%204.144-5.204%206.692-9.657%206.692-6.084%200-10.537-4.858-10.537-10.49%200-6.108%204.524-10.776%2010.335-10.776%206.239%200%2010.442%204.954%2010.502%2010.43Zm-4.763-1.405c-.333-2.846-2.643-4.858-5.691-4.858-2.894%200-5.287%201.929-5.621%204.858h11.312Zm-72.667%203.44c0%204.787-3.287%208.371-9.419%208.371H119.363V64.66c-1.917.274-3.87.69-5.811%201.238l4.537%2011.121h-5.418l-3.596-9.585c-5.144%202.084-10.085%205.216-14.217%209.585h-4.786L101.8%2048.312h4.56l5.68%2013.883a44.112%2044.112%200%200%201%207.323-1.774V48.312h9.084c1.703%200%203.156.143%204.061.393%203.453.929%205.727%203.667%205.727%207.323%200%201.917-.738%204.179-2.81%205.691%203.06%201.56%204.501%204.025%204.501%206.93Zm-15.634-8.667a62.664%2062.664%200%200%201%202.06-.036c1.703.012%203.239.131%204.608.37%201.441-.549%202.357-1.727%202.357-3.537%200-1.941-.881-3.144-2.488-3.667-.548-.18-1.358-.286-2.322-.286h-4.215v7.156Zm-16.55%203.905-3.715-9.894-6.394%2016.502c2.833-2.595%206.263-4.858%2010.109-6.608Zm27.254%204.74c0-2.775-3.131-4.347-8.513-4.418-.715%200-1.441.011-2.191.047v8.252h5.918c2.548%200%204.786-1.37%204.786-3.882Z'%20clip-rule='evenodd'/%3e%3c/g%3e%3cdefs%3e%3clinearGradient%20id='b'%20x1='51.47'%20x2='85.916'%20y1='62.946'%20y2='62.946'%20gradientUnits='userSpaceOnUse'%3e%3cstop%20stop-color='%23CD9F28'/%3e%3cstop%20offset='1'%20stop-color='%23ECD80B'/%3e%3c/linearGradient%3e%3cclipPath%20id='a'%3e%3cpath%20fill='%23fff'%20d='M51.47%2045.728h186.104V80.14H51.47z'/%3e%3c/clipPath%3e%3c/defs%3e%3c/svg%3e)


More from Komatsu


Explore Other Assets


© 2026 MaintainX. All rights reserved.