


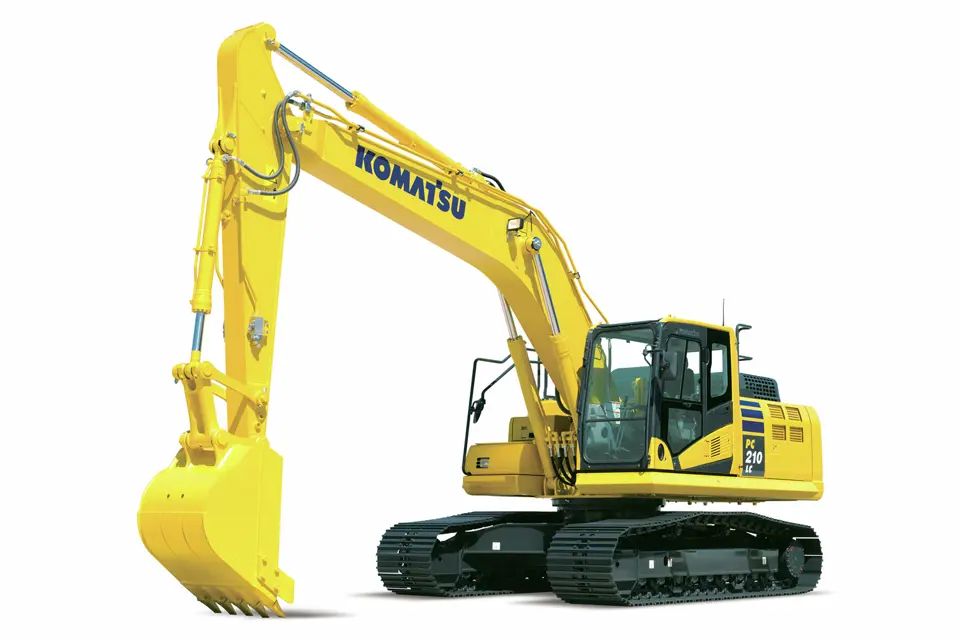
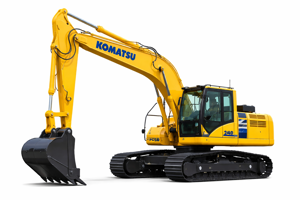
Komatsu Excavator PC210
Need answers fast?
Explore the manual using AI.
Turn manuals into instant answers
with your AI-powered assistantTurn manuals into instant answers
with your AI-powered assistant
Manual for Komatsu Excavator PC210
Complete asset maintenance, one click away
Get instant access to all the maintenance information you need. Empower technicians to perform preventive maintenance with asset packages, ready to use right out of the box.

Documents & Manuals
Find all the essential guides in one place.
 Tensioning Guide
- Belt-diagram
- C-120 pulleys
+ 13 more

Work Order Templates
Pre-built workflows to keep your asset running smoothly.
- Daily Electrical System Inspection
- Replace Roller and Pulley
- Install Engine B-120
+ 29 more

Procedures
Integrate maintenance plans directly into your work orders.
- Motion Industries
- Applied Industrial Technologies
- Electrical Brothers
+ 5 more

Parts
Access the parts list for your equipment in MaintainX.
- Drive Motor
- B2 Rollers
- Tensioning System
+ 40 more
Komatsu Excavator PC210
Create an account to install this asset package.
Maintenance Plans for Komatsu Excavator Model PC210
Integrate maintenance plans directly into your work orders in MaintainX.
Travel Lever Adjustment
Warning: Ensure the machine is turned off before starting the procedure
Lever (1) installed to the PPC valve using bolt (2)
Left and right travel levers (3) moved forward and backward, and securely fitted in the stopper (bolt head) of the PPC valve
Cover (3) not contacting portion (b)
If cover (3) is contacting portion (b), adjust with the PPC mounting bolt or cover mounting bolt
Sign off on the travel lever adjustment

Excavator Travel Deviation Test
Warning: This test requires trained personnel with PPE!
Machine set in the travel posture?
Bucket and arm cylinder rods fully extended?
Boom angle at 45°?
Travelled for 10 m?
Measure the deviation when traveling for the next 20 m
Set to H/O mode?
Engine at high idling?
Upload a photo of the installed hydraulic pressure gauge
Track Shoe Tension Adjustment
If the track shoe tension is not within the standard value, adjust as follows.
1. When the tension is too high:
Loosen plug (1) gradually, and release the grease. A There is danger that the plug may fly out under the high internal pressure of the grease, so never loosen plug (1) more than 1 turn. * If the grease does not come out easily, move the machine backwards or forwards slowly.
2. If track is too loose: Pump in grease through grease fitting (2). If the grease cannot be pumped in easily, move the machine backwards and forwards slowly.;
Swing PPC Valve Adjustment
Warning: This procedure requires trained personnel with PPE!
Work equipment lowered to the ground and engine stopped?
Oil filler cap loosened slowly to release pressure inside the hydraulic tank?
Safety lock lever set to the LOCK position?
PPC valve removed?
Boot (1) removed?
Locknut (2) loosened, then disc (3) screwed in until it contacts the 4 heads of piston (4)?
Note: When doing this, do not move the piston.
Disc (3) secured in position, then locknut (2) tightened to the specified torque?
LS Valve Adjustment
Warning: This procedure requires trained personnel with PPE!
Enter the initial differential pressure
Select the adjustment direction
Enter the adjusted differential pressure
Is the adjusted pressure within the standard value?
Enter the torque applied to the locknut
Sign off on the LS Valve Adjustment
Parts for Komatsu Excavator PC210
Access the parts list for your equipment in MaintainX.
Sleeve Nut, For Elbow
07221 - 20210
Sleeve Nut, For Elbow
07221 - 20315
Sleeve Nut, For Elbow
07221 - 20422
Plug, For Elbow
07222 - 00210
Plug, For Elbow
07222 - 00315
Sleeve Nut, For Elbow
07221 - 20210
Sleeve Nut, For Elbow
07221 - 20315
Sleeve Nut, For Elbow
07221 - 20422
Plug, For Elbow
07222 - 00210
Plug, For Elbow
07222 - 00315
Sleeve Nut, For Elbow
07221 - 20210
Sleeve Nut, For Elbow
07221 - 20315
Sleeve Nut, For Elbow
07221 - 20422
Plug, For Elbow
07222 - 00210
Plug, For Elbow
07222 - 00315
Unlock efficiency
with MaintainX CoPilot
MaintainX CoPilot is your expert colleague, on call 24/7, helping your team find the answers they need to keep equipment running.
Reduce Unplanned Downtime
Ensure your team follows consistent procedures to minimize equipment failures and costly delays.
Maximize Asset Availability
Keep your assets running longer and more reliably, with standardized maintenance workflows from OEM manuals.
Lower Maintenance Costs
Turn any technician into an expert to streamline operations, maintain more assets, and reduce overall costs.
Thousands of companies manage their assets with MaintainX

'%3e%3cpath%20fill='url(%23b)'%20d='M66.008%2080.068c-5.084-.786-9.763-3.834-12.442-8.68a16.942%2016.942%200%200%201-1.87-5.18c1.096.19%202.203.476%203.298.87%206.525%202.333%2010.836%207.68%2011.014%2012.99ZM51.47%2061.576c.488-5.524%203.62-10.716%208.847-13.597a17.132%2017.132%200%200%201%2011.335-1.882c-.798%208.145-7.43%2014.848-16.038%2015.599-1.417.119-2.799.07-4.144-.12Zm28.564-11.478a17.513%2017.513%200%200%201%203.727%204.62c4.608%208.335%201.584%2018.813-6.75%2023.409a16.988%2016.988%200%200%201-4.359%201.679%2019.624%2019.624%200%200%201-3.977-12.776c.346-7.561%204.942-13.931%2011.36-16.932Z'/%3e%3cpath%20fill='%23110F0D'%20fill-rule='evenodd'%20d='M142.831%2048.324h4.977V77.03h-4.977V48.324Zm27.278%2013.002c.322%201.048.453%202.263.453%203.62v12.073h-4.787V66.208c0-.75-.047-1.572-.154-2.143-.453-2.382-1.822-3.572-4.215-3.572-2.31%200-3.882%201.274-4.43%203.476-.143.596-.226%201.405-.226%202.25v10.8h-4.787V56.623h4.477v2.989c1.536-2.5%203.906-3.43%206.371-3.43%203.488%200%206.263%201.68%207.298%205.144Zm24.636%207.323c0%203.882-2.358%206.525-5.763%207.727-1.298.453-2.632.643-4.62.643h-10.169V48.324h9.085c1.691%200%203.156.143%204.049.38%203.465.93%205.727%203.68%205.727%207.335%200%202.441-.81%204.156-2.762%205.644%202.905%201.417%204.453%203.727%204.453%206.966Zm-15.634-8.656h4.584c1.024%200%201.917-.143%202.536-.417%201.215-.548%201.905-1.608%201.905-3.167%200-1.548-.643-2.572-1.845-3.132-.691-.31-1.762-.452-2.763-.452h-4.417v7.168Zm10.716%208.465c0-1.536-.893-3.37-3.227-3.893-.428-.095-1.036-.143-1.571-.143h-5.918v8.085h5.501c.56%200%201.429-.048%201.953-.167%201.94-.453%203.262-1.846%203.262-3.882Zm47.747-11.847-8.097%2020.408h-4.429l-8.109-20.408h5.191l5.192%2014.574%205.108-14.574h5.144Zm-20.218%2010.002c0%20.69-.036%201.262-.155%201.94h-15.943c.631%202.87%202.714%204.728%205.882%204.728%202.131%200%203.607-.882%204.703-2.525h4.87c-1.762%204.144-5.204%206.692-9.657%206.692-6.084%200-10.537-4.858-10.537-10.49%200-6.108%204.524-10.776%2010.335-10.776%206.239%200%2010.442%204.954%2010.502%2010.43Zm-4.763-1.405c-.333-2.846-2.643-4.858-5.691-4.858-2.894%200-5.287%201.929-5.621%204.858h11.312Zm-72.667%203.44c0%204.787-3.287%208.371-9.419%208.371H119.363V64.66c-1.917.274-3.87.69-5.811%201.238l4.537%2011.121h-5.418l-3.596-9.585c-5.144%202.084-10.085%205.216-14.217%209.585h-4.786L101.8%2048.312h4.56l5.68%2013.883a44.112%2044.112%200%200%201%207.323-1.774V48.312h9.084c1.703%200%203.156.143%204.061.393%203.453.929%205.727%203.667%205.727%207.323%200%201.917-.738%204.179-2.81%205.691%203.06%201.56%204.501%204.025%204.501%206.93Zm-15.634-8.667a62.664%2062.664%200%200%201%202.06-.036c1.703.012%203.239.131%204.608.37%201.441-.549%202.357-1.727%202.357-3.537%200-1.941-.881-3.144-2.488-3.667-.548-.18-1.358-.286-2.322-.286h-4.215v7.156Zm-16.55%203.905-3.715-9.894-6.394%2016.502c2.833-2.595%206.263-4.858%2010.109-6.608Zm27.254%204.74c0-2.775-3.131-4.347-8.513-4.418-.715%200-1.441.011-2.191.047v8.252h5.918c2.548%200%204.786-1.37%204.786-3.882Z'%20clip-rule='evenodd'/%3e%3c/g%3e%3cdefs%3e%3clinearGradient%20id='b'%20x1='51.47'%20x2='85.916'%20y1='62.946'%20y2='62.946'%20gradientUnits='userSpaceOnUse'%3e%3cstop%20stop-color='%23CD9F28'/%3e%3cstop%20offset='1'%20stop-color='%23ECD80B'/%3e%3c/linearGradient%3e%3cclipPath%20id='a'%3e%3cpath%20fill='%23fff'%20d='M51.47%2045.728h186.104V80.14H51.47z'/%3e%3c/clipPath%3e%3c/defs%3e%3c/svg%3e)


More from Komatsu


Explore Other Assets


© 2026 MaintainX. All rights reserved.