


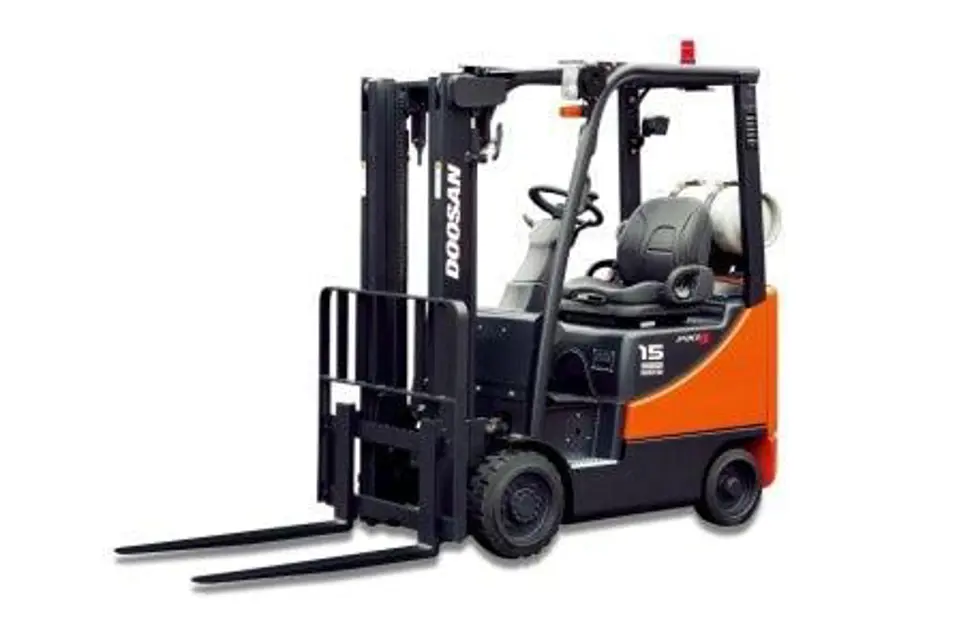
Doosan Dual Fuel Engine GC15S-5
Need answers fast?
Explore the manual using AI.
Turn manuals into instant answers
with your AI-powered assistantTurn manuals into instant answers
with your AI-powered assistant
Manual for Doosan Dual Fuel Engine GC15S-5
Complete asset maintenance, one click away
Get instant access to all the maintenance information you need. Empower technicians to perform preventive maintenance with asset packages, ready to use right out of the box.

Documents & Manuals
Find all the essential guides in one place.
 Tensioning Guide
- Belt-diagram
- C-120 pulleys
+ 13 more

Work Order Templates
Pre-built workflows to keep your asset running smoothly.
- Daily Electrical System Inspection
- Replace Roller and Pulley
- Install Engine B-120
+ 29 more

Procedures
Integrate maintenance plans directly into your work orders.
- Motion Industries
- Applied Industrial Technologies
- Electrical Brothers
+ 5 more

Parts
Access the parts list for your equipment in MaintainX.
- Drive Motor
- B2 Rollers
- Tensioning System
+ 40 more
Doosan Dual Fuel Engine GC15S-5
Create an account to install this asset package.
Maintenance Plans for Doosan Dual Fuel Engine Model GC15S-5
Integrate maintenance plans directly into your work orders in MaintainX.
1000 Hourly/6 Monthly Pressure Regulator Maintenance
Pressure Regulator/Converter Inspection
Pressure regulator/converter visually inspected for coolant leaks
Fuel Trim Valve Inspection (FTV)
Fuel trim valves visually inspected for abrasions or cracking
Fuel trim valves replaced if necessary
Blow-by test for Fuel Trim Valves
Electrical connector to the FTVs disconnected
Vacuum line from the FTVs to the pressure regulator/converter disconnected at the converter’s tee connection
Air blown through the vacuum line connected to the FTVs

Engine Oil And Filter Replacement
!CAUTION: Prolonged and repeated contact with mineral oil will result in the removal of natural fats from the skin, leading to dryness, irritation and dermatitis.
In addition, used engine oil contains potentially harmful contaminants which may cause skin cancer. Exercise caution in order to minimize the length and frequency of contact of your skin to used oil.
In order to preserve the environment, used oil and used oil filter must be disposed of only at designated disposal sites.
1. Drain engine oil.
1) Remove the oil filler cap.
2) Remove the oil drain plug, and drain the oil into a container.
2. Replace oil filter.
1) Remove the oil filter.
2) Check and clean the oil filter installation surface.
Tmap Sensor Check
Verify that the TMAP sensor (F) is mounted tightly into the manifold or manifold adapter (E), with no leakage.
If the TMAP is found to be loose, remove the TMAP retaining screw and the TMAP sensor from the manifold adapter.
Visually inspect the TMAP O-ring seal for damage. Replace as necessary.
Apply a thin coat of an approved silicon lubricant to the TMAP O-ring seal.
Re-install the TMAP sensor into the manifold or manifold adapter and securely tighten the retaining screw.
Sign off on the Tmap Sensor Check
Timing Belt Tension Adjustment
Remove the fan drive bracket
Loosen the timing belt upper cover bolt (B) and disconnect the upper cover (A)
Insert the hex wrench to the adjuster groove and turn it counterclockwise to move the arm indicator in the middle of the base groove
CAUTION: If it is turned in reverse direction, be sure that the tensioner may function abnormally
Tighten the tensioner fixing bolt with the arm indicator fixed
Rotate the crankshaft 2 turns clockwise and make sure the auto tensioner arm indicator is placed in the middle of the base groove
If the arm indicator is out of the middle, loosen the bolt and repeat the previous procedure
Install the timing belt upper cover (A) and tighten the bolt(B)
Sign off on the timing belt tension adjustment
1500 Hourly/9 Monthly Fuel Filter Maintenance
Park the lift truck in an authorized refueling area with the forks lowered, parking brake applied and the transmission in Neutral.
Close the fuel shutoff valve on the LP-fuel tank. Run the engine until the fuel in the system runs out and the engine stops.
Turn off the ignition switch.
Scribe a line across the filter housing covers, which will be used for alignment purposes when re-installing the filter cover.
FUEL FILTER DISASSEMBLY
Remove the cover retaining screws (1).
Remove top cover (2), magnet (3), spring (4), and filter element (7) from bottom cover (5).
Replace the filter element (7).
Check bottom cover O-ring seal (6) for damage. Replace if necessary.
Parts for Doosan Dual Fuel Engine GC15S-5
Access the parts list for your equipment in MaintainX.
Kit
EEVPV311A
Adapter
YA8661
Valeo
A403795
Mico/K1 Sealed
D187478
Crankshaft Front Oil Seal Installer
09214-32000
Kit
EEVPV311A
Adapter
YA8661
Valeo
A403795
Mico/K1 Sealed
D187478
Crankshaft Front Oil Seal Installer
09214-32000
Kit
EEVPV311A
Adapter
YA8661
Valeo
A403795
Mico/K1 Sealed
D187478
Crankshaft Front Oil Seal Installer
09214-32000
Unlock efficiency
with MaintainX CoPilot
MaintainX CoPilot is your expert colleague, on call 24/7, helping your team find the answers they need to keep equipment running.
Reduce Unplanned Downtime
Ensure your team follows consistent procedures to minimize equipment failures and costly delays.
Maximize Asset Availability
Keep your assets running longer and more reliably, with standardized maintenance workflows from OEM manuals.
Lower Maintenance Costs
Turn any technician into an expert to streamline operations, maintain more assets, and reduce overall costs.
Thousands of companies manage their assets with MaintainX

'%3e%3cpath%20fill='url(%23b)'%20d='M66.008%2080.068c-5.084-.786-9.763-3.834-12.442-8.68a16.942%2016.942%200%200%201-1.87-5.18c1.096.19%202.203.476%203.298.87%206.525%202.333%2010.836%207.68%2011.014%2012.99ZM51.47%2061.576c.488-5.524%203.62-10.716%208.847-13.597a17.132%2017.132%200%200%201%2011.335-1.882c-.798%208.145-7.43%2014.848-16.038%2015.599-1.417.119-2.799.07-4.144-.12Zm28.564-11.478a17.513%2017.513%200%200%201%203.727%204.62c4.608%208.335%201.584%2018.813-6.75%2023.409a16.988%2016.988%200%200%201-4.359%201.679%2019.624%2019.624%200%200%201-3.977-12.776c.346-7.561%204.942-13.931%2011.36-16.932Z'/%3e%3cpath%20fill='%23110F0D'%20fill-rule='evenodd'%20d='M142.831%2048.324h4.977V77.03h-4.977V48.324Zm27.278%2013.002c.322%201.048.453%202.263.453%203.62v12.073h-4.787V66.208c0-.75-.047-1.572-.154-2.143-.453-2.382-1.822-3.572-4.215-3.572-2.31%200-3.882%201.274-4.43%203.476-.143.596-.226%201.405-.226%202.25v10.8h-4.787V56.623h4.477v2.989c1.536-2.5%203.906-3.43%206.371-3.43%203.488%200%206.263%201.68%207.298%205.144Zm24.636%207.323c0%203.882-2.358%206.525-5.763%207.727-1.298.453-2.632.643-4.62.643h-10.169V48.324h9.085c1.691%200%203.156.143%204.049.38%203.465.93%205.727%203.68%205.727%207.335%200%202.441-.81%204.156-2.762%205.644%202.905%201.417%204.453%203.727%204.453%206.966Zm-15.634-8.656h4.584c1.024%200%201.917-.143%202.536-.417%201.215-.548%201.905-1.608%201.905-3.167%200-1.548-.643-2.572-1.845-3.132-.691-.31-1.762-.452-2.763-.452h-4.417v7.168Zm10.716%208.465c0-1.536-.893-3.37-3.227-3.893-.428-.095-1.036-.143-1.571-.143h-5.918v8.085h5.501c.56%200%201.429-.048%201.953-.167%201.94-.453%203.262-1.846%203.262-3.882Zm47.747-11.847-8.097%2020.408h-4.429l-8.109-20.408h5.191l5.192%2014.574%205.108-14.574h5.144Zm-20.218%2010.002c0%20.69-.036%201.262-.155%201.94h-15.943c.631%202.87%202.714%204.728%205.882%204.728%202.131%200%203.607-.882%204.703-2.525h4.87c-1.762%204.144-5.204%206.692-9.657%206.692-6.084%200-10.537-4.858-10.537-10.49%200-6.108%204.524-10.776%2010.335-10.776%206.239%200%2010.442%204.954%2010.502%2010.43Zm-4.763-1.405c-.333-2.846-2.643-4.858-5.691-4.858-2.894%200-5.287%201.929-5.621%204.858h11.312Zm-72.667%203.44c0%204.787-3.287%208.371-9.419%208.371H119.363V64.66c-1.917.274-3.87.69-5.811%201.238l4.537%2011.121h-5.418l-3.596-9.585c-5.144%202.084-10.085%205.216-14.217%209.585h-4.786L101.8%2048.312h4.56l5.68%2013.883a44.112%2044.112%200%200%201%207.323-1.774V48.312h9.084c1.703%200%203.156.143%204.061.393%203.453.929%205.727%203.667%205.727%207.323%200%201.917-.738%204.179-2.81%205.691%203.06%201.56%204.501%204.025%204.501%206.93Zm-15.634-8.667a62.664%2062.664%200%200%201%202.06-.036c1.703.012%203.239.131%204.608.37%201.441-.549%202.357-1.727%202.357-3.537%200-1.941-.881-3.144-2.488-3.667-.548-.18-1.358-.286-2.322-.286h-4.215v7.156Zm-16.55%203.905-3.715-9.894-6.394%2016.502c2.833-2.595%206.263-4.858%2010.109-6.608Zm27.254%204.74c0-2.775-3.131-4.347-8.513-4.418-.715%200-1.441.011-2.191.047v8.252h5.918c2.548%200%204.786-1.37%204.786-3.882Z'%20clip-rule='evenodd'/%3e%3c/g%3e%3cdefs%3e%3clinearGradient%20id='b'%20x1='51.47'%20x2='85.916'%20y1='62.946'%20y2='62.946'%20gradientUnits='userSpaceOnUse'%3e%3cstop%20stop-color='%23CD9F28'/%3e%3cstop%20offset='1'%20stop-color='%23ECD80B'/%3e%3c/linearGradient%3e%3cclipPath%20id='a'%3e%3cpath%20fill='%23fff'%20d='M51.47%2045.728h186.104V80.14H51.47z'/%3e%3c/clipPath%3e%3c/defs%3e%3c/svg%3e)


More from Doosan


Explore Other Assets


© 2026 MaintainX. All rights reserved.