


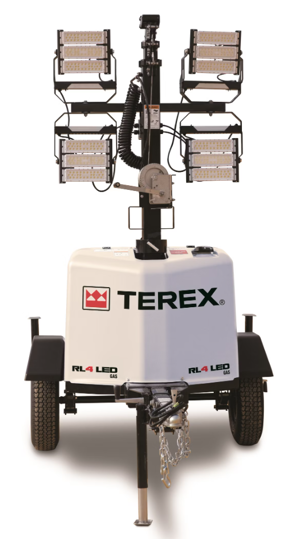
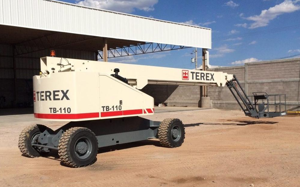
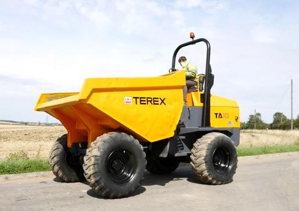
Terex Site Dumper TA9
Need answers fast?
Explore the manual using AI.

The Terex Site Dumper TA9 is a robust and versatile asset designed for efficient material handling in construction and industrial applications. Known for its durability and ease of use, this dumper model offers exceptional performance and reliability, making it a preferred choice among operators.
Turn manuals into instant answers
with your AI-powered assistantTurn manuals into instant answers
with your AI-powered assistant
Manual for Terex Site Dumper TA9
Complete asset maintenance, one click away
Get instant access to all the maintenance information you need. Empower technicians to perform preventive maintenance with asset packages, ready to use right out of the box.

Documents & Manuals
Find all the essential guides in one place.
 Tensioning Guide
- Belt-diagram
- C-120 pulleys
+ 13 more

Work Order Templates
Pre-built workflows to keep your asset running smoothly.
- Daily Electrical System Inspection
- Replace Roller and Pulley
- Install Engine B-120
+ 29 more

Procedures
Integrate maintenance plans directly into your work orders.
- Motion Industries
- Applied Industrial Technologies
- Electrical Brothers
+ 5 more

Parts
Access the parts list for your equipment in MaintainX.
- Drive Motor
- B2 Rollers
- Tensioning System
+ 40 more
Terex Site Dumper TA9
Create an account to install this asset package.
Maintenance Plans for Terex Site Dumper Model TA9
Integrate maintenance plans directly into your work orders in MaintainX.
Synchro Shuttle Gearbox Maintenance
The level is checked using the dipstick/filler - figure 9.9. Refers
With the oil warm the level should be between MIN and MAX on the dipstick Figure 9.10. refers.
NOTICE: Never overfill the transmission as this will result in oil breakdown due to excessive heat and aeration of the oil caused by the churning action of the oil. Breakdown of the oil will cause heavy sludge deposits that will block oil ports and build up on splines and bearings.
(1) To Check the Level
1. Drive the machine for about 1 minute and then stop and park up on flat level ground.
2. Pull out the dipstick and wipe off with a lint free cloth or paper.
3. Replace the dipstick and then remove again.
4. The level should be between the MIN and MAX marks on the dipstick.
5. If the oil is below the MIN mark top up with the correct grade of oil.

Engine Oil Maintenance
The oil level is checked using the dip stick - Figure 9.? refers. The engine oil level must always be between the MIN and MAX on the dip stick. If the engine is warm switch OFF and leave for 5 Minutes before checking levels.
WARNING: NEVER check the oil level or add oil with the engine running. Be careful of hot lubricating oil. Danger of scalding.
NOTICE: Low lubricating oil level can damage the engine. Over filling with oil can damage the engine.
(1) To Check the Engine Oil Level
Refer to Figure 9.6 The machine must be on firm, level ground when checking levels.
1. Pull out the dipstick and wipe off with a lint free cloth or paper.
2. Re-insert the dipstick as far as it will go.
3. Extract the dipstick and read off the level
4. Add oil of the correct specification if necessary.
Skip Support Maintenance
DANGER: NEVER reach or work under a raised skip unless a prop or similar method of supporting the skip safely is fitted.
Skip fully raised
Grip clip and pin removed
Skip support lowered from its storage position
Hole in the support aligned with the holes in the chassis
Pin refitted and secured with the grip clip
Procedure repeated for the prop on the other chassis rail
Sign off on the skip support maintenance
500 Hourly Site Dumper Maintenance
Perform 10, 50 & 250 Hour Checks
Cooling System Supplemental Coolant Additive - Test
Radiator - Clean
Cyclone Air Cleaner Elements - Clean/Replace
Engine Oil - Change (every 250 if sulphur content exceeds 15ppm)
Engine Oil Filter - Change (every 250 if sulphur content exceeds 15ppm)
Gearbox Filter - Change
Brake System - Change Fluid
Fuel System Primary Filter - Replace
2000 Hourly Site Dumper Maintenance
Perform 10, 50,250, 500 & 1000 Hour Checks
Aftercooler Core - Inspect
Alternator - Inspect
Engine Mountings - Inspect
Starter Motor - Inspect
Turbocharger - Inspect
Unlock efficiency
with MaintainX CoPilot
MaintainX CoPilot is your expert colleague, on call 24/7, helping your team find the answers they need to keep equipment running.
Reduce Unplanned Downtime
Ensure your team follows consistent procedures to minimize equipment failures and costly delays.
Maximize Asset Availability
Keep your assets running longer and more reliably, with standardized maintenance workflows from OEM manuals.
Lower Maintenance Costs
Turn any technician into an expert to streamline operations, maintain more assets, and reduce overall costs.
Thousands of companies manage their assets with MaintainX

'%3e%3cpath%20fill='url(%23b)'%20d='M66.008%2080.068c-5.084-.786-9.763-3.834-12.442-8.68a16.942%2016.942%200%200%201-1.87-5.18c1.096.19%202.203.476%203.298.87%206.525%202.333%2010.836%207.68%2011.014%2012.99ZM51.47%2061.576c.488-5.524%203.62-10.716%208.847-13.597a17.132%2017.132%200%200%201%2011.335-1.882c-.798%208.145-7.43%2014.848-16.038%2015.599-1.417.119-2.799.07-4.144-.12Zm28.564-11.478a17.513%2017.513%200%200%201%203.727%204.62c4.608%208.335%201.584%2018.813-6.75%2023.409a16.988%2016.988%200%200%201-4.359%201.679%2019.624%2019.624%200%200%201-3.977-12.776c.346-7.561%204.942-13.931%2011.36-16.932Z'/%3e%3cpath%20fill='%23110F0D'%20fill-rule='evenodd'%20d='M142.831%2048.324h4.977V77.03h-4.977V48.324Zm27.278%2013.002c.322%201.048.453%202.263.453%203.62v12.073h-4.787V66.208c0-.75-.047-1.572-.154-2.143-.453-2.382-1.822-3.572-4.215-3.572-2.31%200-3.882%201.274-4.43%203.476-.143.596-.226%201.405-.226%202.25v10.8h-4.787V56.623h4.477v2.989c1.536-2.5%203.906-3.43%206.371-3.43%203.488%200%206.263%201.68%207.298%205.144Zm24.636%207.323c0%203.882-2.358%206.525-5.763%207.727-1.298.453-2.632.643-4.62.643h-10.169V48.324h9.085c1.691%200%203.156.143%204.049.38%203.465.93%205.727%203.68%205.727%207.335%200%202.441-.81%204.156-2.762%205.644%202.905%201.417%204.453%203.727%204.453%206.966Zm-15.634-8.656h4.584c1.024%200%201.917-.143%202.536-.417%201.215-.548%201.905-1.608%201.905-3.167%200-1.548-.643-2.572-1.845-3.132-.691-.31-1.762-.452-2.763-.452h-4.417v7.168Zm10.716%208.465c0-1.536-.893-3.37-3.227-3.893-.428-.095-1.036-.143-1.571-.143h-5.918v8.085h5.501c.56%200%201.429-.048%201.953-.167%201.94-.453%203.262-1.846%203.262-3.882Zm47.747-11.847-8.097%2020.408h-4.429l-8.109-20.408h5.191l5.192%2014.574%205.108-14.574h5.144Zm-20.218%2010.002c0%20.69-.036%201.262-.155%201.94h-15.943c.631%202.87%202.714%204.728%205.882%204.728%202.131%200%203.607-.882%204.703-2.525h4.87c-1.762%204.144-5.204%206.692-9.657%206.692-6.084%200-10.537-4.858-10.537-10.49%200-6.108%204.524-10.776%2010.335-10.776%206.239%200%2010.442%204.954%2010.502%2010.43Zm-4.763-1.405c-.333-2.846-2.643-4.858-5.691-4.858-2.894%200-5.287%201.929-5.621%204.858h11.312Zm-72.667%203.44c0%204.787-3.287%208.371-9.419%208.371H119.363V64.66c-1.917.274-3.87.69-5.811%201.238l4.537%2011.121h-5.418l-3.596-9.585c-5.144%202.084-10.085%205.216-14.217%209.585h-4.786L101.8%2048.312h4.56l5.68%2013.883a44.112%2044.112%200%200%201%207.323-1.774V48.312h9.084c1.703%200%203.156.143%204.061.393%203.453.929%205.727%203.667%205.727%207.323%200%201.917-.738%204.179-2.81%205.691%203.06%201.56%204.501%204.025%204.501%206.93Zm-15.634-8.667a62.664%2062.664%200%200%201%202.06-.036c1.703.012%203.239.131%204.608.37%201.441-.549%202.357-1.727%202.357-3.537%200-1.941-.881-3.144-2.488-3.667-.548-.18-1.358-.286-2.322-.286h-4.215v7.156Zm-16.55%203.905-3.715-9.894-6.394%2016.502c2.833-2.595%206.263-4.858%2010.109-6.608Zm27.254%204.74c0-2.775-3.131-4.347-8.513-4.418-.715%200-1.441.011-2.191.047v8.252h5.918c2.548%200%204.786-1.37%204.786-3.882Z'%20clip-rule='evenodd'/%3e%3c/g%3e%3cdefs%3e%3clinearGradient%20id='b'%20x1='51.47'%20x2='85.916'%20y1='62.946'%20y2='62.946'%20gradientUnits='userSpaceOnUse'%3e%3cstop%20stop-color='%23CD9F28'/%3e%3cstop%20offset='1'%20stop-color='%23ECD80B'/%3e%3c/linearGradient%3e%3cclipPath%20id='a'%3e%3cpath%20fill='%23fff'%20d='M51.47%2045.728h186.104V80.14H51.47z'/%3e%3c/clipPath%3e%3c/defs%3e%3c/svg%3e)


More from Terex


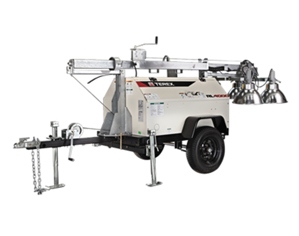
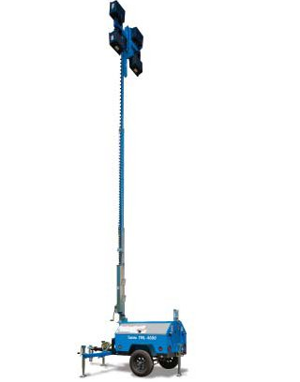
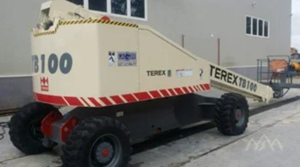

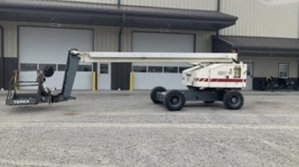
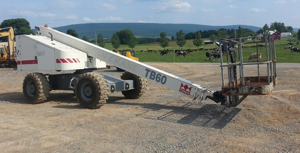
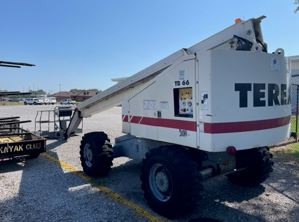
Explore Other Assets


© 2026 MaintainX. All rights reserved.