


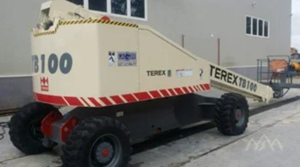
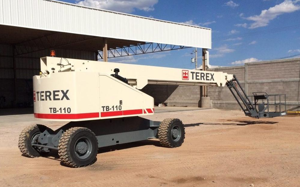
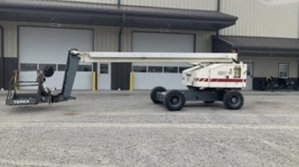
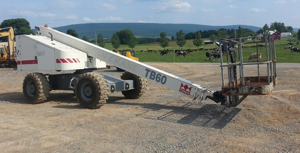
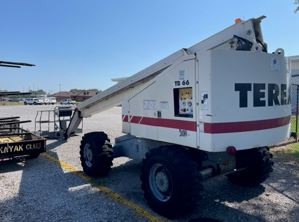
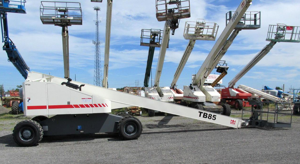
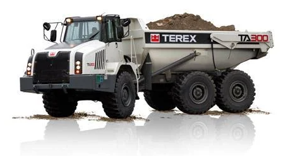
Terex Self Propelled Boom Lift TB42
Need answers fast?
Explore the manual using AI.
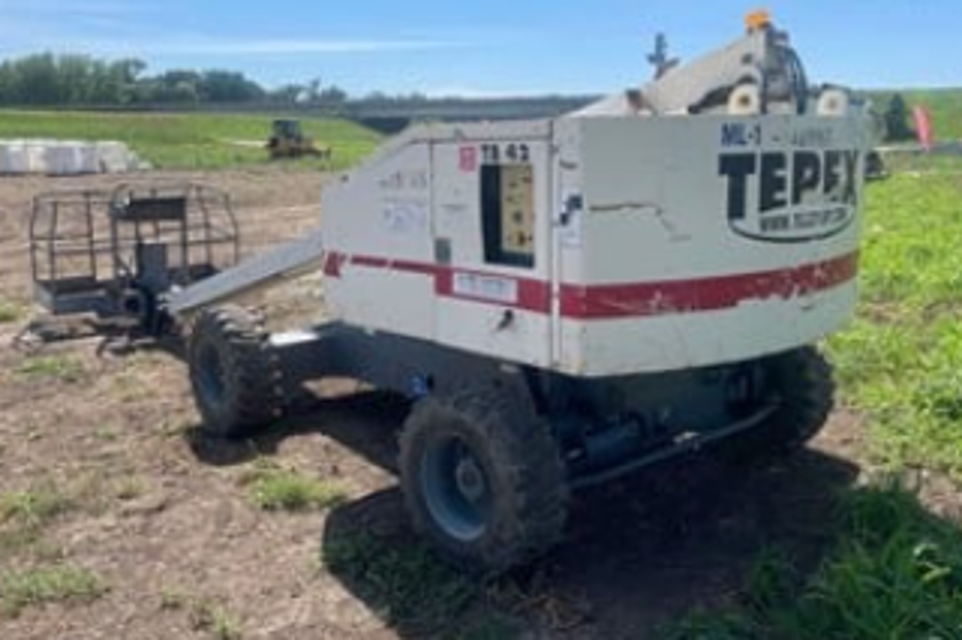
The Terex Self Propelled Boom Lift TB42 is a versatile and reliable aerial work platform designed for efficient lifting and maneuverability. Ideal for construction and maintenance tasks, this model offers exceptional reach and stability, ensuring safety and productivity on the job site.
Turn manuals into instant answers
with your AI-powered assistantTurn manuals into instant answers
with your AI-powered assistant
Manual for Terex Self Propelled Boom Lift TB42
Complete asset maintenance, one click away
Get instant access to all the maintenance information you need. Empower technicians to perform preventive maintenance with asset packages, ready to use right out of the box.

Documents & Manuals
Find all the essential guides in one place.
 Tensioning Guide
- Belt-diagram
- C-120 pulleys
+ 13 more

Work Order Templates
Pre-built workflows to keep your asset running smoothly.
- Daily Electrical System Inspection
- Replace Roller and Pulley
- Install Engine B-120
+ 29 more

Procedures
Integrate maintenance plans directly into your work orders.
- Motion Industries
- Applied Industrial Technologies
- Electrical Brothers
+ 5 more

Parts
Access the parts list for your equipment in MaintainX.
- Drive Motor
- B2 Rollers
- Tensioning System
+ 40 more
Terex Self Propelled Boom Lift TB42
Create an account to install this asset package.
Maintenance Plans for Terex Self Propelled Boom Lift Model TB42
Integrate maintenance plans directly into your work orders in MaintainX.
Hydraulic Cylinder Inspection
Wash the cylinder bore and all the components with solvent and make the following inspections:
CYLINDER BORE - For signs of scoring and deep scratches. In the event of any defects, reassemble the entire cylinder and contact your distributor.
CYLINDER SHAFT - For dents, deep scratches, or damaged chrome plating. File any sharp edges on ends of shaft to protect the seals upon reassemble. Always protect the shaft finish when clamping in a vice or when welding against weld splatter.
PISTON RINGS - For cracks or other damage. Particularly check the interlocking ends that they are not missing or broken.
PISTON SEALS - For signs of severe damage. Do not remove unless replacemnt is necessary.
PISTON & HEAD GLAND - It is not normally necesary to replace the piston, piston rings, or head gland.;

100 Hourly / 3 Monthly Hydraulic System Return Line Filter Maintenance
Warning: This maintenance check requires trained personnel with PPE!
The hydraulic system return filter provided on a new aerial lift upon delivery is a 3 micron filter intended for use only during the initial 'break-in' cycle and MUST be replaced within a minimum of 25 hours!
The hydraulic system return line filter should be changed at minimum every 100 hours or quarterly. Increasing the frequency to a period less than the minimum interval will greatly enhance hydraulic system cleanliness.
To ensure cleanliness during the 'break-in period', it is recommended that the hydraulic return filter be changed at a minimum interval of 50 hours for the first 150 to 200 hours of operation.
Enter the current hours of operation
Has the filter been replaced within the last 100 hours or 3 months?
Upload a photo of the new filter installed
Sign off on the hydraulic system return line filter maintenance
1 Weekly Engine Air Cleaner Maintenance
Air cleaner check and cleaning
Loosen the clamp securing the cup to the air cleaner
Remove the cup and clean out any dirt or foreign matter in the cup
Reinstall the cup and tighten the clamp
Sign off on the air cleaner maintenance
1 Daily Self Propelled Boom Lift Check
Battery Check
Hydraulic Fluid Check
Pivot Pin Retainers Check
Boom Operating Cables Check
Power Track Assembly Check
Platform Check
Tires & Wheels Check
Wheel Nuts Check
Rotation Bearing Bolts Check
100 Hourly / 1 Monthly Self Propelled Boom Lift Maintenance
Pivot Bushings Lubricated
Boom Wear Pads Checked
Steering Spindles Lubricated
Rotation/Slew Bearing Lubricated
Sign off on the maintenance procedure
Unlock efficiency
with MaintainX CoPilot
MaintainX CoPilot is your expert colleague, on call 24/7, helping your team find the answers they need to keep equipment running.
Reduce Unplanned Downtime
Ensure your team follows consistent procedures to minimize equipment failures and costly delays.
Maximize Asset Availability
Keep your assets running longer and more reliably, with standardized maintenance workflows from OEM manuals.
Lower Maintenance Costs
Turn any technician into an expert to streamline operations, maintain more assets, and reduce overall costs.
Thousands of companies manage their assets with MaintainX

'%3e%3cpath%20fill='url(%23b)'%20d='M66.008%2080.068c-5.084-.786-9.763-3.834-12.442-8.68a16.942%2016.942%200%200%201-1.87-5.18c1.096.19%202.203.476%203.298.87%206.525%202.333%2010.836%207.68%2011.014%2012.99ZM51.47%2061.576c.488-5.524%203.62-10.716%208.847-13.597a17.132%2017.132%200%200%201%2011.335-1.882c-.798%208.145-7.43%2014.848-16.038%2015.599-1.417.119-2.799.07-4.144-.12Zm28.564-11.478a17.513%2017.513%200%200%201%203.727%204.62c4.608%208.335%201.584%2018.813-6.75%2023.409a16.988%2016.988%200%200%201-4.359%201.679%2019.624%2019.624%200%200%201-3.977-12.776c.346-7.561%204.942-13.931%2011.36-16.932Z'/%3e%3cpath%20fill='%23110F0D'%20fill-rule='evenodd'%20d='M142.831%2048.324h4.977V77.03h-4.977V48.324Zm27.278%2013.002c.322%201.048.453%202.263.453%203.62v12.073h-4.787V66.208c0-.75-.047-1.572-.154-2.143-.453-2.382-1.822-3.572-4.215-3.572-2.31%200-3.882%201.274-4.43%203.476-.143.596-.226%201.405-.226%202.25v10.8h-4.787V56.623h4.477v2.989c1.536-2.5%203.906-3.43%206.371-3.43%203.488%200%206.263%201.68%207.298%205.144Zm24.636%207.323c0%203.882-2.358%206.525-5.763%207.727-1.298.453-2.632.643-4.62.643h-10.169V48.324h9.085c1.691%200%203.156.143%204.049.38%203.465.93%205.727%203.68%205.727%207.335%200%202.441-.81%204.156-2.762%205.644%202.905%201.417%204.453%203.727%204.453%206.966Zm-15.634-8.656h4.584c1.024%200%201.917-.143%202.536-.417%201.215-.548%201.905-1.608%201.905-3.167%200-1.548-.643-2.572-1.845-3.132-.691-.31-1.762-.452-2.763-.452h-4.417v7.168Zm10.716%208.465c0-1.536-.893-3.37-3.227-3.893-.428-.095-1.036-.143-1.571-.143h-5.918v8.085h5.501c.56%200%201.429-.048%201.953-.167%201.94-.453%203.262-1.846%203.262-3.882Zm47.747-11.847-8.097%2020.408h-4.429l-8.109-20.408h5.191l5.192%2014.574%205.108-14.574h5.144Zm-20.218%2010.002c0%20.69-.036%201.262-.155%201.94h-15.943c.631%202.87%202.714%204.728%205.882%204.728%202.131%200%203.607-.882%204.703-2.525h4.87c-1.762%204.144-5.204%206.692-9.657%206.692-6.084%200-10.537-4.858-10.537-10.49%200-6.108%204.524-10.776%2010.335-10.776%206.239%200%2010.442%204.954%2010.502%2010.43Zm-4.763-1.405c-.333-2.846-2.643-4.858-5.691-4.858-2.894%200-5.287%201.929-5.621%204.858h11.312Zm-72.667%203.44c0%204.787-3.287%208.371-9.419%208.371H119.363V64.66c-1.917.274-3.87.69-5.811%201.238l4.537%2011.121h-5.418l-3.596-9.585c-5.144%202.084-10.085%205.216-14.217%209.585h-4.786L101.8%2048.312h4.56l5.68%2013.883a44.112%2044.112%200%200%201%207.323-1.774V48.312h9.084c1.703%200%203.156.143%204.061.393%203.453.929%205.727%203.667%205.727%207.323%200%201.917-.738%204.179-2.81%205.691%203.06%201.56%204.501%204.025%204.501%206.93Zm-15.634-8.667a62.664%2062.664%200%200%201%202.06-.036c1.703.012%203.239.131%204.608.37%201.441-.549%202.357-1.727%202.357-3.537%200-1.941-.881-3.144-2.488-3.667-.548-.18-1.358-.286-2.322-.286h-4.215v7.156Zm-16.55%203.905-3.715-9.894-6.394%2016.502c2.833-2.595%206.263-4.858%2010.109-6.608Zm27.254%204.74c0-2.775-3.131-4.347-8.513-4.418-.715%200-1.441.011-2.191.047v8.252h5.918c2.548%200%204.786-1.37%204.786-3.882Z'%20clip-rule='evenodd'/%3e%3c/g%3e%3cdefs%3e%3clinearGradient%20id='b'%20x1='51.47'%20x2='85.916'%20y1='62.946'%20y2='62.946'%20gradientUnits='userSpaceOnUse'%3e%3cstop%20stop-color='%23CD9F28'/%3e%3cstop%20offset='1'%20stop-color='%23ECD80B'/%3e%3c/linearGradient%3e%3cclipPath%20id='a'%3e%3cpath%20fill='%23fff'%20d='M51.47%2045.728h186.104V80.14H51.47z'/%3e%3c/clipPath%3e%3c/defs%3e%3c/svg%3e)


More from Terex


Explore Other Assets


© 2026 MaintainX. All rights reserved.