


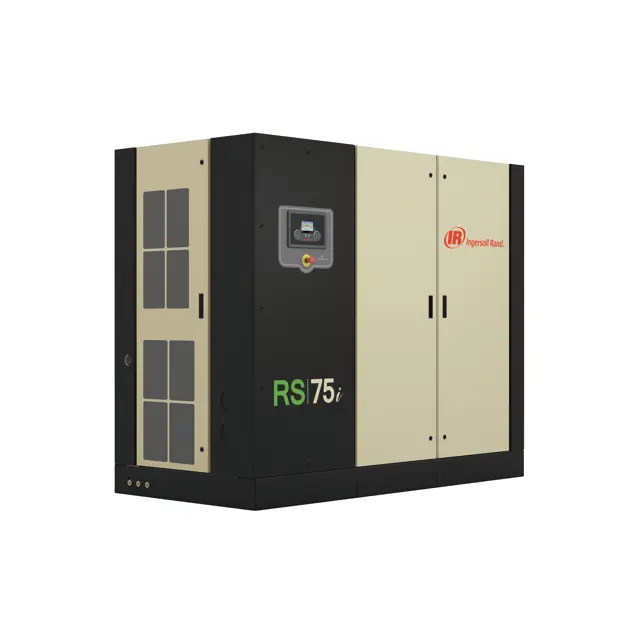
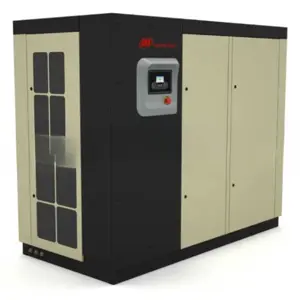
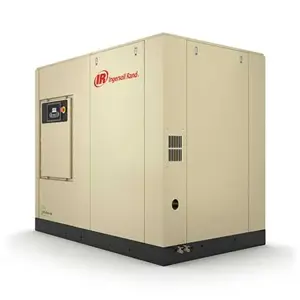
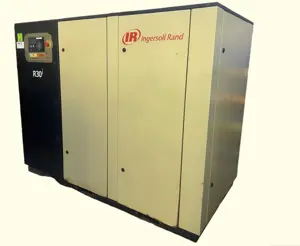
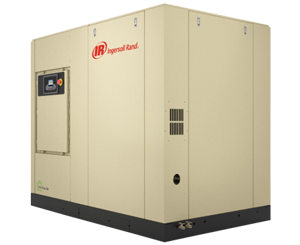
Ingersoll Rand Compressor R75
Need answers fast?
Explore the manual using AI.
Turn manuals into instant answers
with your AI-powered assistantTurn manuals into instant answers
with your AI-powered assistant
Manual for Ingersoll Rand Compressor R75
Complete asset maintenance, one click away
Get instant access to all the maintenance information you need. Empower technicians to perform preventive maintenance with asset packages, ready to use right out of the box.

Documents & Manuals
Find all the essential guides in one place.
 Tensioning Guide
- Belt-diagram
- C-120 pulleys
+ 13 more

Work Order Templates
Pre-built workflows to keep your asset running smoothly.
- Daily Electrical System Inspection
- Replace Roller and Pulley
- Install Engine B-120
+ 29 more

Procedures
Integrate maintenance plans directly into your work orders.
- Motion Industries
- Applied Industrial Technologies
- Electrical Brothers
+ 5 more

Parts
Access the parts list for your equipment in MaintainX.
- Drive Motor
- B2 Rollers
- Tensioning System
+ 40 more
Ingersoll Rand Compressor R75
Create an account to install this asset package.
Maintenance Plans for Ingersoll Rand Compressor Model R75
Integrate maintenance plans directly into your work orders in MaintainX.
8000 Hourly / 1 Yearly Compressor Maintenance
Replace Separator element
Replace No-loss condensate drain service module
Service Minimum pressure check valve (MPCV) service kit
The minimum pressure check valve (MPCV) shall be frequently tested and regularly maintained. Remove it from the compressor for testing. If operating conditions are particularly severe, the frequency of testing and maintenance shall be increased accordingly.
The user shall establish the frequency of such tests as it is influenced by such factors as the severity of the operating environment. For R30-37, the MPCV is installed as part of combination block.
The minimum pressure check valve (MPCV) should be tested and recalibrated in accordance with any national or local codes that may exist. If no code exists, Ingersoll Rand recommends that the valve is recalibrated at intervals of one year by a licensed contractor or qualified service personnel.
Clean Drains with all their components (TIMED DRAINS ONLY)
Service Inlet valve service kit
Sign off on the compressor maintenance

Motor Cowl Cleaning
Ensure the compressor is electrically isolated for at least 15 minutes before commencing any maintenance work.
Remove the panels from the compressor.
Using a clean dry cloth, remove dust from the surface of the motor cowl and ensure all ventilation slots are free of obstructions.
Replace the panels.
Sign off on the motor cowl cleaning
Air Cooled Cooling System Cleaning
Air compressor operating temperatures will be higher than normal if the external passages between the fins of the cooler cores become restricted with foreign material. Regular cleaning of the cooler surfaces will support the reliable operation of the air compressor system, improve the life of the compressor coolant and improve overall compressor efficiency.
When performed frequently as determined by site conditions and airborne contamination, more significant cleaning or replacement may not be necessary.
1. Stop the compressor.
2. Isolate the compressor from the system.
3. Press the emergency stop to vent the separator tank and airend.
Fixed speed compressors can take more than two minutes to fully de-pressurize once stopped.
4. Ensure that the main power disconnect switch is locked off and tagged.
NOTICE
For any required lifting of air compressor parts or required tools, always use the proper certified lifting equipment, and employ sound working principles.
16000 Hourly / 4 Yearly Coolant Hoses Replacement
Replace Coolant hoses
The flexible hoses that carry coolant through the cooling system may become brittle with age and will require replacement. Replace them as needed or every four years.
1. Depending on the location of the hose, it may contain compressor coolant. It is recommended to drain the coolant into a clean container. Cover the container to prevent contamination. If the coolant is contaminated, replace with new coolant.
2. Remove the hose.
3. Install the new hose and refill the compressor with coolant.
4. Start the compressor, check for leaks and check coolant level. Refill as necessary.
Compressor Maintenance
Replace - Air filter element
1. Check the retaining cap for dirt and debris and wipe clean.
2. Unclip the retaining cap and withdraw the old element.
3. Fit the new element and refit the retaining cap.
Replace - Coolant filter element
1. Remove drain plug from bottom of filter housing and drain coolant.
2. Loosen the filter housing.
3. Remove the element from the housing.
4. Place the old element in a sealed bag and dispose of in a safe way.
Unlock efficiency
with MaintainX CoPilot
MaintainX CoPilot is your expert colleague, on call 24/7, helping your team find the answers they need to keep equipment running.
Reduce Unplanned Downtime
Ensure your team follows consistent procedures to minimize equipment failures and costly delays.
Maximize Asset Availability
Keep your assets running longer and more reliably, with standardized maintenance workflows from OEM manuals.
Lower Maintenance Costs
Turn any technician into an expert to streamline operations, maintain more assets, and reduce overall costs.
Thousands of companies manage their assets with MaintainX

'%3e%3cpath%20fill='url(%23b)'%20d='M66.008%2080.068c-5.084-.786-9.763-3.834-12.442-8.68a16.942%2016.942%200%200%201-1.87-5.18c1.096.19%202.203.476%203.298.87%206.525%202.333%2010.836%207.68%2011.014%2012.99ZM51.47%2061.576c.488-5.524%203.62-10.716%208.847-13.597a17.132%2017.132%200%200%201%2011.335-1.882c-.798%208.145-7.43%2014.848-16.038%2015.599-1.417.119-2.799.07-4.144-.12Zm28.564-11.478a17.513%2017.513%200%200%201%203.727%204.62c4.608%208.335%201.584%2018.813-6.75%2023.409a16.988%2016.988%200%200%201-4.359%201.679%2019.624%2019.624%200%200%201-3.977-12.776c.346-7.561%204.942-13.931%2011.36-16.932Z'/%3e%3cpath%20fill='%23110F0D'%20fill-rule='evenodd'%20d='M142.831%2048.324h4.977V77.03h-4.977V48.324Zm27.278%2013.002c.322%201.048.453%202.263.453%203.62v12.073h-4.787V66.208c0-.75-.047-1.572-.154-2.143-.453-2.382-1.822-3.572-4.215-3.572-2.31%200-3.882%201.274-4.43%203.476-.143.596-.226%201.405-.226%202.25v10.8h-4.787V56.623h4.477v2.989c1.536-2.5%203.906-3.43%206.371-3.43%203.488%200%206.263%201.68%207.298%205.144Zm24.636%207.323c0%203.882-2.358%206.525-5.763%207.727-1.298.453-2.632.643-4.62.643h-10.169V48.324h9.085c1.691%200%203.156.143%204.049.38%203.465.93%205.727%203.68%205.727%207.335%200%202.441-.81%204.156-2.762%205.644%202.905%201.417%204.453%203.727%204.453%206.966Zm-15.634-8.656h4.584c1.024%200%201.917-.143%202.536-.417%201.215-.548%201.905-1.608%201.905-3.167%200-1.548-.643-2.572-1.845-3.132-.691-.31-1.762-.452-2.763-.452h-4.417v7.168Zm10.716%208.465c0-1.536-.893-3.37-3.227-3.893-.428-.095-1.036-.143-1.571-.143h-5.918v8.085h5.501c.56%200%201.429-.048%201.953-.167%201.94-.453%203.262-1.846%203.262-3.882Zm47.747-11.847-8.097%2020.408h-4.429l-8.109-20.408h5.191l5.192%2014.574%205.108-14.574h5.144Zm-20.218%2010.002c0%20.69-.036%201.262-.155%201.94h-15.943c.631%202.87%202.714%204.728%205.882%204.728%202.131%200%203.607-.882%204.703-2.525h4.87c-1.762%204.144-5.204%206.692-9.657%206.692-6.084%200-10.537-4.858-10.537-10.49%200-6.108%204.524-10.776%2010.335-10.776%206.239%200%2010.442%204.954%2010.502%2010.43Zm-4.763-1.405c-.333-2.846-2.643-4.858-5.691-4.858-2.894%200-5.287%201.929-5.621%204.858h11.312Zm-72.667%203.44c0%204.787-3.287%208.371-9.419%208.371H119.363V64.66c-1.917.274-3.87.69-5.811%201.238l4.537%2011.121h-5.418l-3.596-9.585c-5.144%202.084-10.085%205.216-14.217%209.585h-4.786L101.8%2048.312h4.56l5.68%2013.883a44.112%2044.112%200%200%201%207.323-1.774V48.312h9.084c1.703%200%203.156.143%204.061.393%203.453.929%205.727%203.667%205.727%207.323%200%201.917-.738%204.179-2.81%205.691%203.06%201.56%204.501%204.025%204.501%206.93Zm-15.634-8.667a62.664%2062.664%200%200%201%202.06-.036c1.703.012%203.239.131%204.608.37%201.441-.549%202.357-1.727%202.357-3.537%200-1.941-.881-3.144-2.488-3.667-.548-.18-1.358-.286-2.322-.286h-4.215v7.156Zm-16.55%203.905-3.715-9.894-6.394%2016.502c2.833-2.595%206.263-4.858%2010.109-6.608Zm27.254%204.74c0-2.775-3.131-4.347-8.513-4.418-.715%200-1.441.011-2.191.047v8.252h5.918c2.548%200%204.786-1.37%204.786-3.882Z'%20clip-rule='evenodd'/%3e%3c/g%3e%3cdefs%3e%3clinearGradient%20id='b'%20x1='51.47'%20x2='85.916'%20y1='62.946'%20y2='62.946'%20gradientUnits='userSpaceOnUse'%3e%3cstop%20stop-color='%23CD9F28'/%3e%3cstop%20offset='1'%20stop-color='%23ECD80B'/%3e%3c/linearGradient%3e%3cclipPath%20id='a'%3e%3cpath%20fill='%23fff'%20d='M51.47%2045.728h186.104V80.14H51.47z'/%3e%3c/clipPath%3e%3c/defs%3e%3c/svg%3e)


More from Ingersoll Rand

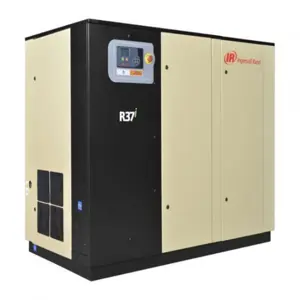


Explore Other Assets


© 2026 MaintainX. All rights reserved.