


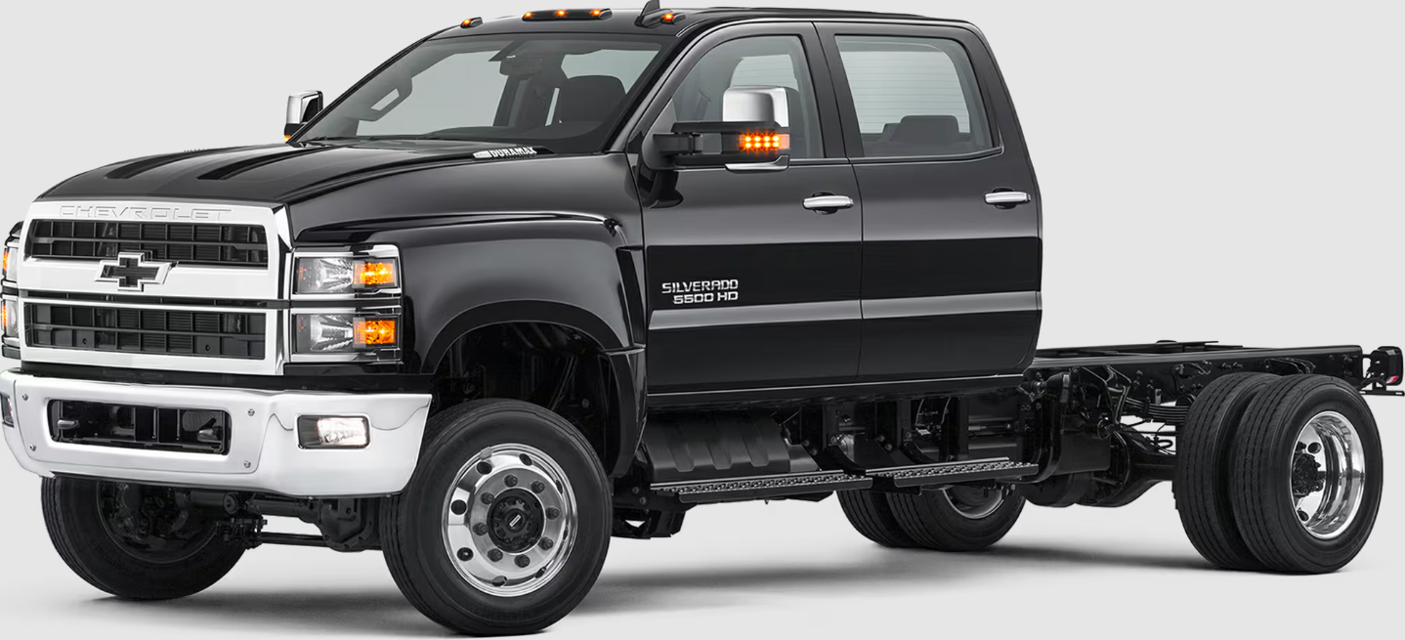
Chevrolet Vehicle Silverado 5500HD
Need answers fast?
Explore the manual using AI.
Turn manuals into instant answers
with your AI-powered assistantTurn manuals into instant answers
with your AI-powered assistant
Manual for Chevrolet Vehicle Silverado 5500HD
Complete asset maintenance, one click away
Get instant access to all the maintenance information you need. Empower technicians to perform preventive maintenance with asset packages, ready to use right out of the box.

Documents & Manuals
Find all the essential guides in one place.
 Tensioning Guide
- Belt-diagram
- C-120 pulleys
+ 13 more

Work Order Templates
Pre-built workflows to keep your asset running smoothly.
- Daily Electrical System Inspection
- Replace Roller and Pulley
- Install Engine B-120
+ 29 more

Procedures
Integrate maintenance plans directly into your work orders.
- Motion Industries
- Applied Industrial Technologies
- Electrical Brothers
+ 5 more

Parts
Access the parts list for your equipment in MaintainX.
- Drive Motor
- B2 Rollers
- Tensioning System
+ 40 more
Chevrolet Vehicle Silverado 5500HD
Create an account to install this asset package.
Maintenance Plans for Chevrolet Vehicle Model Silverado 5500HD
Integrate maintenance plans directly into your work orders in MaintainX.
Front Axle Maintenance
Warning: This maintenance check requires trained personnel with PPE!
Front axle mounting U-bolts, attaching or mounting bolts, and nuts are securely tightened
Enter the mileage of the vehicle
Re-torque the U-bolt nuts after the first 1 600 km (1,000 mi) and every 58 000 km (36,000 mi) thereafter.
Front axle free from damaged, binding, or worn parts
Adequate lubrication in the front axle
Kingpin and kingpin bushing lubrication adequate
Kingpin thrust bushing lubrication adequate
Wheel bearings inspected, lubricated, and adjusted

Axle Shafts Before Towing Removal
Caution: To prevent differential and/or transmission damage on vehicles that must be towed to a service facility with the drive axle wheels on the ground, it is necessary to remove the axle shafts before the vehicle is towed. Failure to heed this caution may result in vehicle and/or engine component damage.
Caution: Do not use a chisel or wedge to loosen axle shafts and dowels. The chisel or wedge can damage hub, axle shafts, and oil seals if used. Failure to heed this caution may result in vehicle and/or engine component damage.
Shift the main differential to the locked (engaged) position.
Remove the cap screws and washers or stud nuts and washers from the flanges of both axle shafts.
Loosen the tapered dowels in the flanges of both axle shafts by holding a 3.8 cm (1.5 in) diameter brass drift or hammer against the axle shaft center and hitting it with a 2–3 kg (5–6 lb) hammer.
Remove the tapered dowels and both axle shafts from the axle assembly.
Assemble a cover over the openings of both wheel ends to prevent the loss of lubricant and keep dirt from the wheel bearing cavities.
Sign off on the axle shafts removal procedure
Right Side Engine Compartment Check
Cowl Vent: Ensure the air inlet cover is free of dirt and debris
Warning: Steam and scalding liquids from a hot cooling system are under pressure. Turning the pressure cap, even a little, can cause them to come out at high speed and you could be burned. Never turn the cap when the cooling system, including the pressure cap, is hot. Wait for the cooling system and pressure cap to cool
Coolant Level: Do not remove the pressure cap unless the coolant is cool. Ensure the fluid level, if cold, is within the minimum and maximum fluid level range as marked on the plastic translucent reservoir. If hot, the fluid level must be above the minimum mark, but below the fill neck
Air Cleaner: Check the air cleaner housing and hoses for loose connections or damage
Radiator and Charge Air Cooler: Check for loose mounting and damage. Inspect the condition of all the hoses for damage, cracks, and leaks. Inspect for foreign material on the face of the cooling package. Carefully brush away the collected materials without bending the cooling fins to maintain proper airflow through the cooling package
Drive Belts (Out of View): Inspect all belts for frays, cracks, loose fibers, or visible signs of wear. With the engine off, press on all belts to test for proper belt tensioner performance
Windshield Washer Fluid Level: Inspect the reservoir and verify that the fluid level is not empty and has enough fluid to last until the next inspection. If additional fluid is required, see “Lubricant and Sealer Specifications” under Capacities and Specifications 0 408, for the correct fluid type before filling. Do not use water in freezing climates
Check the electrical wiring for proper security, damage, and chafing
Check for signs of fluid puddles under the vehicle, or wet components in the engine compartment
Coated Moldings Cleaning
Coated moldings should be cleaned.
When lightly soiled, wipe with a sponge or soft, lint-free cloth dampened with water.
When heavily soiled, use warm soapy water.;
Front of Vehicle Check
Grille: Inspect for damage and security. Check the bug screen for damage and cleanliness.
Hood and Fenders: Check the hood panels and fenders for signs of breaks or damage. Ensure the hood opens and closes properly.
Lighting System: Lower the hood and inspect the parking, clearance, identification lights, turn signals, fog lamps, and reflectors on the hood, bumper, and cab. They should be clean, operational, and the proper color.
Bumper: Inspect for damage and security.
Headlamps: Lenses should be clean. If equipped, check the Daytime Running Lamps.
Parts for Chevrolet Vehicle Silverado 5500HD
Access the parts list for your equipment in MaintainX.
Chassis Lubricant
12377985
Diesel Exhaust Fluid
19286291
Dot 3 Hydraulic Brake Fluid
19353126
Gm Power Steering Fluid
19329450
Multi-Purpose Lubricant, Superlube
12346241
Chassis Lubricant
12377985
Diesel Exhaust Fluid
19286291
Dot 3 Hydraulic Brake Fluid
19353126
Gm Power Steering Fluid
19329450
Multi-Purpose Lubricant, Superlube
12346241
Chassis Lubricant
12377985
Diesel Exhaust Fluid
19286291
Dot 3 Hydraulic Brake Fluid
19353126
Gm Power Steering Fluid
19329450
Multi-Purpose Lubricant, Superlube
12346241
Unlock efficiency
with MaintainX CoPilot
MaintainX CoPilot is your expert colleague, on call 24/7, helping your team find the answers they need to keep equipment running.
Reduce Unplanned Downtime
Ensure your team follows consistent procedures to minimize equipment failures and costly delays.
Maximize Asset Availability
Keep your assets running longer and more reliably, with standardized maintenance workflows from OEM manuals.
Lower Maintenance Costs
Turn any technician into an expert to streamline operations, maintain more assets, and reduce overall costs.
Thousands of companies manage their assets with MaintainX

'%3e%3cpath%20fill='url(%23b)'%20d='M66.008%2080.068c-5.084-.786-9.763-3.834-12.442-8.68a16.942%2016.942%200%200%201-1.87-5.18c1.096.19%202.203.476%203.298.87%206.525%202.333%2010.836%207.68%2011.014%2012.99ZM51.47%2061.576c.488-5.524%203.62-10.716%208.847-13.597a17.132%2017.132%200%200%201%2011.335-1.882c-.798%208.145-7.43%2014.848-16.038%2015.599-1.417.119-2.799.07-4.144-.12Zm28.564-11.478a17.513%2017.513%200%200%201%203.727%204.62c4.608%208.335%201.584%2018.813-6.75%2023.409a16.988%2016.988%200%200%201-4.359%201.679%2019.624%2019.624%200%200%201-3.977-12.776c.346-7.561%204.942-13.931%2011.36-16.932Z'/%3e%3cpath%20fill='%23110F0D'%20fill-rule='evenodd'%20d='M142.831%2048.324h4.977V77.03h-4.977V48.324Zm27.278%2013.002c.322%201.048.453%202.263.453%203.62v12.073h-4.787V66.208c0-.75-.047-1.572-.154-2.143-.453-2.382-1.822-3.572-4.215-3.572-2.31%200-3.882%201.274-4.43%203.476-.143.596-.226%201.405-.226%202.25v10.8h-4.787V56.623h4.477v2.989c1.536-2.5%203.906-3.43%206.371-3.43%203.488%200%206.263%201.68%207.298%205.144Zm24.636%207.323c0%203.882-2.358%206.525-5.763%207.727-1.298.453-2.632.643-4.62.643h-10.169V48.324h9.085c1.691%200%203.156.143%204.049.38%203.465.93%205.727%203.68%205.727%207.335%200%202.441-.81%204.156-2.762%205.644%202.905%201.417%204.453%203.727%204.453%206.966Zm-15.634-8.656h4.584c1.024%200%201.917-.143%202.536-.417%201.215-.548%201.905-1.608%201.905-3.167%200-1.548-.643-2.572-1.845-3.132-.691-.31-1.762-.452-2.763-.452h-4.417v7.168Zm10.716%208.465c0-1.536-.893-3.37-3.227-3.893-.428-.095-1.036-.143-1.571-.143h-5.918v8.085h5.501c.56%200%201.429-.048%201.953-.167%201.94-.453%203.262-1.846%203.262-3.882Zm47.747-11.847-8.097%2020.408h-4.429l-8.109-20.408h5.191l5.192%2014.574%205.108-14.574h5.144Zm-20.218%2010.002c0%20.69-.036%201.262-.155%201.94h-15.943c.631%202.87%202.714%204.728%205.882%204.728%202.131%200%203.607-.882%204.703-2.525h4.87c-1.762%204.144-5.204%206.692-9.657%206.692-6.084%200-10.537-4.858-10.537-10.49%200-6.108%204.524-10.776%2010.335-10.776%206.239%200%2010.442%204.954%2010.502%2010.43Zm-4.763-1.405c-.333-2.846-2.643-4.858-5.691-4.858-2.894%200-5.287%201.929-5.621%204.858h11.312Zm-72.667%203.44c0%204.787-3.287%208.371-9.419%208.371H119.363V64.66c-1.917.274-3.87.69-5.811%201.238l4.537%2011.121h-5.418l-3.596-9.585c-5.144%202.084-10.085%205.216-14.217%209.585h-4.786L101.8%2048.312h4.56l5.68%2013.883a44.112%2044.112%200%200%201%207.323-1.774V48.312h9.084c1.703%200%203.156.143%204.061.393%203.453.929%205.727%203.667%205.727%207.323%200%201.917-.738%204.179-2.81%205.691%203.06%201.56%204.501%204.025%204.501%206.93Zm-15.634-8.667a62.664%2062.664%200%200%201%202.06-.036c1.703.012%203.239.131%204.608.37%201.441-.549%202.357-1.727%202.357-3.537%200-1.941-.881-3.144-2.488-3.667-.548-.18-1.358-.286-2.322-.286h-4.215v7.156Zm-16.55%203.905-3.715-9.894-6.394%2016.502c2.833-2.595%206.263-4.858%2010.109-6.608Zm27.254%204.74c0-2.775-3.131-4.347-8.513-4.418-.715%200-1.441.011-2.191.047v8.252h5.918c2.548%200%204.786-1.37%204.786-3.882Z'%20clip-rule='evenodd'/%3e%3c/g%3e%3cdefs%3e%3clinearGradient%20id='b'%20x1='51.47'%20x2='85.916'%20y1='62.946'%20y2='62.946'%20gradientUnits='userSpaceOnUse'%3e%3cstop%20stop-color='%23CD9F28'/%3e%3cstop%20offset='1'%20stop-color='%23ECD80B'/%3e%3c/linearGradient%3e%3cclipPath%20id='a'%3e%3cpath%20fill='%23fff'%20d='M51.47%2045.728h186.104V80.14H51.47z'/%3e%3c/clipPath%3e%3c/defs%3e%3c/svg%3e)


More from Chevrolet
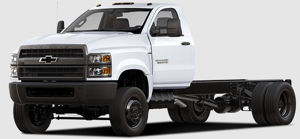


Explore Other Assets


© 2026 MaintainX. All rights reserved.