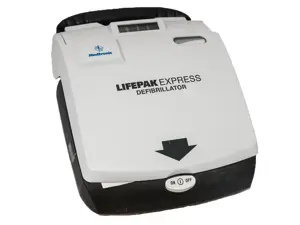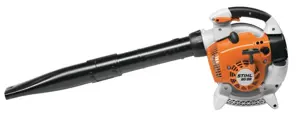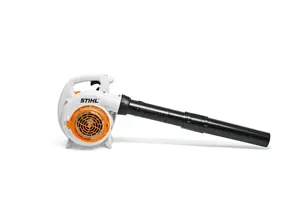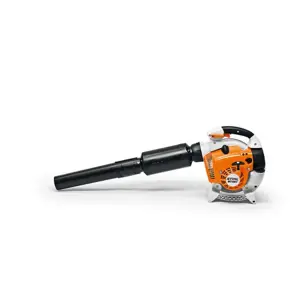

Turn manuals into instant answers
with your AI-powered assistantTurn manuals into instant answers
with your AI-powered assistant
Complete asset maintenance, one click away
Get instant access to all the maintenance information you need. Empower technicians to perform preventive maintenance with asset packages, ready to use right out of the box.
Documents & Manuals
Find all the essential guides in one place.
Tensioning Guide
Belt-diagram
C-120 pulleys
+ 13 more
Work Order Templates
Pre-built workflows to keep your asset running smoothly.
Daily Electrical System Inspection
Replace Roller and Pulley
Install Engine B-120
+ 29 more
Procedures
Integrate maintenance plans directly into your work orders.
Motion Industries
Applied Industrial Technologies
Electrical Brothers
+ 5 more
Parts
Access the parts list for your equipment in MaintainX.
Drive Motor
B2 Rollers
Tensioning System
+ 40 more

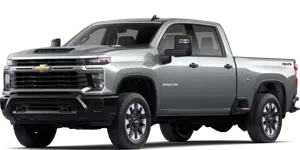
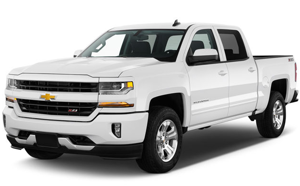
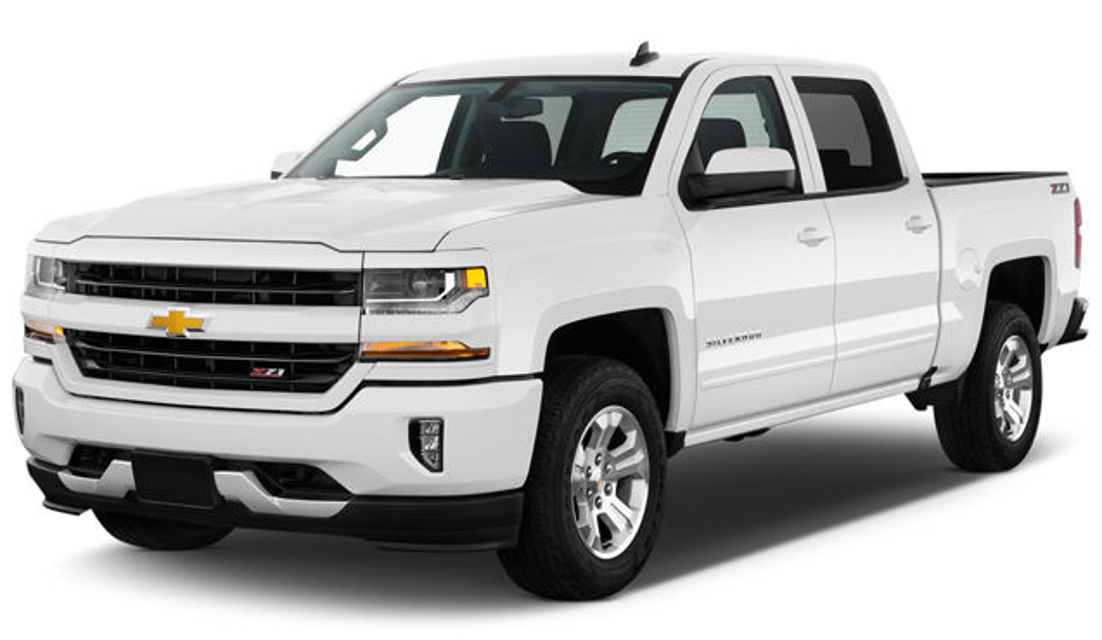
Chevrolet Vehicle 2001 Silverado 1500
Create an account to install this asset package.
Maintenance Plans for Chevrolet Vehicle Model 2001 Silverado 1500
Integrate maintenance plans directly into your work orders in MaintainX.
Aluminum / Chrome-Plated Wheels Cleaning
Warning: Use only soft clean cloth with mild soap and water for cleaning.
Cleaned wheels with soft cloth and mild soap?
Rinsed wheels with clean water?
Dried wheels with a soft clean towel?
Applied wax on wheels?
Warning: Do not use strong soaps, chemicals, abrasive polishes, abrasive cleaners, cleaners with acid or abrasive cleaning brushes.
Select the type of wheel
Used chrome polish on chrome-plated wheels?
Warning: Avoid any painted surface of the wheel, and buff off immediately after application.
Engine Oil Check
Warning: Ensure the vehicle is on level ground and the engine is warm.
Is the vehicle on level ground?
Is the engine warm?
Turn off the engine and wait for several minutes.
Is the engine turned off?
Locate the engine oil dipstick on the passenger’s side of the engine.
Did you locate the engine oil dipstick?
Pull out the dipstick and clean it with a paper towel or cloth.
Did you clean the dipstick?
Pickup Taillamps Replacement
Warning: Ensure the vehicle is turned off and parked in a safe location before starting the procedure
Open the tailgate
Remove the two rear lamp assembly screws near the tailgate latch and pull out the lamp assembly
Press the release tab and turn the bulb socket counterclockwise to remove it from the taillamp housing
Pull the old bulb straight out from the socket
Press a new bulb into the socket and turn the socket clockwise into the taillamp housing until it clicks
Reinstall the rear lamp assembly and tighten the screws
Close the tailgate
Sign off on the taillamps replacement
Fluid Level Check
Park your vehicle on a level place. Keep the engine running.
With the parking brake applied, place the shift lever in PARK (P).
With your foot on the brake pedal, move the shift lever through each gear range, pausing for about three seconds in each range. Then, position the shift lever in PARK (P).
Let the engine run at idle for three minutes or more.
The red transmission dipstick handle is located at the rear of the engine compartment, on the passenger’s side. Flip the handle up and then pull out the dipstick and wipe it with a clean rag or paper towel.
Push it back in all the way, wait three seconds and then pull it back out again.
Check both sides of the dipstick, and read the lower level. The fluid level must be in the COLD area, below the cross-hatched area, for a cold check or in the HOT area or cross-hatched area for a hot check.
If the fluid level is in the acceptable range, push the dipstick back in all the way; then flip the handle down to lock the dipstick in place.
Sign off on the fluid level check
Inflation Tire Pressure Check
Warning: Ensure the vehicle has been sitting for at least three hours or driven no more than 1 mile (1.6 km) before checking tire pressure.
Enter the current tire pressure
Is the tire pressure within the recommended range?
If tire pressure is not within the recommended range, adjust accordingly.
Is the tire pressure now within the recommended range?
Warning: Underinflation can cause too much flexing, heat, tire overloading, bad wear, handling, and fuel economy.
Warning: Overinflation can cause unusual wear, bad handling, rough ride, and needless damage from road hazards.
Are the valve caps back on the valve stems?
Sign off on the tire pressure check
Parts for Chevrolet Vehicle 2001 Silverado 1500
Access the parts list for your equipment in MaintainX.
Delco Supreme 11 Brake Fluid
12377967
GM Optikleen Washer Solvent
1051515
Hydraulic Clutch Fluid
12345347
GM Power Steering Fluid
1052884
GM Power Steering Fluid
1050017
Delco Supreme 11 Brake Fluid
12377967
GM Optikleen Washer Solvent
1051515
Hydraulic Clutch Fluid
12345347
GM Power Steering Fluid
1052884
GM Power Steering Fluid
1050017
Delco Supreme 11 Brake Fluid
12377967
GM Optikleen Washer Solvent
1051515
Hydraulic Clutch Fluid
12345347
GM Power Steering Fluid
1052884
GM Power Steering Fluid
1050017
Unlock efficiency
with MaintainX CoPilot
MaintainX CoPilot is your expert colleague, on call 24/7, helping your team find the answers they need to keep equipment running.
Reduce Unplanned Downtime
Ensure your team follows consistent procedures to minimize equipment failures and costly delays.
Maximize Asset Availability
Keep your assets running longer and more reliably, with standardized maintenance workflows from OEM manuals.
Lower Maintenance Costs
Turn any technician into an expert to streamline operations, maintain more assets, and reduce overall costs.
Thousands of companies manage their assets with MaintainX


