


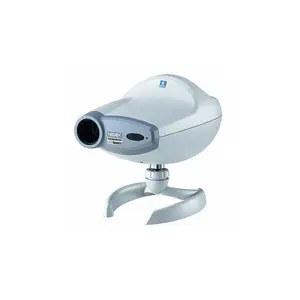
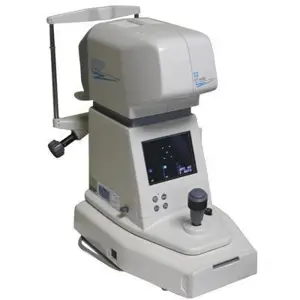
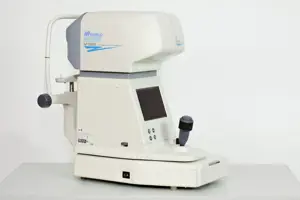
Nidec Auto Lensmeter LM-990A
Need answers fast?
Explore the manual using AI.
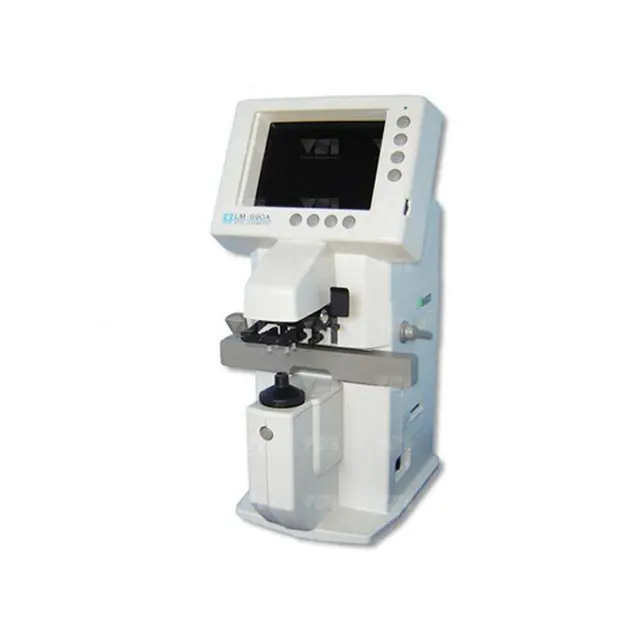
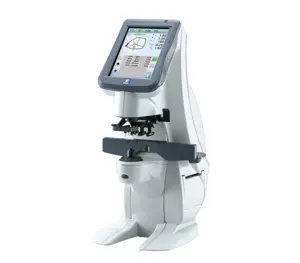
The Nidec Auto Lensmeter LM-990A is a precision optical measurement device designed for accurate lens analysis. This advanced lensmeter features user-friendly interfaces and reliable performance, making it essential for optometrists and optical labs seeking efficiency and accuracy in lens measurement.
Turn manuals into instant answers
with your AI-powered assistantTurn manuals into instant answers
with your AI-powered assistant
Manual for Nidec Auto Lensmeter LM-990A
Complete asset maintenance, one click away
Get instant access to all the maintenance information you need. Empower technicians to perform preventive maintenance with asset packages, ready to use right out of the box.

Documents & Manuals
Find all the essential guides in one place.
 Tensioning Guide
- Belt-diagram
- C-120 pulleys
+ 13 more

Work Order Templates
Pre-built workflows to keep your asset running smoothly.
- Daily Electrical System Inspection
- Replace Roller and Pulley
- Install Engine B-120
+ 29 more

Procedures
Integrate maintenance plans directly into your work orders.
- Motion Industries
- Applied Industrial Technologies
- Electrical Brothers
+ 5 more

Parts
Access the parts list for your equipment in MaintainX.
- Drive Motor
- B2 Rollers
- Tensioning System
+ 40 more
Nidec Auto Lensmeter LM-990A
Create an account to install this asset package.
Maintenance Plans for Nidec Auto Lensmeter Model LM-990A
Integrate maintenance plans directly into your work orders in MaintainX.
Cleaning Protective Glass
CAUTION! Take special care not to scratch the protective glass. Flaws on the glass substantially lower the reliability of the measurement.
Lift up to remove the nosepiece
Clean the protective glass
Blow off any dust on the glass with a blower brush
If it is still dirty, wipe gently with a lens cleaning paper
Sign off on the cleaning procedure

Fuse Replacement
CAUTION! Always use specified fuses. Substitutes may cause a fire.
Fuse rating : T-1 A 250 V (100-120 V - ) / T-0.5 A 250 V (200-240 V - )
Power turned OFF
Power cord disconnected from the wall outlet
Fuse holder removed
CAUTION! The fuse holder is also used as a voltage selector. Be careful not to change the numbers shown in the voltage indication window.
Fuses replaced and fuse holder set back into position
CAUTION! If the fuse blows again, do not touch the internal structure. Contact your authorized distributor. Never open the instrument to avoid electric shock.
Sign off on the fuse replacement
Setting of the Voltage Selector Change
Power turned OFF
Power cord disconnected from the wall outlet
Fuse holder removed
Cartridge of the fuse holder removed
Cartridge fitted to match the voltage of wall outlet
Fuse holder fitted as before
Sign off on the voltage selector change
Ink Refilling
Warning: Take enough care to prevent a possible loss of the C ring and spring.
Remove the ink cartridges
Remove the C type ring with tweezers
Remove the screw from the detached ink cartridge
Attach the removed screw to a new ink cartridge
CAUTION: Use a screwdriver whose bit fits the recess of the screw. Hold the cartridge down on a hard, stable surface in order to turn the screw safely.
Insert the spring and the new cartridge into the marker holder
Fit the C ring between the screw and ink cartridge
Ink pad type
Printer Paper Replacement
CAUTION! Do not print without the paper, or the printer may be damaged. Do not violently pull the paper out the printer.
Open the printer cover. The cover opens by pressing the O mark on the top of the cover.
Make sure the paper is not jagged, but cut cleanly.
Set the printer paper. NOTE! Be sure to insert the paper facing inside as shown on the right. Otherwise, printout can not be produced.
Pass the printer paper through the paper outlet of the printer cover, and close the cover.
Sign off on the printer paper replacement
Parts for Nidec Auto Lensmeter LM-990A
Access the parts list for your equipment in MaintainX.
Printer Paper
80620-00002
Fuse
80102-02039
Ink Cartridge
30291-M3261
Fuse
80402-02037
Printer Paper
80620-00002
Fuse
80102-02039
Ink Cartridge
30291-M3261
Fuse
80402-02037
Printer Paper
80620-00002
Fuse
80102-02039
Ink Cartridge
30291-M3261
Fuse
80402-02037
Unlock efficiency
with MaintainX CoPilot
MaintainX CoPilot is your expert colleague, on call 24/7, helping your team find the answers they need to keep equipment running.
Reduce Unplanned Downtime
Ensure your team follows consistent procedures to minimize equipment failures and costly delays.
Maximize Asset Availability
Keep your assets running longer and more reliably, with standardized maintenance workflows from OEM manuals.
Lower Maintenance Costs
Turn any technician into an expert to streamline operations, maintain more assets, and reduce overall costs.
Thousands of companies manage their assets with MaintainX

'%3e%3cpath%20fill='url(%23b)'%20d='M66.008%2080.068c-5.084-.786-9.763-3.834-12.442-8.68a16.942%2016.942%200%200%201-1.87-5.18c1.096.19%202.203.476%203.298.87%206.525%202.333%2010.836%207.68%2011.014%2012.99ZM51.47%2061.576c.488-5.524%203.62-10.716%208.847-13.597a17.132%2017.132%200%200%201%2011.335-1.882c-.798%208.145-7.43%2014.848-16.038%2015.599-1.417.119-2.799.07-4.144-.12Zm28.564-11.478a17.513%2017.513%200%200%201%203.727%204.62c4.608%208.335%201.584%2018.813-6.75%2023.409a16.988%2016.988%200%200%201-4.359%201.679%2019.624%2019.624%200%200%201-3.977-12.776c.346-7.561%204.942-13.931%2011.36-16.932Z'/%3e%3cpath%20fill='%23110F0D'%20fill-rule='evenodd'%20d='M142.831%2048.324h4.977V77.03h-4.977V48.324Zm27.278%2013.002c.322%201.048.453%202.263.453%203.62v12.073h-4.787V66.208c0-.75-.047-1.572-.154-2.143-.453-2.382-1.822-3.572-4.215-3.572-2.31%200-3.882%201.274-4.43%203.476-.143.596-.226%201.405-.226%202.25v10.8h-4.787V56.623h4.477v2.989c1.536-2.5%203.906-3.43%206.371-3.43%203.488%200%206.263%201.68%207.298%205.144Zm24.636%207.323c0%203.882-2.358%206.525-5.763%207.727-1.298.453-2.632.643-4.62.643h-10.169V48.324h9.085c1.691%200%203.156.143%204.049.38%203.465.93%205.727%203.68%205.727%207.335%200%202.441-.81%204.156-2.762%205.644%202.905%201.417%204.453%203.727%204.453%206.966Zm-15.634-8.656h4.584c1.024%200%201.917-.143%202.536-.417%201.215-.548%201.905-1.608%201.905-3.167%200-1.548-.643-2.572-1.845-3.132-.691-.31-1.762-.452-2.763-.452h-4.417v7.168Zm10.716%208.465c0-1.536-.893-3.37-3.227-3.893-.428-.095-1.036-.143-1.571-.143h-5.918v8.085h5.501c.56%200%201.429-.048%201.953-.167%201.94-.453%203.262-1.846%203.262-3.882Zm47.747-11.847-8.097%2020.408h-4.429l-8.109-20.408h5.191l5.192%2014.574%205.108-14.574h5.144Zm-20.218%2010.002c0%20.69-.036%201.262-.155%201.94h-15.943c.631%202.87%202.714%204.728%205.882%204.728%202.131%200%203.607-.882%204.703-2.525h4.87c-1.762%204.144-5.204%206.692-9.657%206.692-6.084%200-10.537-4.858-10.537-10.49%200-6.108%204.524-10.776%2010.335-10.776%206.239%200%2010.442%204.954%2010.502%2010.43Zm-4.763-1.405c-.333-2.846-2.643-4.858-5.691-4.858-2.894%200-5.287%201.929-5.621%204.858h11.312Zm-72.667%203.44c0%204.787-3.287%208.371-9.419%208.371H119.363V64.66c-1.917.274-3.87.69-5.811%201.238l4.537%2011.121h-5.418l-3.596-9.585c-5.144%202.084-10.085%205.216-14.217%209.585h-4.786L101.8%2048.312h4.56l5.68%2013.883a44.112%2044.112%200%200%201%207.323-1.774V48.312h9.084c1.703%200%203.156.143%204.061.393%203.453.929%205.727%203.667%205.727%207.323%200%201.917-.738%204.179-2.81%205.691%203.06%201.56%204.501%204.025%204.501%206.93Zm-15.634-8.667a62.664%2062.664%200%200%201%202.06-.036c1.703.012%203.239.131%204.608.37%201.441-.549%202.357-1.727%202.357-3.537%200-1.941-.881-3.144-2.488-3.667-.548-.18-1.358-.286-2.322-.286h-4.215v7.156Zm-16.55%203.905-3.715-9.894-6.394%2016.502c2.833-2.595%206.263-4.858%2010.109-6.608Zm27.254%204.74c0-2.775-3.131-4.347-8.513-4.418-.715%200-1.441.011-2.191.047v8.252h5.918c2.548%200%204.786-1.37%204.786-3.882Z'%20clip-rule='evenodd'/%3e%3c/g%3e%3cdefs%3e%3clinearGradient%20id='b'%20x1='51.47'%20x2='85.916'%20y1='62.946'%20y2='62.946'%20gradientUnits='userSpaceOnUse'%3e%3cstop%20stop-color='%23CD9F28'/%3e%3cstop%20offset='1'%20stop-color='%23ECD80B'/%3e%3c/linearGradient%3e%3cclipPath%20id='a'%3e%3cpath%20fill='%23fff'%20d='M51.47%2045.728h186.104V80.14H51.47z'/%3e%3c/clipPath%3e%3c/defs%3e%3c/svg%3e)


More from Nidec


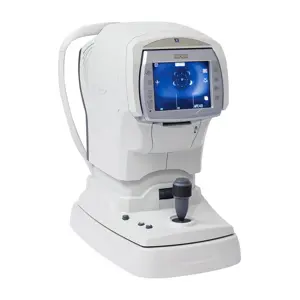
Explore Other Assets


© 2026 MaintainX. All rights reserved.