


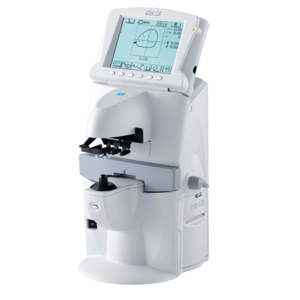
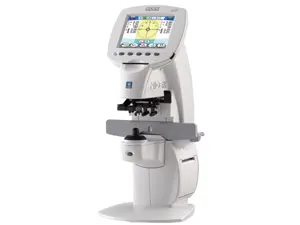
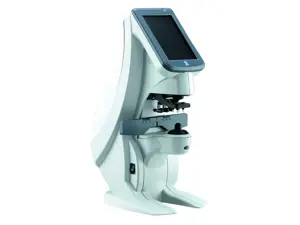
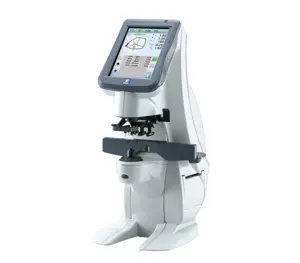
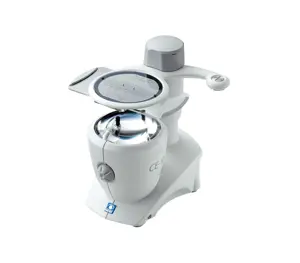
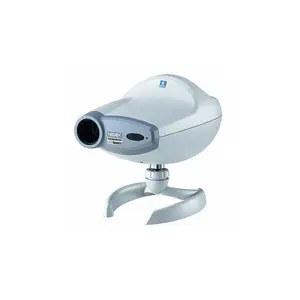
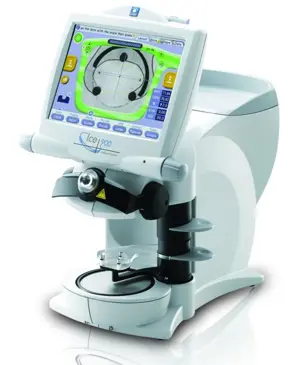
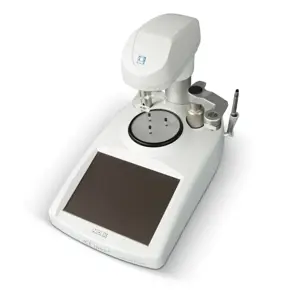
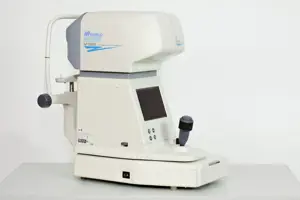
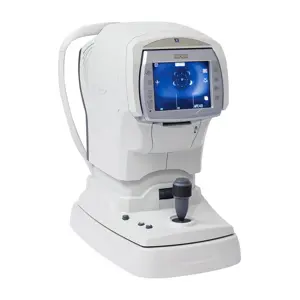
Nidec Non-Contact Tonometer NIDEK NT-4000
Need answers fast?
Explore the manual using AI.
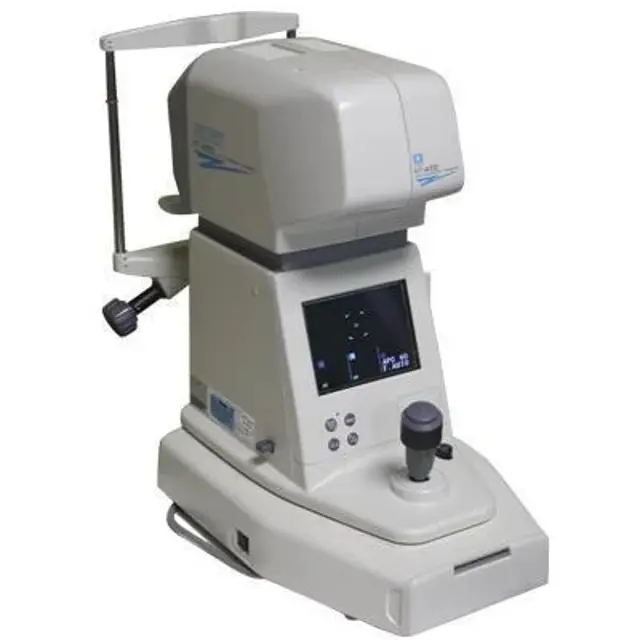
The Nidec Non-Contact Tonometer NIDEK NT-4000 is a state-of-the-art diagnostic instrument designed for precise intraocular pressure measurement. This advanced tonometer utilizes non-contact technology, ensuring patient comfort while delivering accurate results, making it an essential tool for eye care professionals.
Turn manuals into instant answers
with your AI-powered assistantTurn manuals into instant answers
with your AI-powered assistant
Manual for Nidec Non-Contact Tonometer NIDEK NT-4000
Complete asset maintenance, one click away
Get instant access to all the maintenance information you need. Empower technicians to perform preventive maintenance with asset packages, ready to use right out of the box.

Documents & Manuals
Find all the essential guides in one place.
 Tensioning Guide
- Belt-diagram
- C-120 pulleys
+ 13 more

Work Order Templates
Pre-built workflows to keep your asset running smoothly.
- Daily Electrical System Inspection
- Replace Roller and Pulley
- Install Engine B-120
+ 29 more

Procedures
Integrate maintenance plans directly into your work orders.
- Motion Industries
- Applied Industrial Technologies
- Electrical Brothers
+ 5 more

Parts
Access the parts list for your equipment in MaintainX.
- Drive Motor
- B2 Rollers
- Tensioning System
+ 40 more
Nidec Non-Contact Tonometer NIDEK NT-4000
Create an account to install this asset package.
Maintenance Plans for Nidec Non-Contact Tonometer Model NIDEK NT-4000
Integrate maintenance plans directly into your work orders in MaintainX.
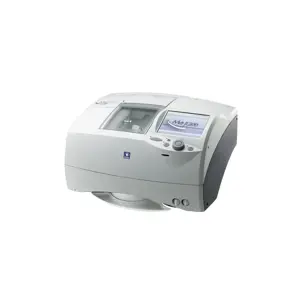
Printer Paper Replacement
CAUTION: Never press the switch when the printer paper is not set in the printer. The printer head may be damaged.
For advancing the printer paper, press the switch when the memory lamp is not lit. Pulling the printer paper forcibly may damage the printer head.
Pull the printer cover toward yourself
Raise the right lever to move the printer head off the printer paper. Then turn the right gear toward the instrument to rewind the printer paper
Remove the used printer paper and pull out the roller pivot
Insert the roller pivot into the new printer paper roll
NOTE: Be careful about the direction that the printer paper is set. Otherwise, the data cannot be printed out.
Cut the end of the printer paper straight with scissors and pass the paper through the printer as the arrow in the figure on the right shows. When the paper reaches the point “@”, turn the gear toward yourself to feed the paper
Adjust the position of the printer paper and lower the lever to move the printer head onto the printer paper. Then pass the paper through the printer cover. To remove the slack in the roll, turn the gear toward the instrument

Tonometer Cleaning
Warning: Do not use organic solvents (thinner, etc.) or cleaners containing abrasives. The surface or paint of the housing may be damaged.
Clean the exterior
Wipe the cover and screen with a soft cloth
For stubborn dirt, immerse the cloth in a detergent diluted with water, wring it, and wipe to remove the dirt
After cleaning, wipe them with a dry soft cloth
For parts that will be touched by a large number of people, such as the forehead rest, chinrest, etc., wipe them with clean gauze or absorbent cotton dipped in rubbing alcohol
Sign off on the tonometer cleaning
Fuses Replacement
Warning: Ensure the power is turned OFF before starting the procedure
Power switch turned OFF and power cord disconnected from the outlet
Main unit locked to the base and instrument laid down gently
Fuse carrier removed with a flatblade screwdriver
Old fuses replaced with new ones in the fuse carrier
Fuse carrier locked to the fuse holder using a flatblade screwdriver
Operation of the instrument checked
Caution: Use the correct fuses specified on the label beside the fuse holder. Replace both fuses with new ones. If the new fuses blow soon after replacement, contact NIDEK or your authorized distributor
Sign off on the fuses replacement
Parts for Nidec Non-Contact Tonometer NIDEK NT-4000
Access the parts list for your equipment in MaintainX.
Chinrest Paper
32903-M047
Fuse
804-02-02039
Printer Paper
806-20-00001
Fuse
804-02-02111
Chinrest Paper
32903-M047
Fuse
804-02-02039
Printer Paper
806-20-00001
Fuse
804-02-02111
Chinrest Paper
32903-M047
Fuse
804-02-02039
Printer Paper
806-20-00001
Fuse
804-02-02111
Unlock efficiency
with MaintainX CoPilot
MaintainX CoPilot is your expert colleague, on call 24/7, helping your team find the answers they need to keep equipment running.
Reduce Unplanned Downtime
Ensure your team follows consistent procedures to minimize equipment failures and costly delays.
Maximize Asset Availability
Keep your assets running longer and more reliably, with standardized maintenance workflows from OEM manuals.
Lower Maintenance Costs
Turn any technician into an expert to streamline operations, maintain more assets, and reduce overall costs.
Thousands of companies manage their assets with MaintainX

'%3e%3cpath%20fill='url(%23b)'%20d='M66.008%2080.068c-5.084-.786-9.763-3.834-12.442-8.68a16.942%2016.942%200%200%201-1.87-5.18c1.096.19%202.203.476%203.298.87%206.525%202.333%2010.836%207.68%2011.014%2012.99ZM51.47%2061.576c.488-5.524%203.62-10.716%208.847-13.597a17.132%2017.132%200%200%201%2011.335-1.882c-.798%208.145-7.43%2014.848-16.038%2015.599-1.417.119-2.799.07-4.144-.12Zm28.564-11.478a17.513%2017.513%200%200%201%203.727%204.62c4.608%208.335%201.584%2018.813-6.75%2023.409a16.988%2016.988%200%200%201-4.359%201.679%2019.624%2019.624%200%200%201-3.977-12.776c.346-7.561%204.942-13.931%2011.36-16.932Z'/%3e%3cpath%20fill='%23110F0D'%20fill-rule='evenodd'%20d='M142.831%2048.324h4.977V77.03h-4.977V48.324Zm27.278%2013.002c.322%201.048.453%202.263.453%203.62v12.073h-4.787V66.208c0-.75-.047-1.572-.154-2.143-.453-2.382-1.822-3.572-4.215-3.572-2.31%200-3.882%201.274-4.43%203.476-.143.596-.226%201.405-.226%202.25v10.8h-4.787V56.623h4.477v2.989c1.536-2.5%203.906-3.43%206.371-3.43%203.488%200%206.263%201.68%207.298%205.144Zm24.636%207.323c0%203.882-2.358%206.525-5.763%207.727-1.298.453-2.632.643-4.62.643h-10.169V48.324h9.085c1.691%200%203.156.143%204.049.38%203.465.93%205.727%203.68%205.727%207.335%200%202.441-.81%204.156-2.762%205.644%202.905%201.417%204.453%203.727%204.453%206.966Zm-15.634-8.656h4.584c1.024%200%201.917-.143%202.536-.417%201.215-.548%201.905-1.608%201.905-3.167%200-1.548-.643-2.572-1.845-3.132-.691-.31-1.762-.452-2.763-.452h-4.417v7.168Zm10.716%208.465c0-1.536-.893-3.37-3.227-3.893-.428-.095-1.036-.143-1.571-.143h-5.918v8.085h5.501c.56%200%201.429-.048%201.953-.167%201.94-.453%203.262-1.846%203.262-3.882Zm47.747-11.847-8.097%2020.408h-4.429l-8.109-20.408h5.191l5.192%2014.574%205.108-14.574h5.144Zm-20.218%2010.002c0%20.69-.036%201.262-.155%201.94h-15.943c.631%202.87%202.714%204.728%205.882%204.728%202.131%200%203.607-.882%204.703-2.525h4.87c-1.762%204.144-5.204%206.692-9.657%206.692-6.084%200-10.537-4.858-10.537-10.49%200-6.108%204.524-10.776%2010.335-10.776%206.239%200%2010.442%204.954%2010.502%2010.43Zm-4.763-1.405c-.333-2.846-2.643-4.858-5.691-4.858-2.894%200-5.287%201.929-5.621%204.858h11.312Zm-72.667%203.44c0%204.787-3.287%208.371-9.419%208.371H119.363V64.66c-1.917.274-3.87.69-5.811%201.238l4.537%2011.121h-5.418l-3.596-9.585c-5.144%202.084-10.085%205.216-14.217%209.585h-4.786L101.8%2048.312h4.56l5.68%2013.883a44.112%2044.112%200%200%201%207.323-1.774V48.312h9.084c1.703%200%203.156.143%204.061.393%203.453.929%205.727%203.667%205.727%207.323%200%201.917-.738%204.179-2.81%205.691%203.06%201.56%204.501%204.025%204.501%206.93Zm-15.634-8.667a62.664%2062.664%200%200%201%202.06-.036c1.703.012%203.239.131%204.608.37%201.441-.549%202.357-1.727%202.357-3.537%200-1.941-.881-3.144-2.488-3.667-.548-.18-1.358-.286-2.322-.286h-4.215v7.156Zm-16.55%203.905-3.715-9.894-6.394%2016.502c2.833-2.595%206.263-4.858%2010.109-6.608Zm27.254%204.74c0-2.775-3.131-4.347-8.513-4.418-.715%200-1.441.011-2.191.047v8.252h5.918c2.548%200%204.786-1.37%204.786-3.882Z'%20clip-rule='evenodd'/%3e%3c/g%3e%3cdefs%3e%3clinearGradient%20id='b'%20x1='51.47'%20x2='85.916'%20y1='62.946'%20y2='62.946'%20gradientUnits='userSpaceOnUse'%3e%3cstop%20stop-color='%23CD9F28'/%3e%3cstop%20offset='1'%20stop-color='%23ECD80B'/%3e%3c/linearGradient%3e%3cclipPath%20id='a'%3e%3cpath%20fill='%23fff'%20d='M51.47%2045.728h186.104V80.14H51.47z'/%3e%3c/clipPath%3e%3c/defs%3e%3c/svg%3e)


More from Nidec


Explore Other Assets


© 2026 MaintainX. All rights reserved.