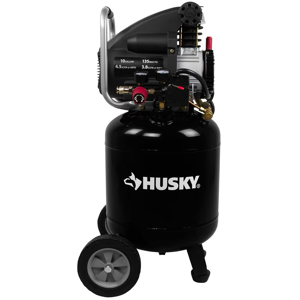
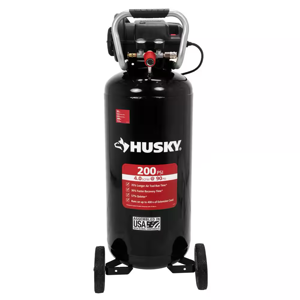
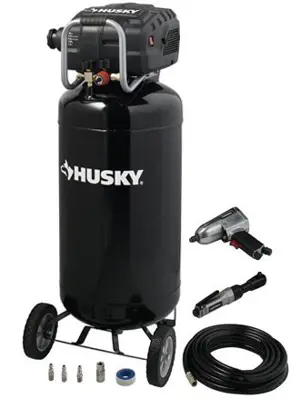
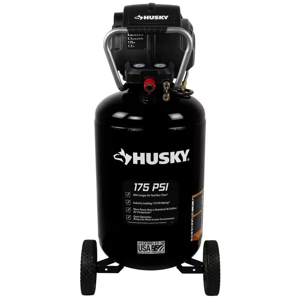
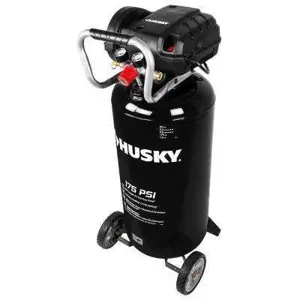
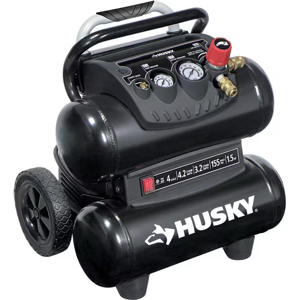
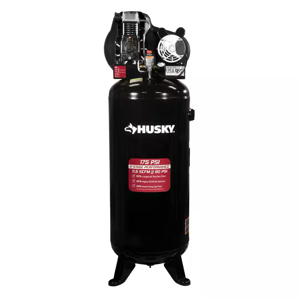
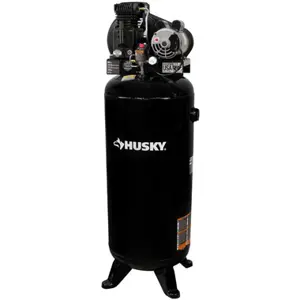
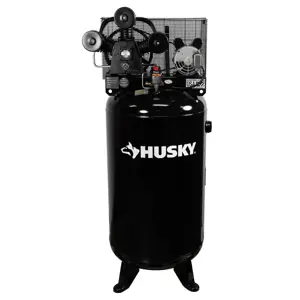
The Husky 30-Gallon Portable Air Compressor C302H is a reliable and efficient air compressor designed for various industrial applications. With its robust construction and powerful performance, this model is ideal for both professional and DIY projects, ensuring optimal air pressure and durability.
Turn manuals into instant answers
with your AI-powered assistantTurn manuals into instant answers
with your AI-powered assistant
Manual for Husky Husky 30-Gallon Portable Air Compressor C302H C302H
Complete asset maintenance, one click away
Get instant access to all the maintenance information you need. Empower technicians to perform preventive maintenance with asset packages, ready to use right out of the box.
Documents & Manuals
Find all the essential guides in one place.
Tensioning Guide
Belt-diagram
C-120 pulleys
+ 13 more
Work Order Templates
Pre-built workflows to keep your asset running smoothly.
Daily Electrical System Inspection
Replace Roller and Pulley
Install Engine B-120
+ 29 more
Procedures
Integrate maintenance plans directly into your work orders.
Motion Industries
Applied Industrial Technologies
Electrical Brothers
+ 5 more
Parts
Access the parts list for your equipment in MaintainX.
Drive Motor
B2 Rollers
Tensioning System
+ 40 more
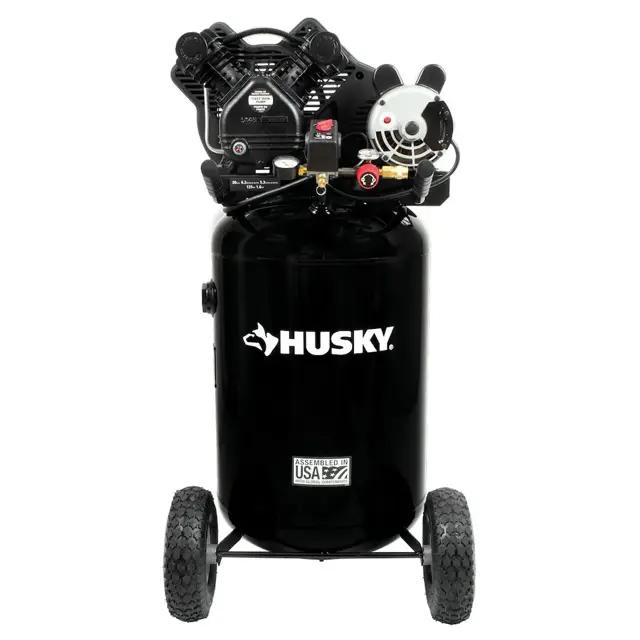
Husky Husky 30-Gallon Portable Air Compressor C302H C302H
Create an account to install this asset package.
Maintenance Plans for Husky Husky 30-Gallon Portable Air Compressor C302H Model C302H
Integrate maintenance plans directly into your work orders in MaintainX.
Oil Replacement
Warning: Ensure the machine is turned off and cooled down before starting the procedure.
Oil fill plug removed
Oil drain plug removed and oil drained into a suitable container
Oil drain plug replaced and tightened securely
Amount of compressor oil added
Note: Crankcase oil capacity is approximately 10.6 fluid ounces (313,5 ml).
Note: When filling the crankcase, the oil flows very slowly into the pump. If the oil is added too quickly, it will overflow and appear to be full.
Oil fill plug replaced and tightened securely
Sign off on the oil replacement
Oil Check
WARNING: Drain the tank to release air pressure before removing the oil fill cap or oil drain plug.
CAUTION: Overfilling with oil will cause premature air compressor failure. Do not overfill.
NOTICE: Risk of property damage. Use air compressor oil only. Multi-weight automotive engine oils like 10W30 should not be use in air compressors. They leave carbon deposits on critical components, thus reducing performance and compressor life.
Is the oil level to the middle of the sight glass?
If needed remove the oil fill plug and slowly add oil until it reaches the middle of the sight glass.
Sign off on the oil check
Pulley and Flywheel Alignment Check
Turn the air compressor off, lock out the power supply, and relieve all air pressure from the air tank
Remove the belt guard
Place a straightedge (S) against the outside of the flywheel (P) and the motor drive pulley (R)
Measure the distance between the edge of the belt (Q) and the straightedge at points A1 and A2 in the figure
If the difference is greater than 1/16 in. (1.6 mm), loosen the set screw holding the motor drive pulley (R) to the shaft and adjust the pulley position on the shaft until the A1 and A2 measurements are within 1/16 in. (1.6 mm) of each other
Tighten the motor drive pulley set screw
Visually inspect the motor drive pulley to verify that it is perpendicular to the drive motor shaft. Points B1 and B2 of the figure should appear to be equal. If they are not, loosen the setscrew of the motor drive pulley and equalize B1 and B2, using care not to disturb the belt alignment previously performed
Retighten the motor drive pulley setscrew. Torque to 145–165 in. lbs. (16.4–20.3 Nm)
Reinstall the belt guard
Safety Valve Check
DANGER: Do not tamper with the safety valve. Items loosened from this device could fly up and hit you. Failure to heed this warning could result in death or serious personal injury.
The safety valve automatically releases air when the receiver pressure exceeds the preset maximum. Check the valve before each day of use by pulling the ring by hand.
WARNING: If air leaks after releasing the safety valve ring or if the valve is stuck, do not use the air compressor until the safety valve has been replaced. Using the air compressor in this condition could result in serious personal injury.
Set the AUTO/OFF switch to the AUTO position, and wait for the tank to fill. The compressor automatically shuts off when the pressure reaches the preset maximum.
Set the AUTO/OFF switch (5) to the off position.
Pull the ring on the safety valve for 20 seconds to release the air.
Release the ring. Air stops escaping at about 20 psi. If air continues to escape after releasing the safety valve ring, discontinue use and seek service before using the air compressor again.
Sign off on the safety valve check
Air Compressor Maintenance
WARNING: When servicing, use only identical Husky replacement parts. Use of any other parts may create a hazard or cause product damage.
WARNING: Always release all pressure, disconnect from the power supply, and allow the unit to cool to the touch before cleaning or making repairs on the air compressor.
WARNING: Do not at any time let brake fluids, gasoline, petroleum-based products, penetrating oils, etc., come in contact with plastic parts. Chemicals can damage, weaken or destroy plastic which may result in serious personal injury.
Electric tools used on fiberglass material, wallboard, spackling compounds, or plaster are subject to accelerated wear and possible premature failure because the fiberglass chips and grindings are highly abrasive to bearings, brushes, commutators, etc. Consequently, we do not recommended using this tool for extended work on these types of materials. However, if you do work with any of these materials, it is extremely important to clean the tool using compressed air.
The safety valve automatically releases air when the receiver pressure exceeds the preset maximum.
Avoid using solvents when cleaning plastic parts. Most plastics are susceptible to damage from various types of commercial solvents and may be damaged by their use.
Use clean cloths to remove dirt, dust, oil, grease, etc.
Care and Cleaning
Drain the air tank of moisture after operation.
Parts for Husky Husky 30-Gallon Portable Air Compressor C302H C302H
Access the parts list for your equipment in MaintainX.
Valve Safety
E106004
Valve Drain
E106644
Wheel
E107324
Valve Plate Assy
E108160
Run Capacitor Cover
E106038
Valve Safety
E106004
Valve Drain
E106644
Wheel
E107324
Valve Plate Assy
E108160
Run Capacitor Cover
E106038
Valve Safety
E106004
Valve Drain
E106644
Wheel
E107324
Valve Plate Assy
E108160
Run Capacitor Cover
E106038
Unlock efficiency
with MaintainX CoPilot
MaintainX CoPilot is your expert colleague, on call 24/7, helping your team find the answers they need to keep equipment running.
Reduce Unplanned Downtime
Ensure your team follows consistent procedures to minimize equipment failures and costly delays.
Maximize Asset Availability
Keep your assets running longer and more reliably, with standardized maintenance workflows from OEM manuals.
Lower Maintenance Costs
Turn any technician into an expert to streamline operations, maintain more assets, and reduce overall costs.
Thousands of companies manage their assets with MaintainX


