


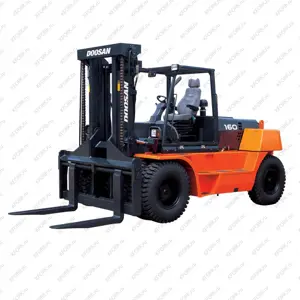
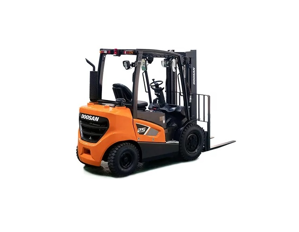
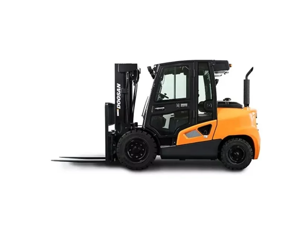
Doosan Lathe LYNX 220B
Need answers fast?
Explore the manual using AI.
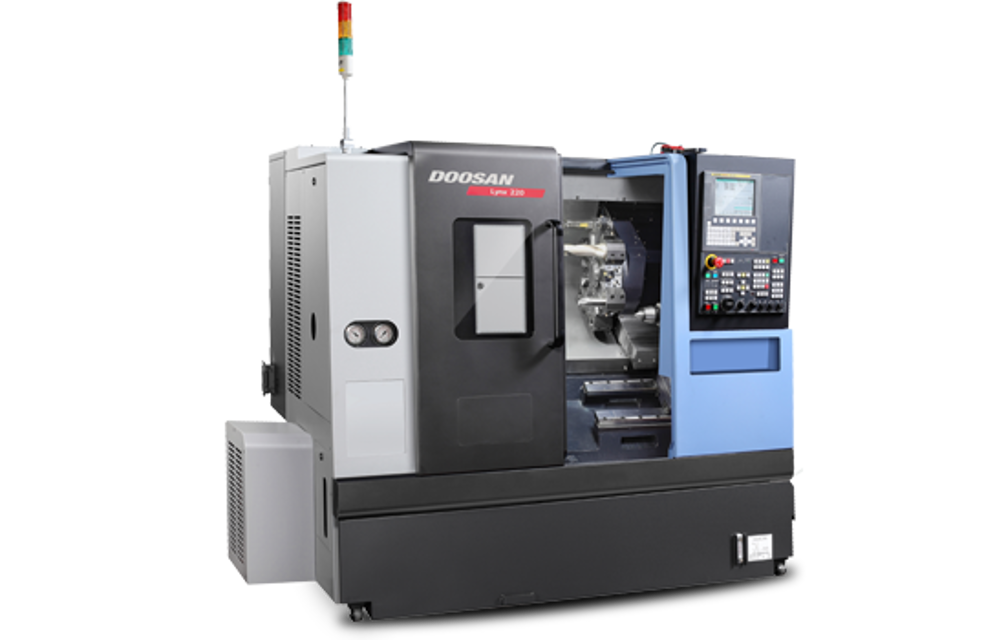
The Doosan Lathe LYNX 220B is a high-performance CNC lathe designed for precision machining in industrial applications. Known for its reliability and advanced features, this lathe enhances productivity and efficiency, making it an ideal choice for manufacturers seeking quality and performance.
Turn manuals into instant answers
with your AI-powered assistantTurn manuals into instant answers
with your AI-powered assistant
Manual for Doosan Lathe LYNX 220B
Complete asset maintenance, one click away
Get instant access to all the maintenance information you need. Empower technicians to perform preventive maintenance with asset packages, ready to use right out of the box.

Documents & Manuals
Find all the essential guides in one place.
 Tensioning Guide
- Belt-diagram
- C-120 pulleys
+ 13 more

Work Order Templates
Pre-built workflows to keep your asset running smoothly.
- Daily Electrical System Inspection
- Replace Roller and Pulley
- Install Engine B-120
+ 29 more

Procedures
Integrate maintenance plans directly into your work orders.
- Motion Industries
- Applied Industrial Technologies
- Electrical Brothers
+ 5 more

Parts
Access the parts list for your equipment in MaintainX.
- Drive Motor
- B2 Rollers
- Tensioning System
+ 40 more
Doosan Lathe LYNX 220B
Create an account to install this asset package.
Maintenance Plans for Doosan Lathe Model LYNX 220B
Integrate maintenance plans directly into your work orders in MaintainX.
Alignment of Headstock (Main spindle)
Procedure : 1) Loosen the headstock clamping screws(M20, 5 pcs.).
2) Align the headstock
a) In A direction
• After loosening the adjusting screw(b), secure the adjusting screw(a). This shifts the headstock in the A direction.
b) In B direction
• After loosening the adjusting screw(a), secure the adjusting screw(b). This shifts the headstock in the B direction.
• Carry out this adjustment while reading the dial indicator applied at the front end of the test piece.
c) After the required accuracy is obtained, tighten the 5 screws for headstock clamping. Note that reading of the dial indicator applied at the test piece top end must not change.;

6 Monthly Lathe Inspection
Check the wipers for abnormalities such as damage
Check the strainers
Replace the hydraulic oil
Check for oil leakage and for damaged piping
Check the Air unit element and if necessary, replace
Check the electrical components for dirt and discoloration and check for loose terminal screws
Check for loose connector/terminals between units
Sign off on the inspection
1 Daily Lathe Inspection
Arranging the machine periphery in order, cleaning the machine and its periphery (especially, the floor)
Checking the chuck unit and its periphery to scan for chips
Checking for secure mounting of the top jaws
Checking for smooth clamping/unclamping of chuck
Checking the tailstock spindle to scan for chips
Checking the tailstock body and tailstock spindle for smooth forward backward movement
Checking for secure mounting of the cutting tools and the holder
Checking the turrets and the cutting tools to scan for chips
Checking for unusual operating sounds during tail-stock or sub-spindle movement
Initial 3 Month V-belt Adjustment
1. Adjusting V-belt Between The Spindle and Main Motor
• When the PK-belts are worn or loosen after using for a long period, it is advisable to tension them or replace them with new ones.
Adjust the belt tension as below procedure
1) Loosen the fastening bolts (1) of motor bracket.
2) Loosen the nut (2) under the adjusting block.
3) Secure the adjusting bolt (3) slowly.
4) Check the amount of deflection value (d) of PK-belt with tension (F1) as above table.
5) After getting the set value (5), secure the nut (2).
2. Adjusting PK-belt between the sub-spindle
Centeralized Lubrication Unit Adjustment
1) Adjusting pump delivery
• The delivery amount to each lubrication point is controlled by the metering type distribution valve with automatic intermitent lubrication pump, and no further adjustment is necessary.
• A metering type distribution valves are provided at the machine rear(inside the cover) and at the right side of the tailstock. The delivery condition of lubricating oil can be checked visually. (Use sufficient care when checking the delivery condition.)
2) Maintenance and countermeasure.
When no lubricating oil is delivered :
a) Oil level is low. Replenish the lubricating oil of the same brand.
b) The pump is at a rest: The pump operates intermittently.
The pump operation interval is set at 5 minutes.
c) The oil strainer is clogged. Clean the oil strainer at least every six months. (See Fig. E-8.)
Unlock efficiency
with MaintainX CoPilot
MaintainX CoPilot is your expert colleague, on call 24/7, helping your team find the answers they need to keep equipment running.
Reduce Unplanned Downtime
Ensure your team follows consistent procedures to minimize equipment failures and costly delays.
Maximize Asset Availability
Keep your assets running longer and more reliably, with standardized maintenance workflows from OEM manuals.
Lower Maintenance Costs
Turn any technician into an expert to streamline operations, maintain more assets, and reduce overall costs.
Thousands of companies manage their assets with MaintainX

'%3e%3cpath%20fill='url(%23b)'%20d='M66.008%2080.068c-5.084-.786-9.763-3.834-12.442-8.68a16.942%2016.942%200%200%201-1.87-5.18c1.096.19%202.203.476%203.298.87%206.525%202.333%2010.836%207.68%2011.014%2012.99ZM51.47%2061.576c.488-5.524%203.62-10.716%208.847-13.597a17.132%2017.132%200%200%201%2011.335-1.882c-.798%208.145-7.43%2014.848-16.038%2015.599-1.417.119-2.799.07-4.144-.12Zm28.564-11.478a17.513%2017.513%200%200%201%203.727%204.62c4.608%208.335%201.584%2018.813-6.75%2023.409a16.988%2016.988%200%200%201-4.359%201.679%2019.624%2019.624%200%200%201-3.977-12.776c.346-7.561%204.942-13.931%2011.36-16.932Z'/%3e%3cpath%20fill='%23110F0D'%20fill-rule='evenodd'%20d='M142.831%2048.324h4.977V77.03h-4.977V48.324Zm27.278%2013.002c.322%201.048.453%202.263.453%203.62v12.073h-4.787V66.208c0-.75-.047-1.572-.154-2.143-.453-2.382-1.822-3.572-4.215-3.572-2.31%200-3.882%201.274-4.43%203.476-.143.596-.226%201.405-.226%202.25v10.8h-4.787V56.623h4.477v2.989c1.536-2.5%203.906-3.43%206.371-3.43%203.488%200%206.263%201.68%207.298%205.144Zm24.636%207.323c0%203.882-2.358%206.525-5.763%207.727-1.298.453-2.632.643-4.62.643h-10.169V48.324h9.085c1.691%200%203.156.143%204.049.38%203.465.93%205.727%203.68%205.727%207.335%200%202.441-.81%204.156-2.762%205.644%202.905%201.417%204.453%203.727%204.453%206.966Zm-15.634-8.656h4.584c1.024%200%201.917-.143%202.536-.417%201.215-.548%201.905-1.608%201.905-3.167%200-1.548-.643-2.572-1.845-3.132-.691-.31-1.762-.452-2.763-.452h-4.417v7.168Zm10.716%208.465c0-1.536-.893-3.37-3.227-3.893-.428-.095-1.036-.143-1.571-.143h-5.918v8.085h5.501c.56%200%201.429-.048%201.953-.167%201.94-.453%203.262-1.846%203.262-3.882Zm47.747-11.847-8.097%2020.408h-4.429l-8.109-20.408h5.191l5.192%2014.574%205.108-14.574h5.144Zm-20.218%2010.002c0%20.69-.036%201.262-.155%201.94h-15.943c.631%202.87%202.714%204.728%205.882%204.728%202.131%200%203.607-.882%204.703-2.525h4.87c-1.762%204.144-5.204%206.692-9.657%206.692-6.084%200-10.537-4.858-10.537-10.49%200-6.108%204.524-10.776%2010.335-10.776%206.239%200%2010.442%204.954%2010.502%2010.43Zm-4.763-1.405c-.333-2.846-2.643-4.858-5.691-4.858-2.894%200-5.287%201.929-5.621%204.858h11.312Zm-72.667%203.44c0%204.787-3.287%208.371-9.419%208.371H119.363V64.66c-1.917.274-3.87.69-5.811%201.238l4.537%2011.121h-5.418l-3.596-9.585c-5.144%202.084-10.085%205.216-14.217%209.585h-4.786L101.8%2048.312h4.56l5.68%2013.883a44.112%2044.112%200%200%201%207.323-1.774V48.312h9.084c1.703%200%203.156.143%204.061.393%203.453.929%205.727%203.667%205.727%207.323%200%201.917-.738%204.179-2.81%205.691%203.06%201.56%204.501%204.025%204.501%206.93Zm-15.634-8.667a62.664%2062.664%200%200%201%202.06-.036c1.703.012%203.239.131%204.608.37%201.441-.549%202.357-1.727%202.357-3.537%200-1.941-.881-3.144-2.488-3.667-.548-.18-1.358-.286-2.322-.286h-4.215v7.156Zm-16.55%203.905-3.715-9.894-6.394%2016.502c2.833-2.595%206.263-4.858%2010.109-6.608Zm27.254%204.74c0-2.775-3.131-4.347-8.513-4.418-.715%200-1.441.011-2.191.047v8.252h5.918c2.548%200%204.786-1.37%204.786-3.882Z'%20clip-rule='evenodd'/%3e%3c/g%3e%3cdefs%3e%3clinearGradient%20id='b'%20x1='51.47'%20x2='85.916'%20y1='62.946'%20y2='62.946'%20gradientUnits='userSpaceOnUse'%3e%3cstop%20stop-color='%23CD9F28'/%3e%3cstop%20offset='1'%20stop-color='%23ECD80B'/%3e%3c/linearGradient%3e%3cclipPath%20id='a'%3e%3cpath%20fill='%23fff'%20d='M51.47%2045.728h186.104V80.14H51.47z'/%3e%3c/clipPath%3e%3c/defs%3e%3c/svg%3e)


More from Doosan


Explore Other Assets


© 2026 MaintainX. All rights reserved.