


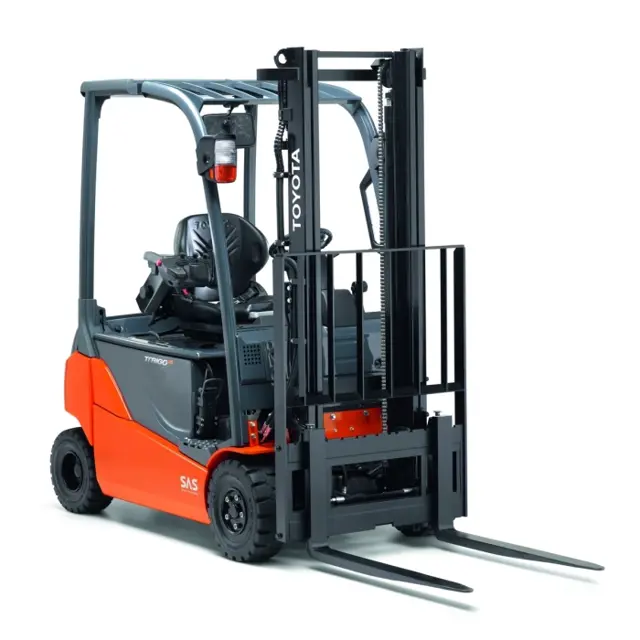
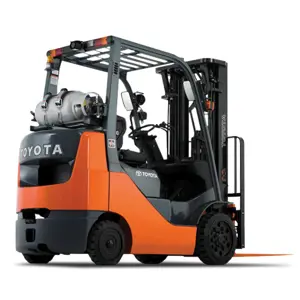
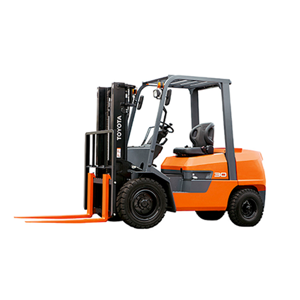
Toyota Forklift 8FBM18T
Need answers fast?
Explore the manual using AI.
Turn manuals into instant answers
with your AI-powered assistantTurn manuals into instant answers
with your AI-powered assistant
Manual for Toyota Forklift 8FBM18T
Complete asset maintenance, one click away
Get instant access to all the maintenance information you need. Empower technicians to perform preventive maintenance with asset packages, ready to use right out of the box.

Documents & Manuals
Find all the essential guides in one place.
 Tensioning Guide
- Belt-diagram
- C-120 pulleys
+ 13 more

Work Order Templates
Pre-built workflows to keep your asset running smoothly.
- Daily Electrical System Inspection
- Replace Roller and Pulley
- Install Engine B-120
+ 29 more

Procedures
Integrate maintenance plans directly into your work orders.
- Motion Industries
- Applied Industrial Technologies
- Electrical Brothers
+ 5 more

Parts
Access the parts list for your equipment in MaintainX.
- Drive Motor
- B2 Rollers
- Tensioning System
+ 40 more
Toyota Forklift 8FBM18T
Create an account to install this asset package.
Maintenance Plans for Toyota Forklift Model 8FBM18T
Integrate maintenance plans directly into your work orders in MaintainX.
Engine Sensor Inspection
- Inspection:
Measure the insulation resistance on the stator unit.
Measuring terminals: between the motor cables and the body
Standard: 1 MW or higher
- Check the continuity between the motor cables.
Terminal measurement: U-V, V-W, W-U
Standard: 0 ohm
- Measure the resistance of the temperature sensor.
Terminal measurement: Both terminals of the temperature sensor connector

Battery Plug Terminals Replasement
CAUTION! Disconnect the battery cables one by one.
CAUTION! Never disconnect more than one cable at a time. A short circuit could cause a fatal accident.
Remove the self-threading screws and the clamp cable.
Remove the contact holder unit from the connector box with a screwdriver, pulling the cables at the same time.
Remove the contacts from the contact holder and cut the old ones.
Peel the cables to the required lengths: Main contacts: 20.0 mm for 10 mm2 to 70 mm2 cables. Insert the cable into the hole right to the bottom. Weld or crimp the contacts. Insert the contacts in the contact holder. Pay attention to the polarity of the contacts during assembly. The main contacts must be inserted in the special support on the opposite sides with an inwards movement.
Slide the contact holder inside the connector box until it locks into position, protect the cables using the special clamps with the self-threading screws.
Insert the voltage key into the hex shaped opening in the front of the connector. Check that the battery voltage can be seen in the window. Apply force to the key to make sure it is fully inserted and locked in its seat.
Sign off on the battery plug terminals replacement
MCB Card Disassembling
Disassembly Procedure:
1) Open the battery cover.
2) Disconnect the battery connector.
3) Remove the footboards and the accelerator pedal.
4) Disconnect the electrical wiring.
5) Remove the MCB card.
Reassembly Procedure:
The assembly procedure is the reverse of the disassembly procedure.
After replacing the card, the vehicle settings must be repeated (see heading CALIBRATIONS).;
Fork Carriage Guide Shoes Disassembling
Vehicle parked on a level surface and parking brake applied
Truck turned off
Battery connector disconnected
Two forks removed from the carriage
One of the two side panels (B) removed from the fork carriage
Fork plate removed by sliding it to RH or LH side
Upper and lower guide shoes replaced
Shims adjusted as required for the lower shoes
Reassembly Procedure: The assembly procedure is the reverse of the disassembly procedure.
Operator's Seat Disassembling
Tilt the steering column forward (or release it)
Open the battery cover
Disconnect the battery connector
Disconnect the arm rest and seat connector and slide out from the hood
Loosen the 4 seat fixing nuts, then remove it
Remove the seat with the arm rest assembly, do not use the safety belt as an anchoring point
Remove the arm rest assembly from the seat
Reassembly Procedure: The assembly procedure is the reverse of the disassembly procedure
Sign off on the disassembly and reassembly of the operator's seat
Unlock efficiency
with MaintainX CoPilot
MaintainX CoPilot is your expert colleague, on call 24/7, helping your team find the answers they need to keep equipment running.
Reduce Unplanned Downtime
Ensure your team follows consistent procedures to minimize equipment failures and costly delays.
Maximize Asset Availability
Keep your assets running longer and more reliably, with standardized maintenance workflows from OEM manuals.
Lower Maintenance Costs
Turn any technician into an expert to streamline operations, maintain more assets, and reduce overall costs.
Thousands of companies manage their assets with MaintainX

'%3e%3cpath%20fill='url(%23b)'%20d='M66.008%2080.068c-5.084-.786-9.763-3.834-12.442-8.68a16.942%2016.942%200%200%201-1.87-5.18c1.096.19%202.203.476%203.298.87%206.525%202.333%2010.836%207.68%2011.014%2012.99ZM51.47%2061.576c.488-5.524%203.62-10.716%208.847-13.597a17.132%2017.132%200%200%201%2011.335-1.882c-.798%208.145-7.43%2014.848-16.038%2015.599-1.417.119-2.799.07-4.144-.12Zm28.564-11.478a17.513%2017.513%200%200%201%203.727%204.62c4.608%208.335%201.584%2018.813-6.75%2023.409a16.988%2016.988%200%200%201-4.359%201.679%2019.624%2019.624%200%200%201-3.977-12.776c.346-7.561%204.942-13.931%2011.36-16.932Z'/%3e%3cpath%20fill='%23110F0D'%20fill-rule='evenodd'%20d='M142.831%2048.324h4.977V77.03h-4.977V48.324Zm27.278%2013.002c.322%201.048.453%202.263.453%203.62v12.073h-4.787V66.208c0-.75-.047-1.572-.154-2.143-.453-2.382-1.822-3.572-4.215-3.572-2.31%200-3.882%201.274-4.43%203.476-.143.596-.226%201.405-.226%202.25v10.8h-4.787V56.623h4.477v2.989c1.536-2.5%203.906-3.43%206.371-3.43%203.488%200%206.263%201.68%207.298%205.144Zm24.636%207.323c0%203.882-2.358%206.525-5.763%207.727-1.298.453-2.632.643-4.62.643h-10.169V48.324h9.085c1.691%200%203.156.143%204.049.38%203.465.93%205.727%203.68%205.727%207.335%200%202.441-.81%204.156-2.762%205.644%202.905%201.417%204.453%203.727%204.453%206.966Zm-15.634-8.656h4.584c1.024%200%201.917-.143%202.536-.417%201.215-.548%201.905-1.608%201.905-3.167%200-1.548-.643-2.572-1.845-3.132-.691-.31-1.762-.452-2.763-.452h-4.417v7.168Zm10.716%208.465c0-1.536-.893-3.37-3.227-3.893-.428-.095-1.036-.143-1.571-.143h-5.918v8.085h5.501c.56%200%201.429-.048%201.953-.167%201.94-.453%203.262-1.846%203.262-3.882Zm47.747-11.847-8.097%2020.408h-4.429l-8.109-20.408h5.191l5.192%2014.574%205.108-14.574h5.144Zm-20.218%2010.002c0%20.69-.036%201.262-.155%201.94h-15.943c.631%202.87%202.714%204.728%205.882%204.728%202.131%200%203.607-.882%204.703-2.525h4.87c-1.762%204.144-5.204%206.692-9.657%206.692-6.084%200-10.537-4.858-10.537-10.49%200-6.108%204.524-10.776%2010.335-10.776%206.239%200%2010.442%204.954%2010.502%2010.43Zm-4.763-1.405c-.333-2.846-2.643-4.858-5.691-4.858-2.894%200-5.287%201.929-5.621%204.858h11.312Zm-72.667%203.44c0%204.787-3.287%208.371-9.419%208.371H119.363V64.66c-1.917.274-3.87.69-5.811%201.238l4.537%2011.121h-5.418l-3.596-9.585c-5.144%202.084-10.085%205.216-14.217%209.585h-4.786L101.8%2048.312h4.56l5.68%2013.883a44.112%2044.112%200%200%201%207.323-1.774V48.312h9.084c1.703%200%203.156.143%204.061.393%203.453.929%205.727%203.667%205.727%207.323%200%201.917-.738%204.179-2.81%205.691%203.06%201.56%204.501%204.025%204.501%206.93Zm-15.634-8.667a62.664%2062.664%200%200%201%202.06-.036c1.703.012%203.239.131%204.608.37%201.441-.549%202.357-1.727%202.357-3.537%200-1.941-.881-3.144-2.488-3.667-.548-.18-1.358-.286-2.322-.286h-4.215v7.156Zm-16.55%203.905-3.715-9.894-6.394%2016.502c2.833-2.595%206.263-4.858%2010.109-6.608Zm27.254%204.74c0-2.775-3.131-4.347-8.513-4.418-.715%200-1.441.011-2.191.047v8.252h5.918c2.548%200%204.786-1.37%204.786-3.882Z'%20clip-rule='evenodd'/%3e%3c/g%3e%3cdefs%3e%3clinearGradient%20id='b'%20x1='51.47'%20x2='85.916'%20y1='62.946'%20y2='62.946'%20gradientUnits='userSpaceOnUse'%3e%3cstop%20stop-color='%23CD9F28'/%3e%3cstop%20offset='1'%20stop-color='%23ECD80B'/%3e%3c/linearGradient%3e%3cclipPath%20id='a'%3e%3cpath%20fill='%23fff'%20d='M51.47%2045.728h186.104V80.14H51.47z'/%3e%3c/clipPath%3e%3c/defs%3e%3c/svg%3e)


More from Toyota
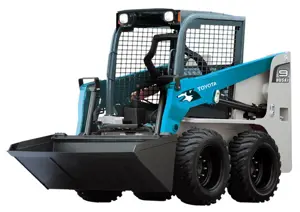
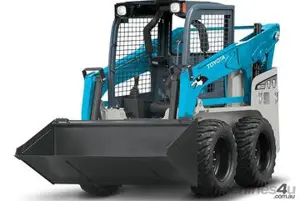


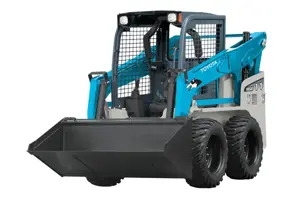


Explore Other Assets


© 2026 MaintainX. All rights reserved.