


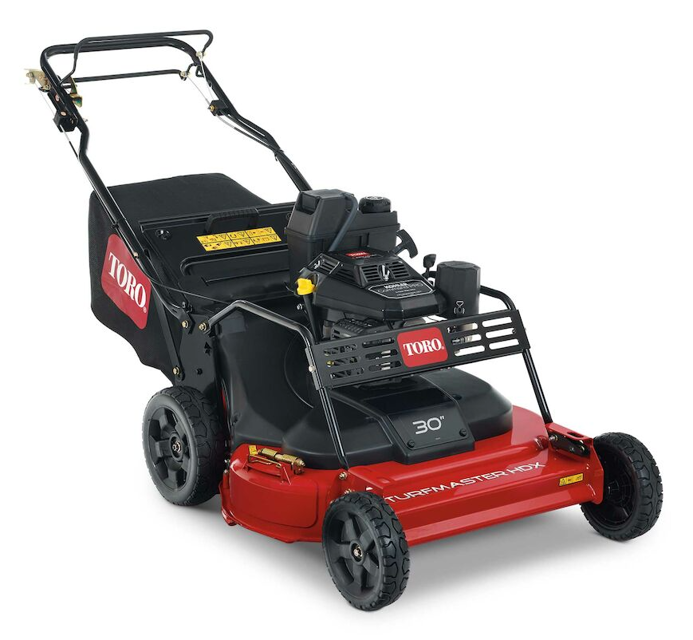
Toro HDX Walk-Behind Lawn Mower 22235 TORO 30"
Need answers fast?
Explore the manual using AI.
Turn manuals into instant answers
with your AI-powered assistantTurn manuals into instant answers
with your AI-powered assistant
Manual for Toro HDX Walk-Behind Lawn Mower 22235 TORO 30"
Complete asset maintenance, one click away
Get instant access to all the maintenance information you need. Empower technicians to perform preventive maintenance with asset packages, ready to use right out of the box.

Documents & Manuals
Find all the essential guides in one place.
 Tensioning Guide
- Belt-diagram
- C-120 pulleys
+ 13 more

Work Order Templates
Pre-built workflows to keep your asset running smoothly.
- Daily Electrical System Inspection
- Replace Roller and Pulley
- Install Engine B-120
+ 29 more

Procedures
Integrate maintenance plans directly into your work orders.
- Motion Industries
- Applied Industrial Technologies
- Electrical Brothers
+ 5 more

Parts
Access the parts list for your equipment in MaintainX.
- Drive Motor
- B2 Rollers
- Tensioning System
+ 40 more
Toro HDX Walk-Behind Lawn Mower 22235 TORO 30"
Create an account to install this asset package.
Maintenance Plans for Toro HDX Walk-Behind Lawn Mower Model 22235 TORO 30"
Integrate maintenance plans directly into your work orders in MaintainX.
Blade Removal
Warning: Ensure the machine is turned off and unplugged before starting the procedure.
Blades struck a solid object, are out of balance, bent, or worn?
Upload a photo of the current blade condition
Use a block of wood to hold each blade steady and turn the blade bolt counterclockwise
Upload a photo of the blade after removal
Remove each blade as shown in Figure 37
Upload a photo of the blade drivers
Inspect the pins on the blade drivers for wear and damage
Sign off on the blade removal

1 Daily HDX Walk-Behind Lawn Mower Maintenance
Check the engine-oil level
Important: If the oil level in the crankcase is too low or too high and you run the engine, you may damage the engine.
Inspect the air filter
Check the blades and service them, if necessary
Important: You will need a torque wrench to install the blades properly. If you do not have a torque wrench or are uncomfortable performing this procedure, contact an Authorized Service Dealer.
Examine the blades for sharpness and any wear or damage whenever you run out of fuel
DANGER: A worn or damaged blade can break, and a piece of the blade could be thrown toward you or bystanders, resulting in serious personal injury or death.
Inspect the blades periodically for wear or damage
Replace worn or damaged blades
100 Hourly / 1 Yearly Oil Filter Change
Run the engine to warm the oil
Shut off the engine and wait for all moving parts to stop
Disconnect the wire from the spark plug
Drain the engine oil
Place a rag under the oil filter to catch any oil that may leak out as you remove the filter
Remove the oil filter
Use your finger to coat the gasket on the new filter with oil
Install the new filter until the gasket contacts the filter base, then hand tighten the filter an additional 2/3 turn
Fill the crankcase to the correct level on the dipstick with fresh oil
Parking-Brake Cable Adjustment
Warning: This procedure requires trained personnel with PPE!
Disengage the parking brake
Turn the adjustment nut counterclockwise to loosen the cable adjustment
Adjust the tension on the cable by pulling or pushing the cable jacket and holding that position
Note: Pull the cable jacket toward the engine to increase tension; push the cable jacket away from the engine to decrease tension
Important: Adjust the cable jacket in small increments to avoid over tensioning
Turn the adjustment nut clockwise to tighten the cable adjustment
Note: Tighten the nut firmly with a socket or wrench
Sign off on the parking-brake cable adjustment
Initial 5 Hours Blade-Drive System Maintenance
Service the blade-drive system
Loosen the 2 quarter-turn fasteners on the belt-cover-access panel and remove the panel
Brush or blow out debris from the inside of the belt cover and around all the parts
Hold a feeler gauge set between 0.13 and 0.76 mm against the wall and slide it down behind the belt tension spring
If there is a visible gap between the gauge and the spring, tighten the adjusting bolt and the nut until the feeler gauge barely slides freely in and out of the gap
Important: Do not overtighten the adjusting bolt. This could damage the blade-drive belt
Install the belt-cover-access panel
Sign off on the blade-drive system maintenance
Unlock efficiency
with MaintainX CoPilot
MaintainX CoPilot is your expert colleague, on call 24/7, helping your team find the answers they need to keep equipment running.
Reduce Unplanned Downtime
Ensure your team follows consistent procedures to minimize equipment failures and costly delays.
Maximize Asset Availability
Keep your assets running longer and more reliably, with standardized maintenance workflows from OEM manuals.
Lower Maintenance Costs
Turn any technician into an expert to streamline operations, maintain more assets, and reduce overall costs.
Thousands of companies manage their assets with MaintainX

'%3e%3cpath%20fill='url(%23b)'%20d='M66.008%2080.068c-5.084-.786-9.763-3.834-12.442-8.68a16.942%2016.942%200%200%201-1.87-5.18c1.096.19%202.203.476%203.298.87%206.525%202.333%2010.836%207.68%2011.014%2012.99ZM51.47%2061.576c.488-5.524%203.62-10.716%208.847-13.597a17.132%2017.132%200%200%201%2011.335-1.882c-.798%208.145-7.43%2014.848-16.038%2015.599-1.417.119-2.799.07-4.144-.12Zm28.564-11.478a17.513%2017.513%200%200%201%203.727%204.62c4.608%208.335%201.584%2018.813-6.75%2023.409a16.988%2016.988%200%200%201-4.359%201.679%2019.624%2019.624%200%200%201-3.977-12.776c.346-7.561%204.942-13.931%2011.36-16.932Z'/%3e%3cpath%20fill='%23110F0D'%20fill-rule='evenodd'%20d='M142.831%2048.324h4.977V77.03h-4.977V48.324Zm27.278%2013.002c.322%201.048.453%202.263.453%203.62v12.073h-4.787V66.208c0-.75-.047-1.572-.154-2.143-.453-2.382-1.822-3.572-4.215-3.572-2.31%200-3.882%201.274-4.43%203.476-.143.596-.226%201.405-.226%202.25v10.8h-4.787V56.623h4.477v2.989c1.536-2.5%203.906-3.43%206.371-3.43%203.488%200%206.263%201.68%207.298%205.144Zm24.636%207.323c0%203.882-2.358%206.525-5.763%207.727-1.298.453-2.632.643-4.62.643h-10.169V48.324h9.085c1.691%200%203.156.143%204.049.38%203.465.93%205.727%203.68%205.727%207.335%200%202.441-.81%204.156-2.762%205.644%202.905%201.417%204.453%203.727%204.453%206.966Zm-15.634-8.656h4.584c1.024%200%201.917-.143%202.536-.417%201.215-.548%201.905-1.608%201.905-3.167%200-1.548-.643-2.572-1.845-3.132-.691-.31-1.762-.452-2.763-.452h-4.417v7.168Zm10.716%208.465c0-1.536-.893-3.37-3.227-3.893-.428-.095-1.036-.143-1.571-.143h-5.918v8.085h5.501c.56%200%201.429-.048%201.953-.167%201.94-.453%203.262-1.846%203.262-3.882Zm47.747-11.847-8.097%2020.408h-4.429l-8.109-20.408h5.191l5.192%2014.574%205.108-14.574h5.144Zm-20.218%2010.002c0%20.69-.036%201.262-.155%201.94h-15.943c.631%202.87%202.714%204.728%205.882%204.728%202.131%200%203.607-.882%204.703-2.525h4.87c-1.762%204.144-5.204%206.692-9.657%206.692-6.084%200-10.537-4.858-10.537-10.49%200-6.108%204.524-10.776%2010.335-10.776%206.239%200%2010.442%204.954%2010.502%2010.43Zm-4.763-1.405c-.333-2.846-2.643-4.858-5.691-4.858-2.894%200-5.287%201.929-5.621%204.858h11.312Zm-72.667%203.44c0%204.787-3.287%208.371-9.419%208.371H119.363V64.66c-1.917.274-3.87.69-5.811%201.238l4.537%2011.121h-5.418l-3.596-9.585c-5.144%202.084-10.085%205.216-14.217%209.585h-4.786L101.8%2048.312h4.56l5.68%2013.883a44.112%2044.112%200%200%201%207.323-1.774V48.312h9.084c1.703%200%203.156.143%204.061.393%203.453.929%205.727%203.667%205.727%207.323%200%201.917-.738%204.179-2.81%205.691%203.06%201.56%204.501%204.025%204.501%206.93Zm-15.634-8.667a62.664%2062.664%200%200%201%202.06-.036c1.703.012%203.239.131%204.608.37%201.441-.549%202.357-1.727%202.357-3.537%200-1.941-.881-3.144-2.488-3.667-.548-.18-1.358-.286-2.322-.286h-4.215v7.156Zm-16.55%203.905-3.715-9.894-6.394%2016.502c2.833-2.595%206.263-4.858%2010.109-6.608Zm27.254%204.74c0-2.775-3.131-4.347-8.513-4.418-.715%200-1.441.011-2.191.047v8.252h5.918c2.548%200%204.786-1.37%204.786-3.882Z'%20clip-rule='evenodd'/%3e%3c/g%3e%3cdefs%3e%3clinearGradient%20id='b'%20x1='51.47'%20x2='85.916'%20y1='62.946'%20y2='62.946'%20gradientUnits='userSpaceOnUse'%3e%3cstop%20stop-color='%23CD9F28'/%3e%3cstop%20offset='1'%20stop-color='%23ECD80B'/%3e%3c/linearGradient%3e%3cclipPath%20id='a'%3e%3cpath%20fill='%23fff'%20d='M51.47%2045.728h186.104V80.14H51.47z'/%3e%3c/clipPath%3e%3c/defs%3e%3c/svg%3e)


More from Toro
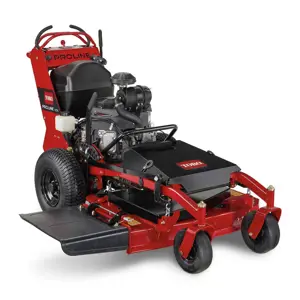
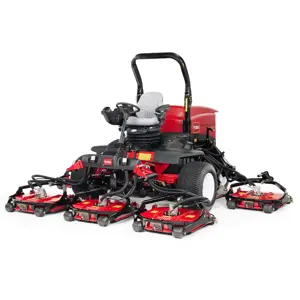


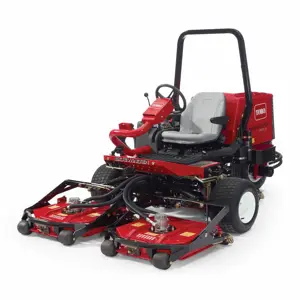


Explore Other Assets


© 2026 MaintainX. All rights reserved.