


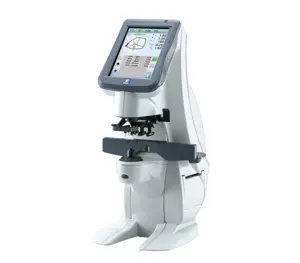
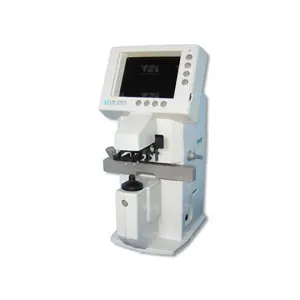
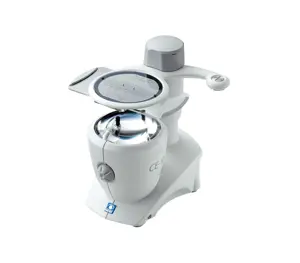
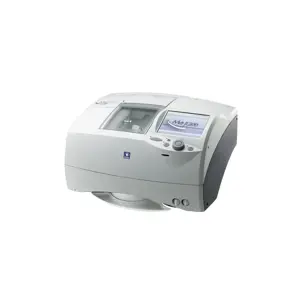
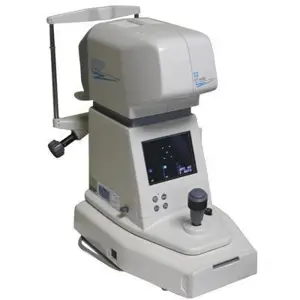
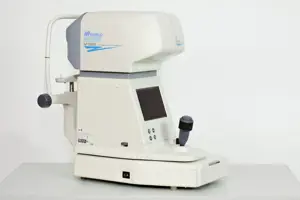
Nidec Refractor Nidek RT-900
Need answers fast?
Explore the manual using AI.
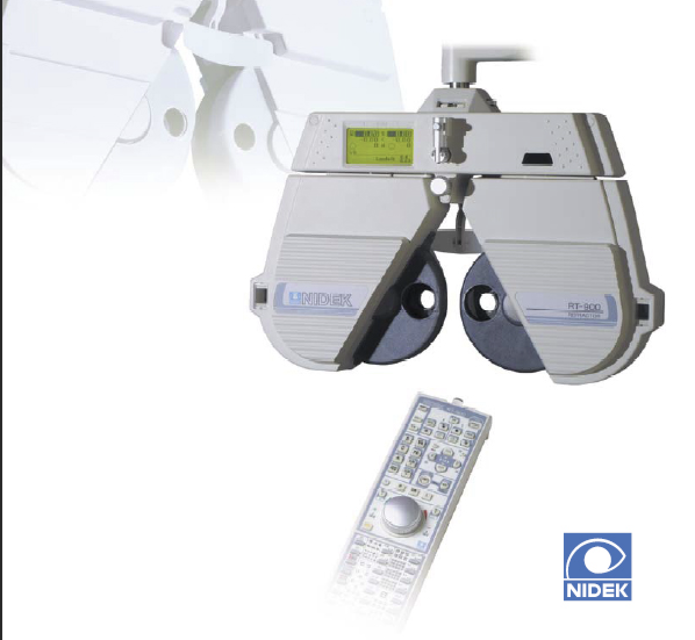
The Nidec Refractor Nidek RT-900 is a high-precision optical instrument designed for advanced refractive surgery applications. This state-of-the-art equipment ensures accurate measurements and optimal performance, making it essential for ophthalmic professionals. Regular maintenance and care are crucial for its longevity and reliability.
Turn manuals into instant answers
with your AI-powered assistantTurn manuals into instant answers
with your AI-powered assistant
Manual for Nidec Refractor Nidek RT-900
Complete asset maintenance, one click away
Get instant access to all the maintenance information you need. Empower technicians to perform preventive maintenance with asset packages, ready to use right out of the box.

Documents & Manuals
Find all the essential guides in one place.
 Tensioning Guide
- Belt-diagram
- C-120 pulleys
+ 13 more

Work Order Templates
Pre-built workflows to keep your asset running smoothly.
- Daily Electrical System Inspection
- Replace Roller and Pulley
- Install Engine B-120
+ 29 more

Procedures
Integrate maintenance plans directly into your work orders.
- Motion Industries
- Applied Industrial Technologies
- Electrical Brothers
+ 5 more

Parts
Access the parts list for your equipment in MaintainX.
- Drive Motor
- B2 Rollers
- Tensioning System
+ 40 more
Nidec Refractor Nidek RT-900
Create an account to install this asset package.
Maintenance Plans for Nidec Refractor Model Nidek RT-900
Integrate maintenance plans directly into your work orders in MaintainX.
Printer Paper Replacement
Warning: Do not run the printer without paper. It may damage the printer head.
Warning: Do not pull the paper in the printer forcefully. It may cause malfunction of the printer.
Open the printer cover
Push down the lever on the left and turn the gear to rewind the paper
Remove the used printer paper roll
Remove the printer paper roller shaft from the used paper roll
Insert the shaft into a new paper roll
Set the end of the paper into the paper inlet as shown on the right
Cut the end cleanly and pass the paper through the paper inlet as illustrated on the right

Measuring Windows Cleaning
Warning: This cleaning procedure requires trained personnel with PPE!
Check if the measuring windows are clean
If the windows are dirty or smudged, proceed with the following steps
Press and turn the dial counterclockwise until the PD value becomes 80 mm
Press to converge the lens banks
Loosen the two screws on page 8-2 with a hexagonal wrench
Remove the disk cover and clean the inside of the measuring window
Reattach the disk cover
Note: When the disk cover is removed, pay attention not to soil the inside with such as fingerprints. Perform this in a clean room so that dust does not get in the inside
Non-contact Tonometer Cleaning
Warning: Make sure the refractor head is securely locked before detaching any parts
Forehead rest removed
Forehead rest cleaned with a clean cloth and a diluted neutral detergent solution
Forehead rest wiped dry completely
Face shields removed
Face shields cleaned with a clean cloth and a diluted neutral detergent solution
Sign off on the cleaning procedure
Fuses Replacement
Warning: Only use specified fuses. Ensure power is off and cord is disconnected before starting.
Power switch turned off
Power cord unplugged from wall outlet and power inlet
Upload a photo of the old fuses
Fuses replaced with new ones
Upload a photo of the new fuses installed
Caution: Ensure the fuse holder's voltage indication matches the supplied power voltage.
Fuse holder's voltage indication matches the supplied power voltage
Sign off on the fuse replacement
Remote Control Batteries Replacement
CAUTION: Use two AA batteries (LR6, R6, or UM-3) for replacement. Removing the batteries from the remote control does not clear the program contents.
Detach the battery case cover from the rear side of the remote control
Remove the old batteries
Put in the new batteries
CAUTION: The direction of batteries must be the same as plus and minus marks printed in the battery case of the remote control. Leakage of battery acid may cause malfunction of the remote control or damage the periphery.
NOTE: When disposing of the dead batteries, follow the local governing ordinances and recycling plans.
Sign off on the battery replacement
Parts for Nidec Refractor Nidek RT-900
Access the parts list for your equipment in MaintainX.
Printer Paper
80620-00001
Printer
RT8PR-4
Printer Paper
80620-00001
Printer
RT8PR-4
Printer Paper
80620-00001
Printer
RT8PR-4
Unlock efficiency
with MaintainX CoPilot
MaintainX CoPilot is your expert colleague, on call 24/7, helping your team find the answers they need to keep equipment running.
Reduce Unplanned Downtime
Ensure your team follows consistent procedures to minimize equipment failures and costly delays.
Maximize Asset Availability
Keep your assets running longer and more reliably, with standardized maintenance workflows from OEM manuals.
Lower Maintenance Costs
Turn any technician into an expert to streamline operations, maintain more assets, and reduce overall costs.
Thousands of companies manage their assets with MaintainX

'%3e%3cpath%20fill='url(%23b)'%20d='M66.008%2080.068c-5.084-.786-9.763-3.834-12.442-8.68a16.942%2016.942%200%200%201-1.87-5.18c1.096.19%202.203.476%203.298.87%206.525%202.333%2010.836%207.68%2011.014%2012.99ZM51.47%2061.576c.488-5.524%203.62-10.716%208.847-13.597a17.132%2017.132%200%200%201%2011.335-1.882c-.798%208.145-7.43%2014.848-16.038%2015.599-1.417.119-2.799.07-4.144-.12Zm28.564-11.478a17.513%2017.513%200%200%201%203.727%204.62c4.608%208.335%201.584%2018.813-6.75%2023.409a16.988%2016.988%200%200%201-4.359%201.679%2019.624%2019.624%200%200%201-3.977-12.776c.346-7.561%204.942-13.931%2011.36-16.932Z'/%3e%3cpath%20fill='%23110F0D'%20fill-rule='evenodd'%20d='M142.831%2048.324h4.977V77.03h-4.977V48.324Zm27.278%2013.002c.322%201.048.453%202.263.453%203.62v12.073h-4.787V66.208c0-.75-.047-1.572-.154-2.143-.453-2.382-1.822-3.572-4.215-3.572-2.31%200-3.882%201.274-4.43%203.476-.143.596-.226%201.405-.226%202.25v10.8h-4.787V56.623h4.477v2.989c1.536-2.5%203.906-3.43%206.371-3.43%203.488%200%206.263%201.68%207.298%205.144Zm24.636%207.323c0%203.882-2.358%206.525-5.763%207.727-1.298.453-2.632.643-4.62.643h-10.169V48.324h9.085c1.691%200%203.156.143%204.049.38%203.465.93%205.727%203.68%205.727%207.335%200%202.441-.81%204.156-2.762%205.644%202.905%201.417%204.453%203.727%204.453%206.966Zm-15.634-8.656h4.584c1.024%200%201.917-.143%202.536-.417%201.215-.548%201.905-1.608%201.905-3.167%200-1.548-.643-2.572-1.845-3.132-.691-.31-1.762-.452-2.763-.452h-4.417v7.168Zm10.716%208.465c0-1.536-.893-3.37-3.227-3.893-.428-.095-1.036-.143-1.571-.143h-5.918v8.085h5.501c.56%200%201.429-.048%201.953-.167%201.94-.453%203.262-1.846%203.262-3.882Zm47.747-11.847-8.097%2020.408h-4.429l-8.109-20.408h5.191l5.192%2014.574%205.108-14.574h5.144Zm-20.218%2010.002c0%20.69-.036%201.262-.155%201.94h-15.943c.631%202.87%202.714%204.728%205.882%204.728%202.131%200%203.607-.882%204.703-2.525h4.87c-1.762%204.144-5.204%206.692-9.657%206.692-6.084%200-10.537-4.858-10.537-10.49%200-6.108%204.524-10.776%2010.335-10.776%206.239%200%2010.442%204.954%2010.502%2010.43Zm-4.763-1.405c-.333-2.846-2.643-4.858-5.691-4.858-2.894%200-5.287%201.929-5.621%204.858h11.312Zm-72.667%203.44c0%204.787-3.287%208.371-9.419%208.371H119.363V64.66c-1.917.274-3.87.69-5.811%201.238l4.537%2011.121h-5.418l-3.596-9.585c-5.144%202.084-10.085%205.216-14.217%209.585h-4.786L101.8%2048.312h4.56l5.68%2013.883a44.112%2044.112%200%200%201%207.323-1.774V48.312h9.084c1.703%200%203.156.143%204.061.393%203.453.929%205.727%203.667%205.727%207.323%200%201.917-.738%204.179-2.81%205.691%203.06%201.56%204.501%204.025%204.501%206.93Zm-15.634-8.667a62.664%2062.664%200%200%201%202.06-.036c1.703.012%203.239.131%204.608.37%201.441-.549%202.357-1.727%202.357-3.537%200-1.941-.881-3.144-2.488-3.667-.548-.18-1.358-.286-2.322-.286h-4.215v7.156Zm-16.55%203.905-3.715-9.894-6.394%2016.502c2.833-2.595%206.263-4.858%2010.109-6.608Zm27.254%204.74c0-2.775-3.131-4.347-8.513-4.418-.715%200-1.441.011-2.191.047v8.252h5.918c2.548%200%204.786-1.37%204.786-3.882Z'%20clip-rule='evenodd'/%3e%3c/g%3e%3cdefs%3e%3clinearGradient%20id='b'%20x1='51.47'%20x2='85.916'%20y1='62.946'%20y2='62.946'%20gradientUnits='userSpaceOnUse'%3e%3cstop%20stop-color='%23CD9F28'/%3e%3cstop%20offset='1'%20stop-color='%23ECD80B'/%3e%3c/linearGradient%3e%3cclipPath%20id='a'%3e%3cpath%20fill='%23fff'%20d='M51.47%2045.728h186.104V80.14H51.47z'/%3e%3c/clipPath%3e%3c/defs%3e%3c/svg%3e)


More from Nidec
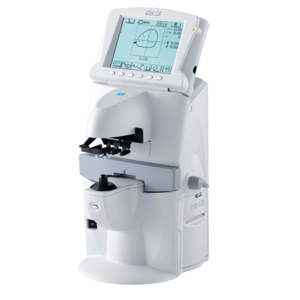

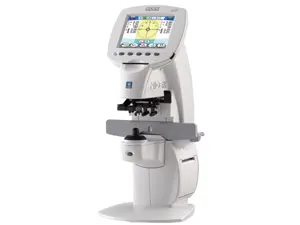

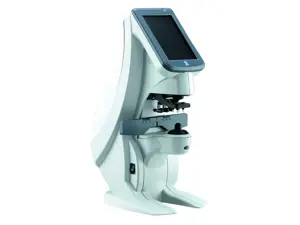
Explore Other Assets


© 2026 MaintainX. All rights reserved.