


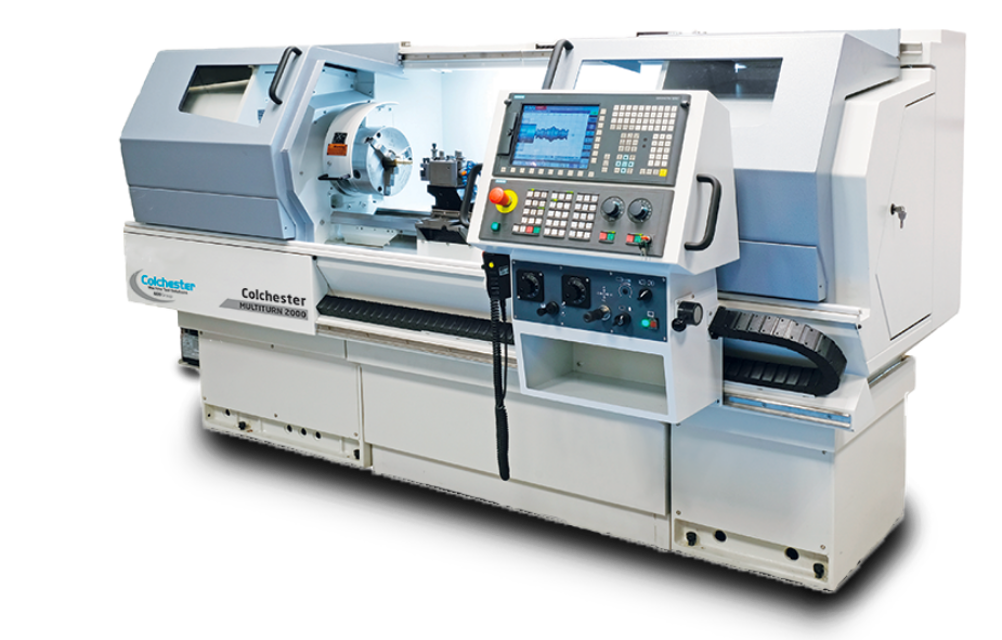
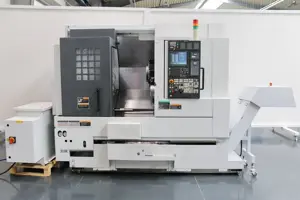
Mori Seiki CNC Vertical Machining Center CHK2-60/6
Need answers fast?
Explore the manual using AI.
Turn manuals into instant answers
with your AI-powered assistantTurn manuals into instant answers
with your AI-powered assistant
Manual for Mori Seiki CNC Vertical Machining Center CHK2-60/6
Complete asset maintenance, one click away
Get instant access to all the maintenance information you need. Empower technicians to perform preventive maintenance with asset packages, ready to use right out of the box.

Documents & Manuals
Find all the essential guides in one place.
 Tensioning Guide
- Belt-diagram
- C-120 pulleys
+ 13 more

Work Order Templates
Pre-built workflows to keep your asset running smoothly.
- Daily Electrical System Inspection
- Replace Roller and Pulley
- Install Engine B-120
+ 29 more

Procedures
Integrate maintenance plans directly into your work orders.
- Motion Industries
- Applied Industrial Technologies
- Electrical Brothers
+ 5 more

Parts
Access the parts list for your equipment in MaintainX.
- Drive Motor
- B2 Rollers
- Tensioning System
+ 40 more
Mori Seiki CNC Vertical Machining Center CHK2-60/6
Create an account to install this asset package.
Maintenance Plans for Mori Seiki CNC Vertical Machining Center Model CHK2-60/6
Integrate maintenance plans directly into your work orders in MaintainX.
Regulator Lubrication
Type: AR4000
Is the orange mark visible on the knob?
If the knob cannot be turned, it is locked; pull the knob and the lock will be released.
Can the knob be locked easily?
If the knob cannot be locked easily, turn it slightly to the right and left and then press the knob again.
Turning direction
To set the required pressure, turn the knob CCW, passing the required position. Then turn it CW to set the required pressure.
Enter the source pressure
Is the source pressure set to 0.5 MPa (71.1 psi)?

Spindle Cleaning
CAUTION: Follow the cautions when starting spindle rotation and cleaning the spindle.
Spindle break-in operation performed at low speed (300 min-1) for 30 minutes?
Spindle break-in operation performed at high speed (1000 min-1) for 30 minutes?
Warning: If the spindle is rotated at a high speed without break-in operation, there is a possibility of spindle seizure.
Spindle cleaned using soft rags?
Warning: Never use compressed air to clean the spindle. If compressed air is applied between the spindle and the front cover, coolant will enter through the spindle bearings and extremely shorten the bearing life.
Spindle tapered hole kept clean?
Warning: Foreign matter adhering on the tapered hole surface will deteriorate spindle accuracy or preclude tool clamping collet operation.
Did the temperature of the spindle rise abnormally during operation?
Resistors Adjustment
Adjusting LVL setting:
1) Set the LVL at the "0" position.
2) Rotate the LVL in clockwise while the spindle is rotating at the spindle orientation speed.
3) Find the position where both the LVL1 and LVL2 LEDs are lit brightly.
If you rotate the LVL exceeding this point, the O-LVL LED will be lit.
The LVL should be set at the position where O-LVL LED is not lit.
NOTE: If the LEDs do not light in the order of LVL1 and LVL2, the magnet is mounted in the reverse direction. Therefore, change the magnet mounting direction.
Adjusting BIAS setting:
1) Set the BIAS resistors (BIAS, M-BIAS, and L-BIAS) at the "5" position.
1 Yearly Tank Maintenance
Warning: This maintenance check requires trained personnel with PPE!
Presence of dirt and water in the slideway lubrication unit tank
If dirt and water are present, proceed to clean the inside of the tank and the filter
Filter cleaned or replaced
Use washing oil to clean the filter
Filter cleaned with washing oil
Apply compressed air to the filter after cleaning
Compressed air applied to the filter
Do not use a thinner-based fluid to clean the filter
Lubrication Oil Handling and Maintenance
CAUTION: Follow the cautions on handling the lubricating oil.
1) Storage
(a) Store the lubricating oil where it will not be exposed to rain or direct sunlight.
(b) Prevent contact with dirt and water during storage.
(c) Never use degraded oils or oils that have been mixed with foreign matter during storage.
2) Oil jugs and intermediate tanks
(a) Never use the same oil jug for different lubricating oils and coolant.
(b) When an intermediate tank is used inside the factory building, relatively large amounts of dirt and water tend to accumulate at the bottom of the tank. Periodically inspect and clean the tank.
3) Slideway lubrication unit
Unlock efficiency
with MaintainX CoPilot
MaintainX CoPilot is your expert colleague, on call 24/7, helping your team find the answers they need to keep equipment running.
Reduce Unplanned Downtime
Ensure your team follows consistent procedures to minimize equipment failures and costly delays.
Maximize Asset Availability
Keep your assets running longer and more reliably, with standardized maintenance workflows from OEM manuals.
Lower Maintenance Costs
Turn any technician into an expert to streamline operations, maintain more assets, and reduce overall costs.
Thousands of companies manage their assets with MaintainX

'%3e%3cpath%20fill='url(%23b)'%20d='M66.008%2080.068c-5.084-.786-9.763-3.834-12.442-8.68a16.942%2016.942%200%200%201-1.87-5.18c1.096.19%202.203.476%203.298.87%206.525%202.333%2010.836%207.68%2011.014%2012.99ZM51.47%2061.576c.488-5.524%203.62-10.716%208.847-13.597a17.132%2017.132%200%200%201%2011.335-1.882c-.798%208.145-7.43%2014.848-16.038%2015.599-1.417.119-2.799.07-4.144-.12Zm28.564-11.478a17.513%2017.513%200%200%201%203.727%204.62c4.608%208.335%201.584%2018.813-6.75%2023.409a16.988%2016.988%200%200%201-4.359%201.679%2019.624%2019.624%200%200%201-3.977-12.776c.346-7.561%204.942-13.931%2011.36-16.932Z'/%3e%3cpath%20fill='%23110F0D'%20fill-rule='evenodd'%20d='M142.831%2048.324h4.977V77.03h-4.977V48.324Zm27.278%2013.002c.322%201.048.453%202.263.453%203.62v12.073h-4.787V66.208c0-.75-.047-1.572-.154-2.143-.453-2.382-1.822-3.572-4.215-3.572-2.31%200-3.882%201.274-4.43%203.476-.143.596-.226%201.405-.226%202.25v10.8h-4.787V56.623h4.477v2.989c1.536-2.5%203.906-3.43%206.371-3.43%203.488%200%206.263%201.68%207.298%205.144Zm24.636%207.323c0%203.882-2.358%206.525-5.763%207.727-1.298.453-2.632.643-4.62.643h-10.169V48.324h9.085c1.691%200%203.156.143%204.049.38%203.465.93%205.727%203.68%205.727%207.335%200%202.441-.81%204.156-2.762%205.644%202.905%201.417%204.453%203.727%204.453%206.966Zm-15.634-8.656h4.584c1.024%200%201.917-.143%202.536-.417%201.215-.548%201.905-1.608%201.905-3.167%200-1.548-.643-2.572-1.845-3.132-.691-.31-1.762-.452-2.763-.452h-4.417v7.168Zm10.716%208.465c0-1.536-.893-3.37-3.227-3.893-.428-.095-1.036-.143-1.571-.143h-5.918v8.085h5.501c.56%200%201.429-.048%201.953-.167%201.94-.453%203.262-1.846%203.262-3.882Zm47.747-11.847-8.097%2020.408h-4.429l-8.109-20.408h5.191l5.192%2014.574%205.108-14.574h5.144Zm-20.218%2010.002c0%20.69-.036%201.262-.155%201.94h-15.943c.631%202.87%202.714%204.728%205.882%204.728%202.131%200%203.607-.882%204.703-2.525h4.87c-1.762%204.144-5.204%206.692-9.657%206.692-6.084%200-10.537-4.858-10.537-10.49%200-6.108%204.524-10.776%2010.335-10.776%206.239%200%2010.442%204.954%2010.502%2010.43Zm-4.763-1.405c-.333-2.846-2.643-4.858-5.691-4.858-2.894%200-5.287%201.929-5.621%204.858h11.312Zm-72.667%203.44c0%204.787-3.287%208.371-9.419%208.371H119.363V64.66c-1.917.274-3.87.69-5.811%201.238l4.537%2011.121h-5.418l-3.596-9.585c-5.144%202.084-10.085%205.216-14.217%209.585h-4.786L101.8%2048.312h4.56l5.68%2013.883a44.112%2044.112%200%200%201%207.323-1.774V48.312h9.084c1.703%200%203.156.143%204.061.393%203.453.929%205.727%203.667%205.727%207.323%200%201.917-.738%204.179-2.81%205.691%203.06%201.56%204.501%204.025%204.501%206.93Zm-15.634-8.667a62.664%2062.664%200%200%201%202.06-.036c1.703.012%203.239.131%204.608.37%201.441-.549%202.357-1.727%202.357-3.537%200-1.941-.881-3.144-2.488-3.667-.548-.18-1.358-.286-2.322-.286h-4.215v7.156Zm-16.55%203.905-3.715-9.894-6.394%2016.502c2.833-2.595%206.263-4.858%2010.109-6.608Zm27.254%204.74c0-2.775-3.131-4.347-8.513-4.418-.715%200-1.441.011-2.191.047v8.252h5.918c2.548%200%204.786-1.37%204.786-3.882Z'%20clip-rule='evenodd'/%3e%3c/g%3e%3cdefs%3e%3clinearGradient%20id='b'%20x1='51.47'%20x2='85.916'%20y1='62.946'%20y2='62.946'%20gradientUnits='userSpaceOnUse'%3e%3cstop%20stop-color='%23CD9F28'/%3e%3cstop%20offset='1'%20stop-color='%23ECD80B'/%3e%3c/linearGradient%3e%3cclipPath%20id='a'%3e%3cpath%20fill='%23fff'%20d='M51.47%2045.728h186.104V80.14H51.47z'/%3e%3c/clipPath%3e%3c/defs%3e%3c/svg%3e)


More from Mori Seiki


Explore Other Assets


© 2026 MaintainX. All rights reserved.