


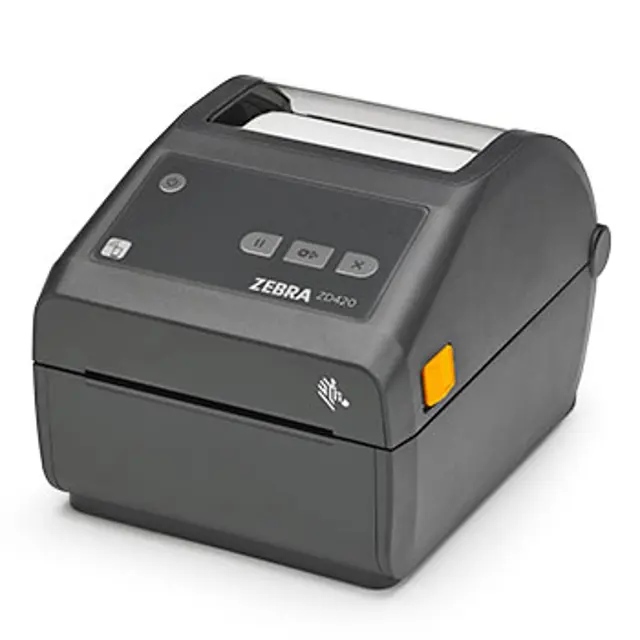
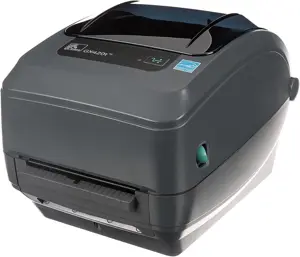
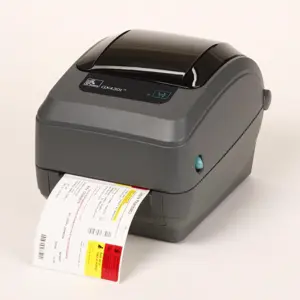
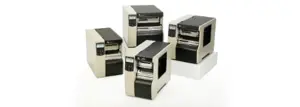
Zebra Printer ZD420
Need answers fast?
Explore the manual using AI.
Turn manuals into instant answers
with your AI-powered assistantTurn manuals into instant answers
with your AI-powered assistant
Manual for Zebra Printer ZD420
Complete asset maintenance, one click away
Get instant access to all the maintenance information you need. Empower technicians to perform preventive maintenance with asset packages, ready to use right out of the box.

Documents & Manuals
Find all the essential guides in one place.
 Tensioning Guide
- Belt-diagram
- C-120 pulleys
+ 13 more

Work Order Templates
Pre-built workflows to keep your asset running smoothly.
- Daily Electrical System Inspection
- Replace Roller and Pulley
- Install Engine B-120
+ 29 more

Procedures
Integrate maintenance plans directly into your work orders.
- Motion Industries
- Applied Industrial Technologies
- Electrical Brothers
+ 5 more

Parts
Access the parts list for your equipment in MaintainX.
- Drive Motor
- B2 Rollers
- Tensioning System
+ 40 more
Zebra Printer ZD420
Create an account to install this asset package.
Maintenance Plans for Zebra Printer Model ZD420
Integrate maintenance plans directly into your work orders in MaintainX.
Cutter Option Cleaning
Warning: The cutter is not a user-serviceable component. Do NOT clean inside the cutter opening or blade mechanism.
For cleaning and maintenance of this option, call a service technician.
CAUTION: There are no operator serviceable parts in the cutter unit. Never remove the cutter cover (bezel). Never attempt to insert objects or fingers in to the cutter mechanism.
IMPORTANT: The blade has a special coating to resist adhesives and wear. Cleaning it may ruin the blade.
IMPORTANT: Use the recommended cleaning supplies listed in this guide. Using unapproved tools, cotton swabs, solvents (including alcohol), etc. may damage or shorten the cutter’s usable life or cause the cutter to bind.
IMPORTANT: Clean only the plastic media path surfaces, and not the internal cutter blades or cutter mechanism. The cutter blade mechanism does NOT require maintenance cleaning. DO NOT clean the blade. This blade has a special coating to resist adhesives and wear which may be damaged if cleaned.
CAUTION: There are no operator serviceable parts in the cutter unit. Never remove the cutter cover (bezel), or attempt to insert objects or fingers into the cutter mechanism.
CAUTION: Using un-approved tools, cotton swabs, solvents (including alcohol), etc. all may damage or shorten the cutter’s usable life or cause the cutter to jam.
Use a clean swab or lint-free cloth lightly-moistened with 99% isopropyl alcohol to wipe the ridges and the plastic surfaces of the media entry on the inside and the exit slot on the outside of the cutter. Clean inside the areas.

Label Dispenser Option Cleaning
Warning: Use 99% pure isopropyl alcohol for cleaning
Door opened
Peel bar, inner surfaces, and ridges on the door cleaned
Roller rotated and surfaces wiped
Swab or cloth discarded
New swab or cloth used to remove any diluted residue
Sensor window cleaned thoroughly until it is clear of streaks and residue
Sign off on the cleaning procedure
Media Path Cleaning
Clean thoroughly as needed with fiber-free cleaning swabs and cloths moistened with 99% isopropyl alcohol. Let alcohol evaporate completely.
Use a cleaning swab and or a lint-free cloth to remove debris, dust or crust that has built-up on the holders, guides, and the media path surfaces.
Lightly moisten the swab or cloth with 99% solution medical-grade alcohol. For hard to clean areas, use extra alcohol on a cleaning swab to soak the debris to break up any adhesive that may have accumulated on surfaces in the media compartment.
IMPORTANT: Do NOT clean the printhead, movable sensor, or platen as part of this process.
Cleaning the Media Path - Lower Half of All ZD620 / ZD420 Printers
The lower half of all the ZD620 / ZD420 printer models get cleaned the same way, as described in this procedure.
IMPORTANT: Do NOT clean the printhead, sensors, or platen as part of this process.
1. Wipe the inside surfaces of the roll holders and the underside of the media guides with a cleaning swabs lightly moistened with 99% pure isopropyl alcohol solution and wipes. Use extra alcohol if necessary to soak accumulated debris for removal.
2. Wipe the inside surfaces of the roll holders and the underside of the media guides with a swab.
Printer Exterior Cleaning
Warning: Only trained personnel should perform this procedure.
Is the printer unplugged and turned off?
Cleaning the exterior of the printer
Did you use a soft cloth, brush, or compressed air to wipe or blow dust and particles out of the printer?
Did you use plain soap and water solutions to moisten the cloth for cleaning the exterior?
Note: Only use the minimum amount of cleaning solution to avoid getting solution in the printer or other areas.
Did you avoid cleaning connectors or interior of the printer with this method?
Cleaning the printer user interface controls
Did you clean the printer user interface controls with the rest of the printer’s exterior?
Platen Maintenance
Warning: This maintenance check requires trained personnel with PPE!
Cover and dispenser door opened?
Media removed from platen area?
Platen-bearing latch release tabs pulled and rotated up?
Platen lifted out of the printer’s bottom frame?
Gear and the two bearings slid off the shaft of the platen roller?
Platen cleaned with alcohol moistened swab or lint-free cloth?
IMPORTANT: To clean lineless platen, use ONLY the adhesive side of a piece of linerless media to gently lift the particles from the plater roller.
Bearings and drive gear are on the shaft of the platen roller?
Unlock efficiency
with MaintainX CoPilot
MaintainX CoPilot is your expert colleague, on call 24/7, helping your team find the answers they need to keep equipment running.
Reduce Unplanned Downtime
Ensure your team follows consistent procedures to minimize equipment failures and costly delays.
Maximize Asset Availability
Keep your assets running longer and more reliably, with standardized maintenance workflows from OEM manuals.
Lower Maintenance Costs
Turn any technician into an expert to streamline operations, maintain more assets, and reduce overall costs.
Thousands of companies manage their assets with MaintainX

'%3e%3cpath%20fill='url(%23b)'%20d='M66.008%2080.068c-5.084-.786-9.763-3.834-12.442-8.68a16.942%2016.942%200%200%201-1.87-5.18c1.096.19%202.203.476%203.298.87%206.525%202.333%2010.836%207.68%2011.014%2012.99ZM51.47%2061.576c.488-5.524%203.62-10.716%208.847-13.597a17.132%2017.132%200%200%201%2011.335-1.882c-.798%208.145-7.43%2014.848-16.038%2015.599-1.417.119-2.799.07-4.144-.12Zm28.564-11.478a17.513%2017.513%200%200%201%203.727%204.62c4.608%208.335%201.584%2018.813-6.75%2023.409a16.988%2016.988%200%200%201-4.359%201.679%2019.624%2019.624%200%200%201-3.977-12.776c.346-7.561%204.942-13.931%2011.36-16.932Z'/%3e%3cpath%20fill='%23110F0D'%20fill-rule='evenodd'%20d='M142.831%2048.324h4.977V77.03h-4.977V48.324Zm27.278%2013.002c.322%201.048.453%202.263.453%203.62v12.073h-4.787V66.208c0-.75-.047-1.572-.154-2.143-.453-2.382-1.822-3.572-4.215-3.572-2.31%200-3.882%201.274-4.43%203.476-.143.596-.226%201.405-.226%202.25v10.8h-4.787V56.623h4.477v2.989c1.536-2.5%203.906-3.43%206.371-3.43%203.488%200%206.263%201.68%207.298%205.144Zm24.636%207.323c0%203.882-2.358%206.525-5.763%207.727-1.298.453-2.632.643-4.62.643h-10.169V48.324h9.085c1.691%200%203.156.143%204.049.38%203.465.93%205.727%203.68%205.727%207.335%200%202.441-.81%204.156-2.762%205.644%202.905%201.417%204.453%203.727%204.453%206.966Zm-15.634-8.656h4.584c1.024%200%201.917-.143%202.536-.417%201.215-.548%201.905-1.608%201.905-3.167%200-1.548-.643-2.572-1.845-3.132-.691-.31-1.762-.452-2.763-.452h-4.417v7.168Zm10.716%208.465c0-1.536-.893-3.37-3.227-3.893-.428-.095-1.036-.143-1.571-.143h-5.918v8.085h5.501c.56%200%201.429-.048%201.953-.167%201.94-.453%203.262-1.846%203.262-3.882Zm47.747-11.847-8.097%2020.408h-4.429l-8.109-20.408h5.191l5.192%2014.574%205.108-14.574h5.144Zm-20.218%2010.002c0%20.69-.036%201.262-.155%201.94h-15.943c.631%202.87%202.714%204.728%205.882%204.728%202.131%200%203.607-.882%204.703-2.525h4.87c-1.762%204.144-5.204%206.692-9.657%206.692-6.084%200-10.537-4.858-10.537-10.49%200-6.108%204.524-10.776%2010.335-10.776%206.239%200%2010.442%204.954%2010.502%2010.43Zm-4.763-1.405c-.333-2.846-2.643-4.858-5.691-4.858-2.894%200-5.287%201.929-5.621%204.858h11.312Zm-72.667%203.44c0%204.787-3.287%208.371-9.419%208.371H119.363V64.66c-1.917.274-3.87.69-5.811%201.238l4.537%2011.121h-5.418l-3.596-9.585c-5.144%202.084-10.085%205.216-14.217%209.585h-4.786L101.8%2048.312h4.56l5.68%2013.883a44.112%2044.112%200%200%201%207.323-1.774V48.312h9.084c1.703%200%203.156.143%204.061.393%203.453.929%205.727%203.667%205.727%207.323%200%201.917-.738%204.179-2.81%205.691%203.06%201.56%204.501%204.025%204.501%206.93Zm-15.634-8.667a62.664%2062.664%200%200%201%202.06-.036c1.703.012%203.239.131%204.608.37%201.441-.549%202.357-1.727%202.357-3.537%200-1.941-.881-3.144-2.488-3.667-.548-.18-1.358-.286-2.322-.286h-4.215v7.156Zm-16.55%203.905-3.715-9.894-6.394%2016.502c2.833-2.595%206.263-4.858%2010.109-6.608Zm27.254%204.74c0-2.775-3.131-4.347-8.513-4.418-.715%200-1.441.011-2.191.047v8.252h5.918c2.548%200%204.786-1.37%204.786-3.882Z'%20clip-rule='evenodd'/%3e%3c/g%3e%3cdefs%3e%3clinearGradient%20id='b'%20x1='51.47'%20x2='85.916'%20y1='62.946'%20y2='62.946'%20gradientUnits='userSpaceOnUse'%3e%3cstop%20stop-color='%23CD9F28'/%3e%3cstop%20offset='1'%20stop-color='%23ECD80B'/%3e%3c/linearGradient%3e%3cclipPath%20id='a'%3e%3cpath%20fill='%23fff'%20d='M51.47%2045.728h186.104V80.14H51.47z'/%3e%3c/clipPath%3e%3c/defs%3e%3c/svg%3e)


More from Zebra


Explore Other Assets


© 2026 MaintainX. All rights reserved.