


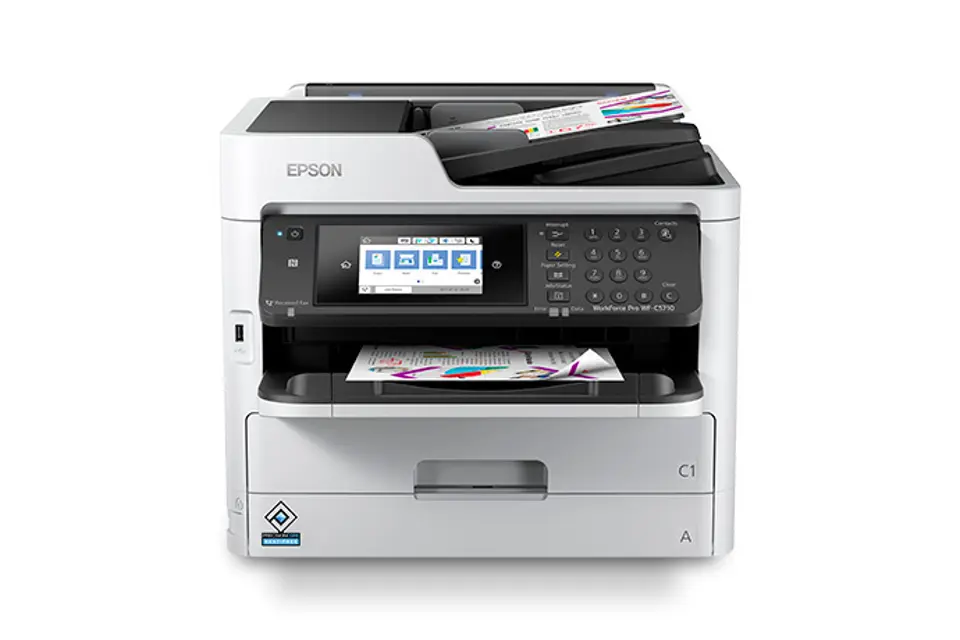
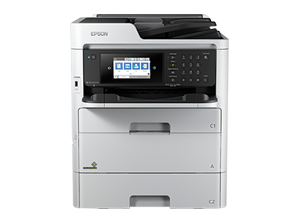
Epson Printer WF-C5710
Need answers fast?
Explore the manual using AI.
Turn manuals into instant answers
with your AI-powered assistantTurn manuals into instant answers
with your AI-powered assistant
Manual for Epson Printer WF-C5710
Complete asset maintenance, one click away
Get instant access to all the maintenance information you need. Empower technicians to perform preventive maintenance with asset packages, ready to use right out of the box.

Documents & Manuals
Find all the essential guides in one place.
 Tensioning Guide
- Belt-diagram
- C-120 pulleys
+ 13 more

Work Order Templates
Pre-built workflows to keep your asset running smoothly.
- Daily Electrical System Inspection
- Replace Roller and Pulley
- Install Engine B-120
+ 29 more

Procedures
Integrate maintenance plans directly into your work orders.
- Motion Industries
- Applied Industrial Technologies
- Electrical Brothers
+ 5 more

Parts
Access the parts list for your equipment in MaintainX.
- Drive Motor
- B2 Rollers
- Tensioning System
+ 40 more
Epson Printer WF-C5710
Create an account to install this asset package.
Maintenance Plans for Epson Printer Model WF-C5710
Integrate maintenance plans directly into your work orders in MaintainX.
Print Head Check
If your printouts become too light, or you see dark or light bands across them, you may need to clean the print head nozzles.
Cleaning uses ink, so clean the nozzles only if print quality declines.
You can check for clogged nozzles before you clean them so you don’t clean them unnecessarily.
Note: You cannot clean the print head if ink is expended, and may not be able to clean it when ink is low.
You must replace the ink pack first.
Print Head Nozzle Check
You can print a nozzle check pattern to check for clogged nozzles.
Checking the Nozzles Using the Product Control Panel
You can check the print head nozzles using the control panel on your product.

Print Head Alignment
Warning: Make sure there are no errors on the LCD screen.
Load a few sheets of plain paper in the product.
Press the home button, if necessary.
Select Settings > Maintenance > Print Head Alignment.
Select one of the following options
Follow the on-screen instructions to print an alignment sheet.
Note: Do not cancel printing while you are printing head alignment patterns.
Check the printed patterns on the alignment sheet and select the following on the LCD screen, depending on the alignment pattern you printed
Ruled Line Alignment: Select the number representing the pattern with the least amount of separation or overlap.
Paper Guide Cleaning
Warning: Make sure the printer is turned off before starting the cleaning process.
Enter the paper source you want to clean
Is the printout smeared or scuffed?
If printouts are smeared or scuffed, load plain paper in the paper source that you want to clean.
Did you press the home button?
Select Settings > Maintenance > Paper Guide Cleaning.
Did you select the paper source you want to clean?
Follow the on-screen instructions to clean the paper guide.
Did you follow the on-screen instructions to clean the paper guide?
Maintenance Box Replacement
Warning: Follow the on-screen instructions when replacing the maintenance box.
Did you see a message on the LCD screen?
Do not remove the maintenance box or its cover except when replacing the maintenance box.
Do not touch the green chip on the side of the maintenance box.
Do not tilt the maintenance box after removing it or ink may leak.
Do not touch the openings in the maintenance box or you may get ink on you.
Do not drop the maintenance box or subject it to strong shocks.
If you cannot replace the cover, the maintenance box may not be installed correctly. Remove and reinstall the maintenance box.
Do not store the maintenance box in high or freezing temperatures.
Printer Cleaning
Caution: Do not use a hard brush, benzene, alcohol, or paint thinner to clean the product or you may damage it. Do not use oil or other lubricants inside the product or let water get inside it. Close the rear paper feed slot when you are not using it, to keep out dust.
Turn off the product.
Wait for the power light to turn off, then unplug the power cable.
Disconnect any connected cables.
Remove all the paper from the product.
Clean the outer case and control panel with a soft, dry cloth. Do not use liquid or chemical cleansers.
Clean any paper cassettes using a soft brush.
Clean the scanner glass and the glass area on the left with a soft, lint-free cloth (microfiber is recommended), moistened with a little glass cleaner.
Caution: Do not spray glass cleaner directly on the glass and do not press the glass surface with any force.
Parts for Epson Printer WF-C5710
Access the parts list for your equipment in MaintainX.
Black Inc Color Standard-capacity
902
Black Inc Color High-capacity
902XL
Black Inc Color Extra High-capacity
902XXL
Cyan Inc Color Standard-capacity
902
Cyan Inc Color High-capacity
902XL
Black Inc Color Standard-capacity
902
Black Inc Color High-capacity
902XL
Black Inc Color Extra High-capacity
902XXL
Cyan Inc Color Standard-capacity
902
Cyan Inc Color High-capacity
902XL
Black Inc Color Standard-capacity
902
Black Inc Color High-capacity
902XL
Black Inc Color Extra High-capacity
902XXL
Cyan Inc Color Standard-capacity
902
Cyan Inc Color High-capacity
902XL
Unlock efficiency
with MaintainX CoPilot
MaintainX CoPilot is your expert colleague, on call 24/7, helping your team find the answers they need to keep equipment running.
Reduce Unplanned Downtime
Ensure your team follows consistent procedures to minimize equipment failures and costly delays.
Maximize Asset Availability
Keep your assets running longer and more reliably, with standardized maintenance workflows from OEM manuals.
Lower Maintenance Costs
Turn any technician into an expert to streamline operations, maintain more assets, and reduce overall costs.
Thousands of companies manage their assets with MaintainX

'%3e%3cpath%20fill='url(%23b)'%20d='M66.008%2080.068c-5.084-.786-9.763-3.834-12.442-8.68a16.942%2016.942%200%200%201-1.87-5.18c1.096.19%202.203.476%203.298.87%206.525%202.333%2010.836%207.68%2011.014%2012.99ZM51.47%2061.576c.488-5.524%203.62-10.716%208.847-13.597a17.132%2017.132%200%200%201%2011.335-1.882c-.798%208.145-7.43%2014.848-16.038%2015.599-1.417.119-2.799.07-4.144-.12Zm28.564-11.478a17.513%2017.513%200%200%201%203.727%204.62c4.608%208.335%201.584%2018.813-6.75%2023.409a16.988%2016.988%200%200%201-4.359%201.679%2019.624%2019.624%200%200%201-3.977-12.776c.346-7.561%204.942-13.931%2011.36-16.932Z'/%3e%3cpath%20fill='%23110F0D'%20fill-rule='evenodd'%20d='M142.831%2048.324h4.977V77.03h-4.977V48.324Zm27.278%2013.002c.322%201.048.453%202.263.453%203.62v12.073h-4.787V66.208c0-.75-.047-1.572-.154-2.143-.453-2.382-1.822-3.572-4.215-3.572-2.31%200-3.882%201.274-4.43%203.476-.143.596-.226%201.405-.226%202.25v10.8h-4.787V56.623h4.477v2.989c1.536-2.5%203.906-3.43%206.371-3.43%203.488%200%206.263%201.68%207.298%205.144Zm24.636%207.323c0%203.882-2.358%206.525-5.763%207.727-1.298.453-2.632.643-4.62.643h-10.169V48.324h9.085c1.691%200%203.156.143%204.049.38%203.465.93%205.727%203.68%205.727%207.335%200%202.441-.81%204.156-2.762%205.644%202.905%201.417%204.453%203.727%204.453%206.966Zm-15.634-8.656h4.584c1.024%200%201.917-.143%202.536-.417%201.215-.548%201.905-1.608%201.905-3.167%200-1.548-.643-2.572-1.845-3.132-.691-.31-1.762-.452-2.763-.452h-4.417v7.168Zm10.716%208.465c0-1.536-.893-3.37-3.227-3.893-.428-.095-1.036-.143-1.571-.143h-5.918v8.085h5.501c.56%200%201.429-.048%201.953-.167%201.94-.453%203.262-1.846%203.262-3.882Zm47.747-11.847-8.097%2020.408h-4.429l-8.109-20.408h5.191l5.192%2014.574%205.108-14.574h5.144Zm-20.218%2010.002c0%20.69-.036%201.262-.155%201.94h-15.943c.631%202.87%202.714%204.728%205.882%204.728%202.131%200%203.607-.882%204.703-2.525h4.87c-1.762%204.144-5.204%206.692-9.657%206.692-6.084%200-10.537-4.858-10.537-10.49%200-6.108%204.524-10.776%2010.335-10.776%206.239%200%2010.442%204.954%2010.502%2010.43Zm-4.763-1.405c-.333-2.846-2.643-4.858-5.691-4.858-2.894%200-5.287%201.929-5.621%204.858h11.312Zm-72.667%203.44c0%204.787-3.287%208.371-9.419%208.371H119.363V64.66c-1.917.274-3.87.69-5.811%201.238l4.537%2011.121h-5.418l-3.596-9.585c-5.144%202.084-10.085%205.216-14.217%209.585h-4.786L101.8%2048.312h4.56l5.68%2013.883a44.112%2044.112%200%200%201%207.323-1.774V48.312h9.084c1.703%200%203.156.143%204.061.393%203.453.929%205.727%203.667%205.727%207.323%200%201.917-.738%204.179-2.81%205.691%203.06%201.56%204.501%204.025%204.501%206.93Zm-15.634-8.667a62.664%2062.664%200%200%201%202.06-.036c1.703.012%203.239.131%204.608.37%201.441-.549%202.357-1.727%202.357-3.537%200-1.941-.881-3.144-2.488-3.667-.548-.18-1.358-.286-2.322-.286h-4.215v7.156Zm-16.55%203.905-3.715-9.894-6.394%2016.502c2.833-2.595%206.263-4.858%2010.109-6.608Zm27.254%204.74c0-2.775-3.131-4.347-8.513-4.418-.715%200-1.441.011-2.191.047v8.252h5.918c2.548%200%204.786-1.37%204.786-3.882Z'%20clip-rule='evenodd'/%3e%3c/g%3e%3cdefs%3e%3clinearGradient%20id='b'%20x1='51.47'%20x2='85.916'%20y1='62.946'%20y2='62.946'%20gradientUnits='userSpaceOnUse'%3e%3cstop%20stop-color='%23CD9F28'/%3e%3cstop%20offset='1'%20stop-color='%23ECD80B'/%3e%3c/linearGradient%3e%3cclipPath%20id='a'%3e%3cpath%20fill='%23fff'%20d='M51.47%2045.728h186.104V80.14H51.47z'/%3e%3c/clipPath%3e%3c/defs%3e%3c/svg%3e)


More from Epson


Explore Other Assets


© 2026 MaintainX. All rights reserved.