


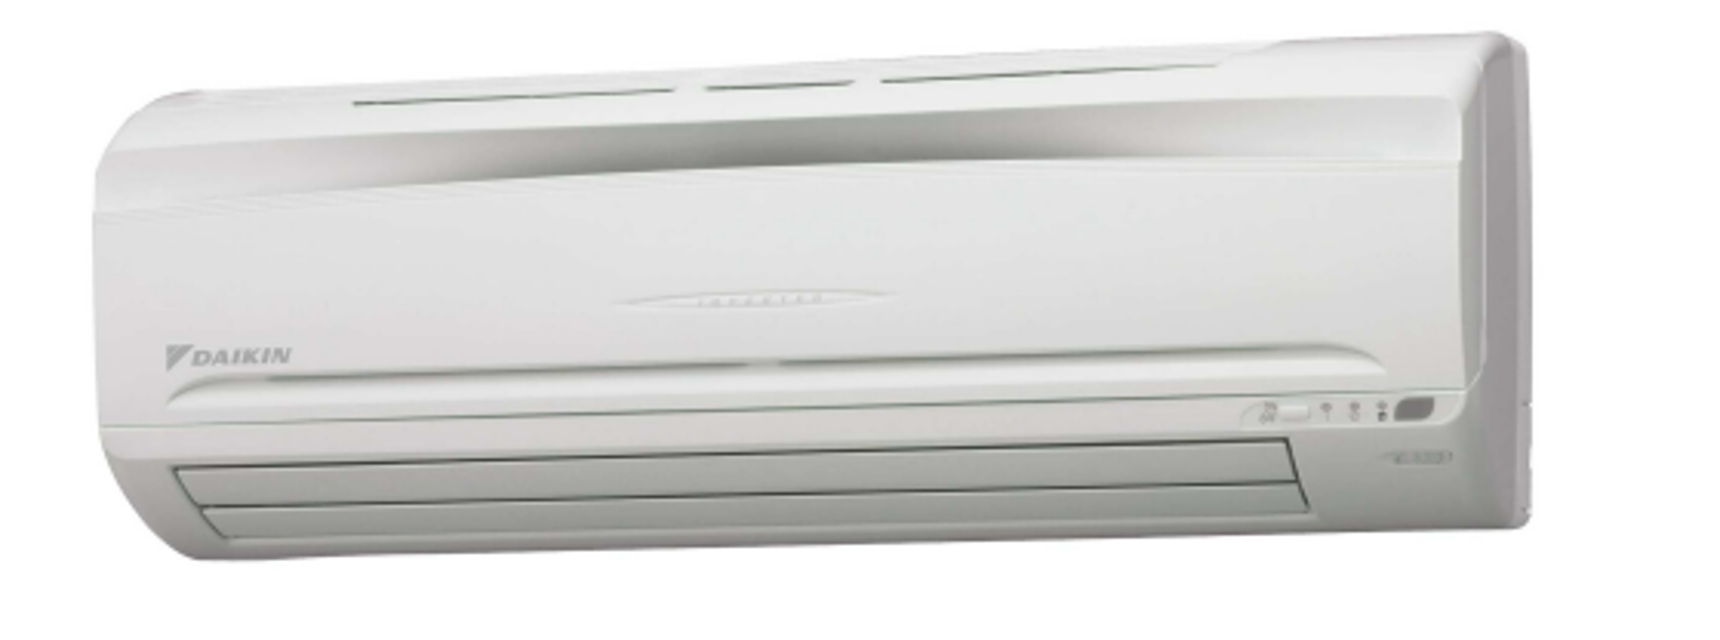
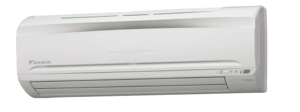
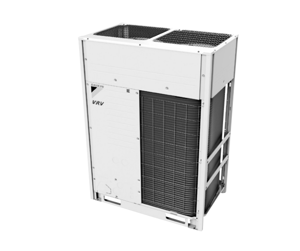
Daikin Indoor Unit Cooling Only Air Conditioner ATKS25BVMB
Need answers fast?
Explore the manual using AI.
Turn manuals into instant answers
with your AI-powered assistantTurn manuals into instant answers
with your AI-powered assistant
Complete asset maintenance, one click away
Get instant access to all the maintenance information you need. Empower technicians to perform preventive maintenance with asset packages, ready to use right out of the box.

Documents & Manuals
Find all the essential guides in one place.
 Tensioning Guide
- Belt-diagram
- C-120 pulleys
+ 13 more

Work Order Templates
Pre-built workflows to keep your asset running smoothly.
- Daily Electrical System Inspection
- Replace Roller and Pulley
- Install Engine B-120
+ 29 more

Procedures
Integrate maintenance plans directly into your work orders.
- Motion Industries
- Applied Industrial Technologies
- Electrical Brothers
+ 5 more

Parts
Access the parts list for your equipment in MaintainX.
- Drive Motor
- B2 Rollers
- Tensioning System
+ 40 more
Daikin Indoor Unit Cooling Only Air Conditioner ATKS25BVMB
Create an account to install this asset package.
Maintenance Plans for Daikin Indoor Unit Cooling Only Air Conditioner Model ATKS25BVMB
Integrate maintenance plans directly into your work orders in MaintainX.
Heat Exchanger Removal
Warning: Be sure to wait 10 minutes or more after turning off all power supplies before disassembling work.
Conduct pump-down operation.
Remove the installation frame from the mounting plate.
Warning!: If gas leaks, repair the leak location, then connect all refrigerant from the unit. Conduct vacuum drying, and charge proper amount of refrigerant.
Warning!: Do not mix any gas (including air) other than the specified refrigerant (R410A) into refrigerating cycle.
Pay attention so that the residual drain will not make a floor dirty.
In case that a drain hose is buried inside a wall, remove it after the drain hose in the wall is pulled out.
Remove the drain hose.
Make curing so that the residual drain water will not leak out.

Horizontal / Vertical Blade Removal
Warning: Be sure to wait 10 minutes or more after turning off all power supplies before disassembling work.
1. Remove horizontal blade.
1) Lift horizontal blade to open position.
Screw stoppers inside the flap which were equipped in the existing models are not provided.
2) Disengage horizontal blade from blade retaining section.
3) Bend blade slightly and remove it from the unit.
For restoring.:
1. Since the key pattern hook is provided on the left side, insert the edge of the blade to the tip while rotating it.
2. Restore the two fixed parts of the horizontal blade onto the hook.
Filter Cleaning
Open the front grille
Pull out the air filters
Take off the air purifying filter, photocatalytic deodorizing filter
Clean or replace each filter
Set the air filter, air purifying filter and photocatalytic deodorizing filter as they were and close the front grille
Sign off on the filter cleaning
Air Conditioner Maintenance
Before a long idle period
1. Operate the “fan only” for several hours on a fine day to dry out the inside.
• Press “MODE” button and select “fan”operation.
• Press “ON/OFF” button and start operation.
2. Clean the air filters and set them again.
3. Take out batteries from the remote controller.
4. Turn OFF the breaker for the room air conditioner.
• When a multi outdoor unit is connected, make sure the heating operation is not used at the other room before you use the fan operation. (page 22)
NOTE:
Fan Rotor / Motor Removal
Warning: Be sure to wait 10 minutes or more after turning off all power supplies before disassembling work.
Heat exchanger removed
Right side panel removed
Hook disengaged
Hexagon head set screw on the fan rotor loosened
Motor and fan rotor removed
Screw on the left side panel removed
Hook from the backward disengaged
Fan bearing pushed off from the inside
Parts for Daikin Indoor Unit Cooling Only Air Conditioner ATKS25BVMB
Access the parts list for your equipment in MaintainX.
Photocatalytic Deodorizing Filter And Air Purifying Filter (With Frame)
KAZ926B41
Photocatalytic Deodorizing Filter (Without Frame)
KAZ926A42
Air Purifying Filter (Without Frame)
KAF926B42
Inverter Checker
1225477
Photocatalytic Deodorizing Filter And Air Purifying Filter (With Frame)
KAZ926B41
Photocatalytic Deodorizing Filter (Without Frame)
KAZ926A42
Air Purifying Filter (Without Frame)
KAF926B42
Inverter Checker
1225477
Photocatalytic Deodorizing Filter And Air Purifying Filter (With Frame)
KAZ926B41
Photocatalytic Deodorizing Filter (Without Frame)
KAZ926A42
Air Purifying Filter (Without Frame)
KAF926B42
Inverter Checker
1225477
Unlock efficiency
with MaintainX CoPilot
MaintainX CoPilot is your expert colleague, on call 24/7, helping your team find the answers they need to keep equipment running.
Reduce Unplanned Downtime
Ensure your team follows consistent procedures to minimize equipment failures and costly delays.
Maximize Asset Availability
Keep your assets running longer and more reliably, with standardized maintenance workflows from OEM manuals.
Lower Maintenance Costs
Turn any technician into an expert to streamline operations, maintain more assets, and reduce overall costs.
Thousands of companies manage their assets with MaintainX

'%3e%3cpath%20fill='url(%23b)'%20d='M66.008%2080.068c-5.084-.786-9.763-3.834-12.442-8.68a16.942%2016.942%200%200%201-1.87-5.18c1.096.19%202.203.476%203.298.87%206.525%202.333%2010.836%207.68%2011.014%2012.99ZM51.47%2061.576c.488-5.524%203.62-10.716%208.847-13.597a17.132%2017.132%200%200%201%2011.335-1.882c-.798%208.145-7.43%2014.848-16.038%2015.599-1.417.119-2.799.07-4.144-.12Zm28.564-11.478a17.513%2017.513%200%200%201%203.727%204.62c4.608%208.335%201.584%2018.813-6.75%2023.409a16.988%2016.988%200%200%201-4.359%201.679%2019.624%2019.624%200%200%201-3.977-12.776c.346-7.561%204.942-13.931%2011.36-16.932Z'/%3e%3cpath%20fill='%23110F0D'%20fill-rule='evenodd'%20d='M142.831%2048.324h4.977V77.03h-4.977V48.324Zm27.278%2013.002c.322%201.048.453%202.263.453%203.62v12.073h-4.787V66.208c0-.75-.047-1.572-.154-2.143-.453-2.382-1.822-3.572-4.215-3.572-2.31%200-3.882%201.274-4.43%203.476-.143.596-.226%201.405-.226%202.25v10.8h-4.787V56.623h4.477v2.989c1.536-2.5%203.906-3.43%206.371-3.43%203.488%200%206.263%201.68%207.298%205.144Zm24.636%207.323c0%203.882-2.358%206.525-5.763%207.727-1.298.453-2.632.643-4.62.643h-10.169V48.324h9.085c1.691%200%203.156.143%204.049.38%203.465.93%205.727%203.68%205.727%207.335%200%202.441-.81%204.156-2.762%205.644%202.905%201.417%204.453%203.727%204.453%206.966Zm-15.634-8.656h4.584c1.024%200%201.917-.143%202.536-.417%201.215-.548%201.905-1.608%201.905-3.167%200-1.548-.643-2.572-1.845-3.132-.691-.31-1.762-.452-2.763-.452h-4.417v7.168Zm10.716%208.465c0-1.536-.893-3.37-3.227-3.893-.428-.095-1.036-.143-1.571-.143h-5.918v8.085h5.501c.56%200%201.429-.048%201.953-.167%201.94-.453%203.262-1.846%203.262-3.882Zm47.747-11.847-8.097%2020.408h-4.429l-8.109-20.408h5.191l5.192%2014.574%205.108-14.574h5.144Zm-20.218%2010.002c0%20.69-.036%201.262-.155%201.94h-15.943c.631%202.87%202.714%204.728%205.882%204.728%202.131%200%203.607-.882%204.703-2.525h4.87c-1.762%204.144-5.204%206.692-9.657%206.692-6.084%200-10.537-4.858-10.537-10.49%200-6.108%204.524-10.776%2010.335-10.776%206.239%200%2010.442%204.954%2010.502%2010.43Zm-4.763-1.405c-.333-2.846-2.643-4.858-5.691-4.858-2.894%200-5.287%201.929-5.621%204.858h11.312Zm-72.667%203.44c0%204.787-3.287%208.371-9.419%208.371H119.363V64.66c-1.917.274-3.87.69-5.811%201.238l4.537%2011.121h-5.418l-3.596-9.585c-5.144%202.084-10.085%205.216-14.217%209.585h-4.786L101.8%2048.312h4.56l5.68%2013.883a44.112%2044.112%200%200%201%207.323-1.774V48.312h9.084c1.703%200%203.156.143%204.061.393%203.453.929%205.727%203.667%205.727%207.323%200%201.917-.738%204.179-2.81%205.691%203.06%201.56%204.501%204.025%204.501%206.93Zm-15.634-8.667a62.664%2062.664%200%200%201%202.06-.036c1.703.012%203.239.131%204.608.37%201.441-.549%202.357-1.727%202.357-3.537%200-1.941-.881-3.144-2.488-3.667-.548-.18-1.358-.286-2.322-.286h-4.215v7.156Zm-16.55%203.905-3.715-9.894-6.394%2016.502c2.833-2.595%206.263-4.858%2010.109-6.608Zm27.254%204.74c0-2.775-3.131-4.347-8.513-4.418-.715%200-1.441.011-2.191.047v8.252h5.918c2.548%200%204.786-1.37%204.786-3.882Z'%20clip-rule='evenodd'/%3e%3c/g%3e%3cdefs%3e%3clinearGradient%20id='b'%20x1='51.47'%20x2='85.916'%20y1='62.946'%20y2='62.946'%20gradientUnits='userSpaceOnUse'%3e%3cstop%20stop-color='%23CD9F28'/%3e%3cstop%20offset='1'%20stop-color='%23ECD80B'/%3e%3c/linearGradient%3e%3cclipPath%20id='a'%3e%3cpath%20fill='%23fff'%20d='M51.47%2045.728h186.104V80.14H51.47z'/%3e%3c/clipPath%3e%3c/defs%3e%3c/svg%3e)


More from Daikin


Explore Other Assets


© 2026 MaintainX. All rights reserved.