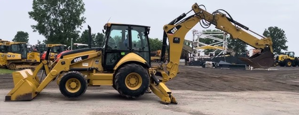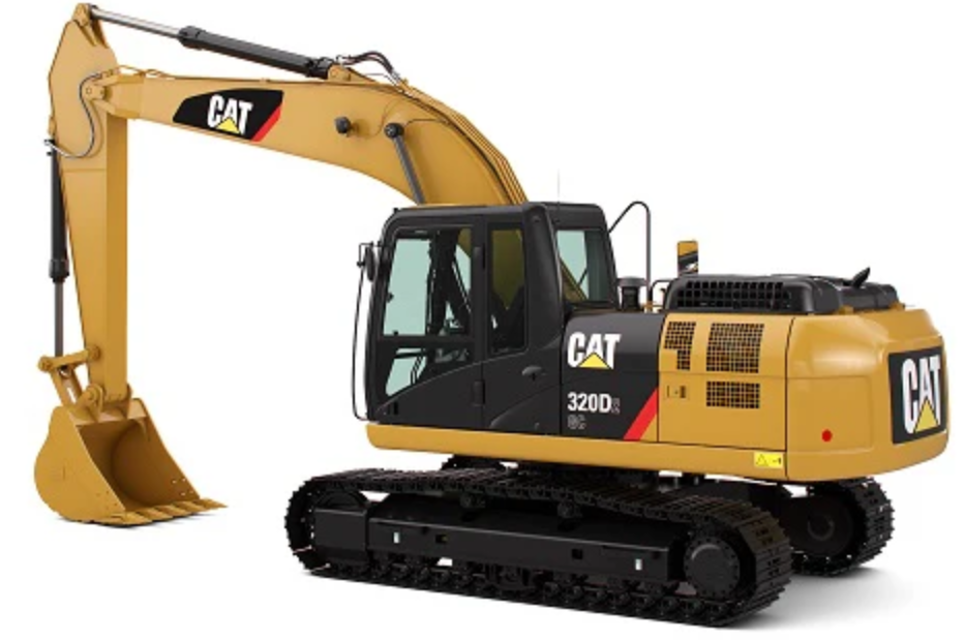

The Caterpillar Articulated Trucks Power Train 730C is a robust and efficient heavy-duty vehicle designed for optimal performance in challenging environments. Known for its reliability and advanced technology, this model excels in transporting materials across various terrains, making it a preferred choice for construction and mining operations.
Turn manuals into instant answers
with your AI-powered assistantTurn manuals into instant answers
with your AI-powered assistant
Manual for Caterpillar Articulated Trucks Power Train 730C
Complete asset maintenance, one click away
Get instant access to all the maintenance information you need. Empower technicians to perform preventive maintenance with asset packages, ready to use right out of the box.
Documents & Manuals
Find all the essential guides in one place.
Tensioning Guide
Belt-diagram
C-120 pulleys
+ 13 more
Work Order Templates
Pre-built workflows to keep your asset running smoothly.
Daily Electrical System Inspection
Replace Roller and Pulley
Install Engine B-120
+ 29 more
Procedures
Integrate maintenance plans directly into your work orders.
Motion Industries
Applied Industrial Technologies
Electrical Brothers
+ 5 more
Parts
Access the parts list for your equipment in MaintainX.
Drive Motor
B2 Rollers
Tensioning System
+ 40 more

Caterpillar Articulated Trucks Power Train 730C
Create an account to install this asset package.
Maintenance Plans for Caterpillar Articulated Trucks Power Train Model 730C
Integrate maintenance plans directly into your work orders in MaintainX.
1000 Hourly or 6 Monthly Excavator Maintenance
Battery - Clean
Steps to clean the battery
Battery Electrolyte Level - Check
Steps to check the battery electrolyte level
Battery Hold-Down - Tighten
Engine Valve Lash - Check
Refer to Engine Systems Operation/Testing and Adjusting in order to perform the complete procedure for the valve lash adjustment.
Final Drive Oil Level - Check
Steps to check the final drive oil level
6000 Hourly or 3 Yearly Excavator Maintenance
Warning: Personal injury can result from hot coolant, steam and alkali.
At operating temperature, engine coolant is hot and under pressure. Any contact can cause severe burns.
Remove cooling system pressure cap slowly to relieve pressure only when engine is stopped and cooling system pressure cap is cool enough to touch with your bare hand.
Do not attempt to tighten hose connections when the coolant is hot, the hose can come off causing burns.
Cooling System Coolant Additive contains alkali. Avoid contact with skin and eyes.
Use Caterpillar Extended Life Coolant (ELC) when you add coolant to the cooling system.
Mixing ELC with other products will reduce the effectiveness of the coolant. This could result in damage to cooling system components.
If Caterpillar products are not available and commercial products must be used, make sure they have passed the Caterpillar EC-1 specification for premixed or concentrate coolants and Caterpillar Extender.
Note: This machine was filled at the factory with Caterpillar Extended Life Coolant.
250 Hourly or 1 Monthly Excavator Maintenance
Belt - Inspect/Adjust/Replace
Your engine is equipped with a water pump, with a fan drive, and with an alternator. Your engine can also be equipped with an air conditioner belt. For maximum engine performance and maximum utilization of your engine, inspect the belts for wear and for cracking. Check the belt tension. Adjust the belt tension in order to minimize belt slippage. Belt slippage will decrease the belt life. Belt slippage will also cause poor performance of the alternator and of any driven equipment.
If new belts are installed, recheck the belt adjustment after 30 minutes of operation. If two belts or more are required for an application, replace the belts in belt sets. If only one belt of a matched set is replaced, the new belt will carry more load. This is due to the fact that the older belts are stretched. The additional load on the new belt could cause the new belt to break. Water Pump Belt, Fan Drive Belt, and Alternator Belt
1. Open the engine hood.
2. Inspect the condition of the serpentine belt. Over time the belt ribs will lose material (C). The space between the ribs will increase (D). The loss of material will cause the pulley sheave to contact the belt valley. This will lead to belt slippage and accelerated wear (E). Replace the belt if the belt is worn or frayed.
3. Apply approximately 98 N (22 lb) force midway between the pulleys.
4. Measure the deflection of the belt. The belt should deflect 10 to 12 mm (0.4 to 0.5 inch).
5. If the deflection is not correct, loosen alternator mounting bolt (1) and bracket bolt (2). Turn adjusting bolt (3) in order to adjust the belt tension.
6. When the adjustment is correct, tighten bolt (1) and bolt (2).
500 Hourly or 3 Monthly Excavator Maintenance
Engine Crankcase Breather - Clean
1. Open the engine hood.
2. Loosen hose clamp (2) and disconnect outlet hose (1) from breather (3).
3. Remove breather (3) and O-ring seal (4).
4. Wash breather (3) in clean, nonflammable solvent.
5. Inspect O-ring seal (4). If the seal is damaged, install a new seal.
6. Install O-ring seal (4) and clean breather (3).
7. Slide outlet hose (1) on breather (3). Tighten hose clamp (2).
8. Close the engine hood.
600 Hourly Excavator Maintenance
Hydraulic System Oil - Change
Cat HYDO Advanced Oil Change Interval
Note: If Cat HYDO Advanced hydraulic oil is not used, the normal interval of 6000 hours is decreased to 2000 service hours or 1 year.
Procedure to Change the Hydraulic Oil
Steps to change the hydraulic oil
Sign off on the hydraulic oil change
Unlock efficiency
with MaintainX CoPilot
MaintainX CoPilot is your expert colleague, on call 24/7, helping your team find the answers they need to keep equipment running.
Reduce Unplanned Downtime
Ensure your team follows consistent procedures to minimize equipment failures and costly delays.
Maximize Asset Availability
Keep your assets running longer and more reliably, with standardized maintenance workflows from OEM manuals.
Lower Maintenance Costs
Turn any technician into an expert to streamline operations, maintain more assets, and reduce overall costs.
Thousands of companies manage their assets with MaintainX


