


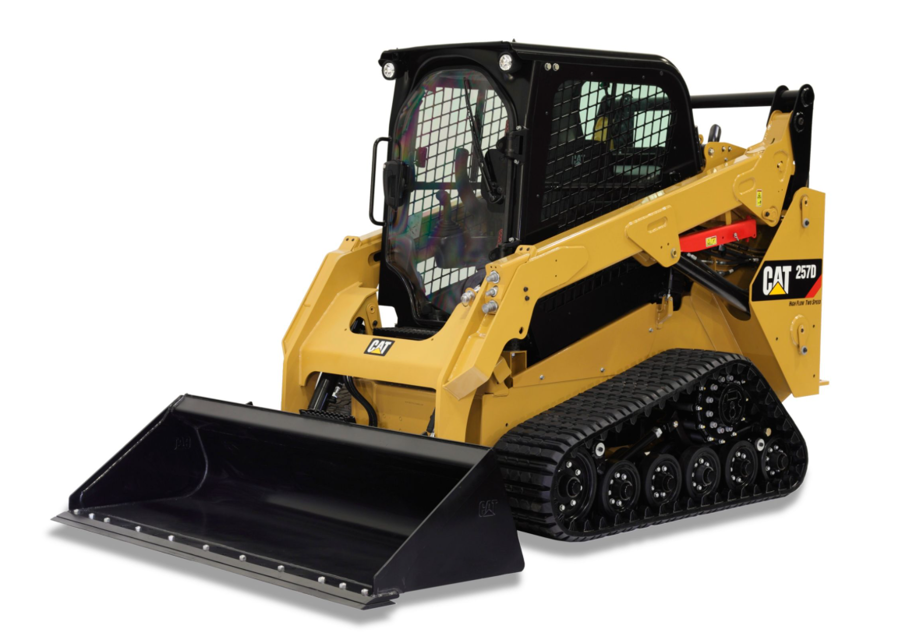
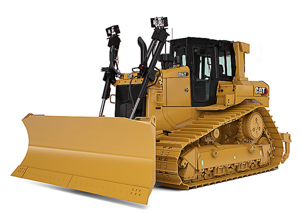
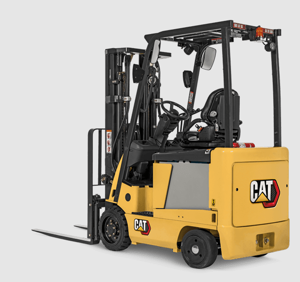
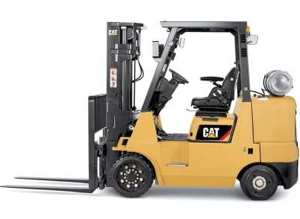
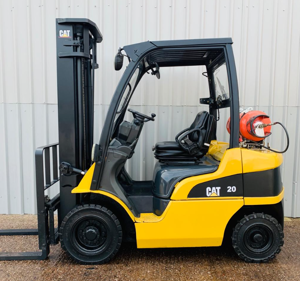
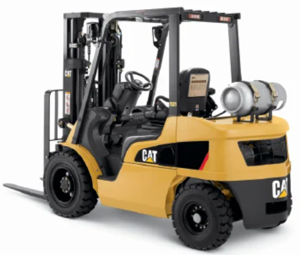
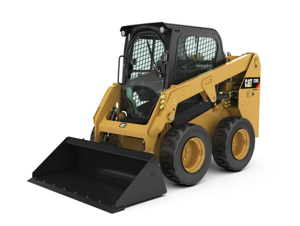
The CAT Skid Steer Loader 257D is a versatile and powerful machine designed for various construction and landscaping tasks. Known for its compact size and exceptional maneuverability, this loader offers reliable performance and efficiency, making it an essential asset for any job site.
Turn manuals into instant answers
with your AI-powered assistantTurn manuals into instant answers
with your AI-powered assistant
Complete asset maintenance, one click away
Get instant access to all the maintenance information you need. Empower technicians to perform preventive maintenance with asset packages, ready to use right out of the box.

Documents & Manuals
Find all the essential guides in one place.
 Tensioning Guide
- Belt-diagram
- C-120 pulleys
+ 13 more

Work Order Templates
Pre-built workflows to keep your asset running smoothly.
- Daily Electrical System Inspection
- Replace Roller and Pulley
- Install Engine B-120
+ 29 more

Procedures
Integrate maintenance plans directly into your work orders.
- Motion Industries
- Applied Industrial Technologies
- Electrical Brothers
+ 5 more

Parts
Access the parts list for your equipment in MaintainX.
- Drive Motor
- B2 Rollers
- Tensioning System
+ 40 more
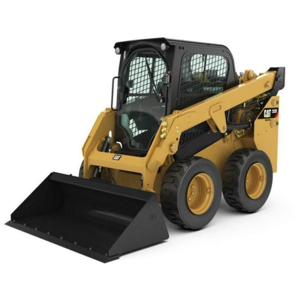
CAT Skid Steer Loader 257D
Create an account to install this asset package.
Maintenance Plans for CAT Skid Steer Loader Model 257D
Integrate maintenance plans directly into your work orders in MaintainX.
250 Hourly Skid Steer Loader Maintenance
Belts - Inspect/Adjust
If a new belt is installed, check the belt adjustment after 30 minutes of operation. A belt is considered used after 30 minutes of operation.
1. Stop the engine in order to inspect the belt.
2. Open the engine access door. Refer to Operation and Maintenance Manual, “Access Doors and Covers”.
3. Loosen the quarter-turn fasteners (1) on the front of the guard.
4. Remove the guard for the V-belt.
5. Inspect the condition of the belt and the adjustment of the belt. The belt should deflect 10 mm (0.39 inch) to 12 mm (0.47 inch) under a straight pull of 10 kg (22 lb). This measurement should be taken between the alternator pulley and the crankshaft pulley.
Note: A 144-0235 Borroughs Belt Tension Gauge may be used to measure belt tension. This measurement should be taken between the alternator pulley and the crankshaft pulley. Refer to the following table for belt tension.
6. Loosen the mounting bolt (4). Loosen the adjusting bolt (5).

50 Hourly Skid Steer Loader Maintenance
Warning: Fingers can be burned from hot pins and bushings.
The pins and bushings in a dry joint can become very hot. It is possible to burn the fingers if there is more than brief contact with these components.
Use the recommendations to extend the life of the undercarriage. Use the recommendations to avoid excessive downtime.
During the machine operation, listen for unusual squeaking and for unusual squealing. This noise can indicate a dry joint.
Check the machine for dry joints weekly. Check for dry joints immediately after machine operation.
After machine operation, lightly touch the end of each track pin or bushing. Touch the track pin or the track bushing with the back of your hand. Make a mark on any dry track pin joint that is hot to the touch.
Consult the Custom Track Service expert at any Cat dealer if you detect dry joints or leaks. The Custom Track Service expert at the Cat dealer can perform track inspection.
Sign off on the 50 Hourly Skid Steer Loader Maintenance
Initial 100 Hours Skid Steer Loader Maintenance
Track (Steel) - Inspect/Adjust
Inspect the track visually for damage or missing fasteners
Replace any grousers that are damaged
Replace any fasteners that are missing
Track Adjustment
Loosen the greaser with an appropriate wrench or socket to relax the tension on the track
Tighten the greaser and apply grease to achieve proper tension
Track Bolts - Check
Check the torque for the track grouser bolts and the master link bolts
1500 Hourly Skid Steer Loader Maintenance
Engine Crankcase Breather - Replace
Note: Only applies to engines with aftertreatment.
Open the engine access door. Refer to Operation and Maintenance Manual, “Access Doors and Covers”.
Tilt the radiator upward. Refer to Operation and Maintenance Manual, “Radiator Tilting”.
The breather is located in the engine compartment on the right-hand side of engine. There is cap on the breather and a replaceable element inside.
Note: This service may be performed without removing the housing from the engine.
Remove the breather cap and remove the filter element.
Note: The C2.2 and C3.3B are equipped with cap on bottom portion of the canister. Use a wrench to remove the breather cap. The C3.8 is equipped with cap on top of canister, remove cap by applying downward pressure on the cap while turning.
Clean the housing and the cap for the breather.
System Pressure Release
Warning: Personal injury can result from hydraulic oil pressure and hot oil. Hydraulic oil pressure can remain in the hydraulic system after the engine has been stopped. Serious injury can be caused if this pressure is not released before any service is done on the hydraulic system. Make sure all of the attachments have been lowered, oil is cool before removing any components or lines. Remove the oil filler cap only when the engine is stopped, and the filler cap is cool enough to touch with your bare hand.
Start the engine and allow the engine to run for at least 15 seconds to recharge the accumulator.
Stop the engine. Keep the armrests in the LOWERED position. Turn the engine start switch to the ON position. Push the parking brake switch.
Move the electrohydraulic controls through all the positions.
Toggle the auxiliary switch multiple times.
Turn the engine start switch to the OFF position. The pressure in the hydraulic system has now been released.
Note: Some hydraulic lines on the downstream side of the accumulator may still contain pressurized oil. Use caution when you disconnect these hydraulic lines.
Sign off on the pressure release procedure
Parts for CAT Skid Steer Loader 257D
Access the parts list for your equipment in MaintainX.
Refractometer
360-0774
Refractometer
360-0774
Refractometer
360-0774
Unlock efficiency
with MaintainX CoPilot
MaintainX CoPilot is your expert colleague, on call 24/7, helping your team find the answers they need to keep equipment running.
Reduce Unplanned Downtime
Ensure your team follows consistent procedures to minimize equipment failures and costly delays.
Maximize Asset Availability
Keep your assets running longer and more reliably, with standardized maintenance workflows from OEM manuals.
Lower Maintenance Costs
Turn any technician into an expert to streamline operations, maintain more assets, and reduce overall costs.
Thousands of companies manage their assets with MaintainX

'%3e%3cpath%20fill='url(%23b)'%20d='M66.008%2080.068c-5.084-.786-9.763-3.834-12.442-8.68a16.942%2016.942%200%200%201-1.87-5.18c1.096.19%202.203.476%203.298.87%206.525%202.333%2010.836%207.68%2011.014%2012.99ZM51.47%2061.576c.488-5.524%203.62-10.716%208.847-13.597a17.132%2017.132%200%200%201%2011.335-1.882c-.798%208.145-7.43%2014.848-16.038%2015.599-1.417.119-2.799.07-4.144-.12Zm28.564-11.478a17.513%2017.513%200%200%201%203.727%204.62c4.608%208.335%201.584%2018.813-6.75%2023.409a16.988%2016.988%200%200%201-4.359%201.679%2019.624%2019.624%200%200%201-3.977-12.776c.346-7.561%204.942-13.931%2011.36-16.932Z'/%3e%3cpath%20fill='%23110F0D'%20fill-rule='evenodd'%20d='M142.831%2048.324h4.977V77.03h-4.977V48.324Zm27.278%2013.002c.322%201.048.453%202.263.453%203.62v12.073h-4.787V66.208c0-.75-.047-1.572-.154-2.143-.453-2.382-1.822-3.572-4.215-3.572-2.31%200-3.882%201.274-4.43%203.476-.143.596-.226%201.405-.226%202.25v10.8h-4.787V56.623h4.477v2.989c1.536-2.5%203.906-3.43%206.371-3.43%203.488%200%206.263%201.68%207.298%205.144Zm24.636%207.323c0%203.882-2.358%206.525-5.763%207.727-1.298.453-2.632.643-4.62.643h-10.169V48.324h9.085c1.691%200%203.156.143%204.049.38%203.465.93%205.727%203.68%205.727%207.335%200%202.441-.81%204.156-2.762%205.644%202.905%201.417%204.453%203.727%204.453%206.966Zm-15.634-8.656h4.584c1.024%200%201.917-.143%202.536-.417%201.215-.548%201.905-1.608%201.905-3.167%200-1.548-.643-2.572-1.845-3.132-.691-.31-1.762-.452-2.763-.452h-4.417v7.168Zm10.716%208.465c0-1.536-.893-3.37-3.227-3.893-.428-.095-1.036-.143-1.571-.143h-5.918v8.085h5.501c.56%200%201.429-.048%201.953-.167%201.94-.453%203.262-1.846%203.262-3.882Zm47.747-11.847-8.097%2020.408h-4.429l-8.109-20.408h5.191l5.192%2014.574%205.108-14.574h5.144Zm-20.218%2010.002c0%20.69-.036%201.262-.155%201.94h-15.943c.631%202.87%202.714%204.728%205.882%204.728%202.131%200%203.607-.882%204.703-2.525h4.87c-1.762%204.144-5.204%206.692-9.657%206.692-6.084%200-10.537-4.858-10.537-10.49%200-6.108%204.524-10.776%2010.335-10.776%206.239%200%2010.442%204.954%2010.502%2010.43Zm-4.763-1.405c-.333-2.846-2.643-4.858-5.691-4.858-2.894%200-5.287%201.929-5.621%204.858h11.312Zm-72.667%203.44c0%204.787-3.287%208.371-9.419%208.371H119.363V64.66c-1.917.274-3.87.69-5.811%201.238l4.537%2011.121h-5.418l-3.596-9.585c-5.144%202.084-10.085%205.216-14.217%209.585h-4.786L101.8%2048.312h4.56l5.68%2013.883a44.112%2044.112%200%200%201%207.323-1.774V48.312h9.084c1.703%200%203.156.143%204.061.393%203.453.929%205.727%203.667%205.727%207.323%200%201.917-.738%204.179-2.81%205.691%203.06%201.56%204.501%204.025%204.501%206.93Zm-15.634-8.667a62.664%2062.664%200%200%201%202.06-.036c1.703.012%203.239.131%204.608.37%201.441-.549%202.357-1.727%202.357-3.537%200-1.941-.881-3.144-2.488-3.667-.548-.18-1.358-.286-2.322-.286h-4.215v7.156Zm-16.55%203.905-3.715-9.894-6.394%2016.502c2.833-2.595%206.263-4.858%2010.109-6.608Zm27.254%204.74c0-2.775-3.131-4.347-8.513-4.418-.715%200-1.441.011-2.191.047v8.252h5.918c2.548%200%204.786-1.37%204.786-3.882Z'%20clip-rule='evenodd'/%3e%3c/g%3e%3cdefs%3e%3clinearGradient%20id='b'%20x1='51.47'%20x2='85.916'%20y1='62.946'%20y2='62.946'%20gradientUnits='userSpaceOnUse'%3e%3cstop%20stop-color='%23CD9F28'/%3e%3cstop%20offset='1'%20stop-color='%23ECD80B'/%3e%3c/linearGradient%3e%3cclipPath%20id='a'%3e%3cpath%20fill='%23fff'%20d='M51.47%2045.728h186.104V80.14H51.47z'/%3e%3c/clipPath%3e%3c/defs%3e%3c/svg%3e)


More from CAT
Explore Other Assets


© 2026 MaintainX. All rights reserved.