


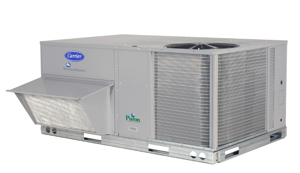
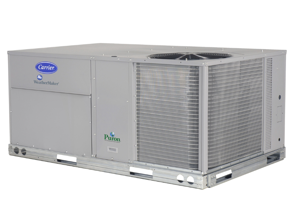
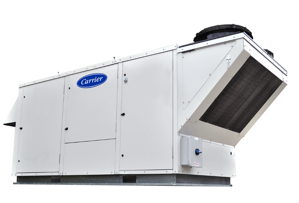
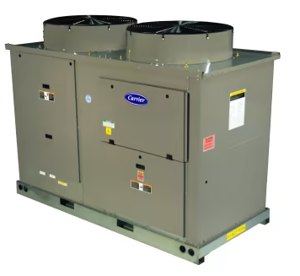
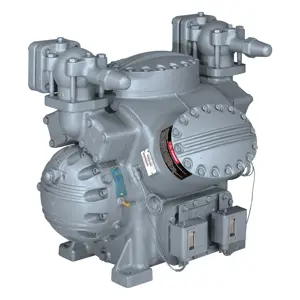
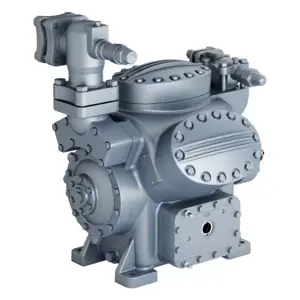
Carrier Split Systems and Condensers 38AUD
Need answers fast?
Explore the manual using AI.
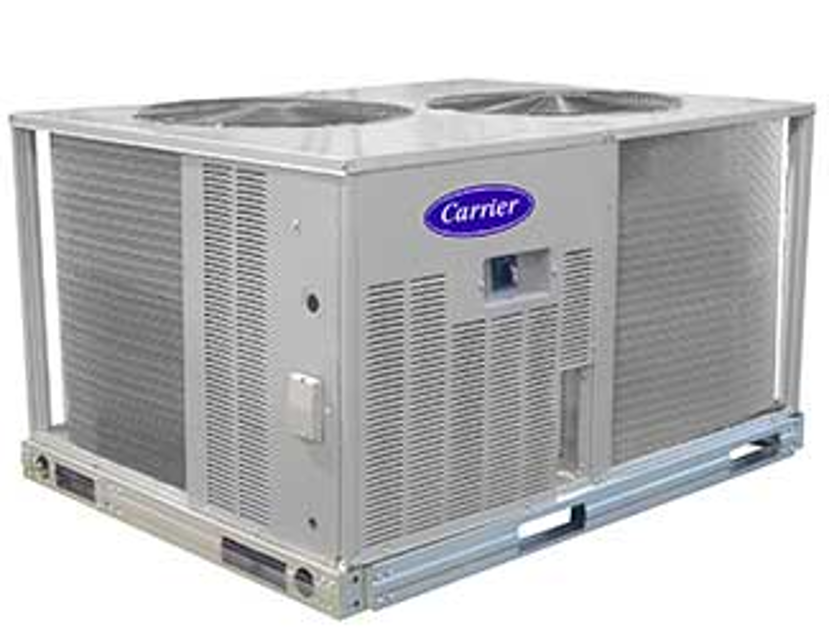
Carrier Split Systems and Condensers 38AUD are efficient HVAC solutions designed for optimal cooling performance. These systems provide reliable temperature control and energy efficiency, making them ideal for both residential and commercial applications. Regular maintenance ensures longevity and peak performance.
Turn manuals into instant answers
with your AI-powered assistantTurn manuals into instant answers
with your AI-powered assistant
Manual for Carrier Split Systems and Condensers 38AUD
Complete asset maintenance, one click away
Get instant access to all the maintenance information you need. Empower technicians to perform preventive maintenance with asset packages, ready to use right out of the box.

Documents & Manuals
Find all the essential guides in one place.
 Tensioning Guide
- Belt-diagram
- C-120 pulleys
+ 13 more

Work Order Templates
Pre-built workflows to keep your asset running smoothly.
- Daily Electrical System Inspection
- Replace Roller and Pulley
- Install Engine B-120
+ 29 more

Procedures
Integrate maintenance plans directly into your work orders.
- Motion Industries
- Applied Industrial Technologies
- Electrical Brothers
+ 5 more

Parts
Access the parts list for your equipment in MaintainX.
- Drive Motor
- B2 Rollers
- Tensioning System
+ 40 more
Carrier Split Systems and Condensers 38AUD
Create an account to install this asset package.
Maintenance Plans for Carrier Split Systems and Condensers Model 38AUD
Integrate maintenance plans directly into your work orders in MaintainX.
System Check
Check all air handler(s) and other equipment auxiliary components.
Check if the unit is properly leak checked and dehydrated.
Check tightness of all electrical connections.
Open the liquid line and suction line service valves.
Check if the unit is properly charged.
Check if the electrical power source agrees with the unit’s nameplate rating.
Check if the crankcase heater is firmly attached to the compressor crankcase.
Check if the crankcase is warm.
Turn on the crankcase heater for 24 hours before starting the unit.

Coil Cleaning
IMPORTANT: To clean the NOVATION condenser coil, chemicals are NOT to be used; only water is approved as the cleaning solution. Only clean potable water is authorized for cleaning NOVATION condensers.
Turn off unit power.
Remove screws holding rear corner posts and top cover in place. Pivot top cover up 305 to 457 mm (12 to 18 in.) and support with a rigid support.
Carefully remove any foreign objects or debris attached to the coil face or trapped within the mounting frame and brackets.
Using a high pressure water sprayer, purge any soap or industrial cleaners from hose and/or dilution tank prior to wetting the coil. Clean condenser face by spraying the coil core steadily and uniformly from top to bottom, directing the spray straight into or toward the coil face.
IMPORTANT: Do not exceed 6205 kPa (900 psig) or a 45 degree angle; nozzle must be at least 30 cm (12 in.) from the coil face. Reduce pressure and use caution to prevent damage to air centers (fins). Do not fracture the braze between air centers and refrigerant tubes. Allow water to drain from the coil core and check for refrigerant leaks prior to start up.
Replace top cover and rear corner posts.
Sign off on the coil cleaning
Refrigeration System Maintenance
CAUTION: EQUIPMENT DAMAGE HAZARD. Failure to follow this caution may result in damage to equipment.
The compressor in a Puron system uses a polyolester (POE) oil. This oil is extremely hygroscopic, meaning it absorbs water readily.
POE (polyolester) compressor lubricants are known to cause long term damage to some synthetic roofing materials.
Synthetic Roof Precautionary Procedure:
Cover extended roof working area with an impermeable polyethylene (plastic) drop cloth or tarp. Cover an approximate 3.3 x 3.3 m (10 x 10 ft) area.
Cover area in front of the unit service panel with a terry cloth shop towel to absorb lubricant spills and prevent run-offs, and protect drop cloth from tears caused by tools or components.
Place terry cloth shop towel inside unit immediately under component(s) to be serviced and prevent lubricant run-offs through the louvered openings in the base pan.
Perform required service.
Remove and dispose of any oil contaminated material per local codes.
Preliminary Check
Check that electric power supply agrees with unit nameplate data.
Verify that the compressor crankcase heater is securely in place.
Check that the compressor crankcase heater has been on at least 24 hours.
Recheck for leaks using the procedure outlined in the Pre-Start-Up section, Leak Test and Dehydration.
Ensure that the preliminary charge has been added as described in the Pre-Start-Up section, Preliminary Charge.
All internal wiring connections must be tight, and all barriers and covers must be in place.
NOTE: The 38AUD units are factory charged with the required amount of oil. If recharging in required, use Emkarate RL 32-3MAF for the 38AUD units.
Check compressor rotation.
Check compressor overload.
Start Unit Maintenance
Set the space thermostat to a set point above space temperature so that there is no demand for cooling.
Close the 38AUD disconnect switch. Only the crankcase heater will be energized.
Reset the space thermostat below ambient so that a call for cooling is ensured.
Caution: UNIT DAMAGE HAZARD Failure to follow this caution may result in equipment damage.
Never charge liquid into the low-pressure side of system. Do not overcharge. During charging or removal of refrigerant, be sure indoor-fan system is operating. Ensure both outdoor fan motors are running; bypass any Motormaster function.
Adjust Refrigerant Charge
Refer to Cooling Charging Charts, Fig. 16 through Fig. 18. For applications with line lengths greater than 38m (125 ft), contact Carrier representative.
Vary refrigerant until the conditions of the chart are met.
Note that the charging charts are different from the type normally used. The charts are based on charging the units to the correct subcooling for the various operating conditions.
Parts for Carrier Split Systems and Condensers 38AUD
Access the parts list for your equipment in MaintainX.
Coil
P902-0301
Core
EC39EZ067
Filter Drier 1/2in.
KM680004
Puron-duty Filter Driers
KH43LS085
HVAC
HN61PC005
Coil
P902-0301
Core
EC39EZ067
Filter Drier 1/2in.
KM680004
Puron-duty Filter Driers
KH43LS085
HVAC
HN61PC005
Coil
P902-0301
Core
EC39EZ067
Filter Drier 1/2in.
KM680004
Puron-duty Filter Driers
KH43LS085
HVAC
HN61PC005
Unlock efficiency
with MaintainX CoPilot
MaintainX CoPilot is your expert colleague, on call 24/7, helping your team find the answers they need to keep equipment running.
Reduce Unplanned Downtime
Ensure your team follows consistent procedures to minimize equipment failures and costly delays.
Maximize Asset Availability
Keep your assets running longer and more reliably, with standardized maintenance workflows from OEM manuals.
Lower Maintenance Costs
Turn any technician into an expert to streamline operations, maintain more assets, and reduce overall costs.
Thousands of companies manage their assets with MaintainX

'%3e%3cpath%20fill='url(%23b)'%20d='M66.008%2080.068c-5.084-.786-9.763-3.834-12.442-8.68a16.942%2016.942%200%200%201-1.87-5.18c1.096.19%202.203.476%203.298.87%206.525%202.333%2010.836%207.68%2011.014%2012.99ZM51.47%2061.576c.488-5.524%203.62-10.716%208.847-13.597a17.132%2017.132%200%200%201%2011.335-1.882c-.798%208.145-7.43%2014.848-16.038%2015.599-1.417.119-2.799.07-4.144-.12Zm28.564-11.478a17.513%2017.513%200%200%201%203.727%204.62c4.608%208.335%201.584%2018.813-6.75%2023.409a16.988%2016.988%200%200%201-4.359%201.679%2019.624%2019.624%200%200%201-3.977-12.776c.346-7.561%204.942-13.931%2011.36-16.932Z'/%3e%3cpath%20fill='%23110F0D'%20fill-rule='evenodd'%20d='M142.831%2048.324h4.977V77.03h-4.977V48.324Zm27.278%2013.002c.322%201.048.453%202.263.453%203.62v12.073h-4.787V66.208c0-.75-.047-1.572-.154-2.143-.453-2.382-1.822-3.572-4.215-3.572-2.31%200-3.882%201.274-4.43%203.476-.143.596-.226%201.405-.226%202.25v10.8h-4.787V56.623h4.477v2.989c1.536-2.5%203.906-3.43%206.371-3.43%203.488%200%206.263%201.68%207.298%205.144Zm24.636%207.323c0%203.882-2.358%206.525-5.763%207.727-1.298.453-2.632.643-4.62.643h-10.169V48.324h9.085c1.691%200%203.156.143%204.049.38%203.465.93%205.727%203.68%205.727%207.335%200%202.441-.81%204.156-2.762%205.644%202.905%201.417%204.453%203.727%204.453%206.966Zm-15.634-8.656h4.584c1.024%200%201.917-.143%202.536-.417%201.215-.548%201.905-1.608%201.905-3.167%200-1.548-.643-2.572-1.845-3.132-.691-.31-1.762-.452-2.763-.452h-4.417v7.168Zm10.716%208.465c0-1.536-.893-3.37-3.227-3.893-.428-.095-1.036-.143-1.571-.143h-5.918v8.085h5.501c.56%200%201.429-.048%201.953-.167%201.94-.453%203.262-1.846%203.262-3.882Zm47.747-11.847-8.097%2020.408h-4.429l-8.109-20.408h5.191l5.192%2014.574%205.108-14.574h5.144Zm-20.218%2010.002c0%20.69-.036%201.262-.155%201.94h-15.943c.631%202.87%202.714%204.728%205.882%204.728%202.131%200%203.607-.882%204.703-2.525h4.87c-1.762%204.144-5.204%206.692-9.657%206.692-6.084%200-10.537-4.858-10.537-10.49%200-6.108%204.524-10.776%2010.335-10.776%206.239%200%2010.442%204.954%2010.502%2010.43Zm-4.763-1.405c-.333-2.846-2.643-4.858-5.691-4.858-2.894%200-5.287%201.929-5.621%204.858h11.312Zm-72.667%203.44c0%204.787-3.287%208.371-9.419%208.371H119.363V64.66c-1.917.274-3.87.69-5.811%201.238l4.537%2011.121h-5.418l-3.596-9.585c-5.144%202.084-10.085%205.216-14.217%209.585h-4.786L101.8%2048.312h4.56l5.68%2013.883a44.112%2044.112%200%200%201%207.323-1.774V48.312h9.084c1.703%200%203.156.143%204.061.393%203.453.929%205.727%203.667%205.727%207.323%200%201.917-.738%204.179-2.81%205.691%203.06%201.56%204.501%204.025%204.501%206.93Zm-15.634-8.667a62.664%2062.664%200%200%201%202.06-.036c1.703.012%203.239.131%204.608.37%201.441-.549%202.357-1.727%202.357-3.537%200-1.941-.881-3.144-2.488-3.667-.548-.18-1.358-.286-2.322-.286h-4.215v7.156Zm-16.55%203.905-3.715-9.894-6.394%2016.502c2.833-2.595%206.263-4.858%2010.109-6.608Zm27.254%204.74c0-2.775-3.131-4.347-8.513-4.418-.715%200-1.441.011-2.191.047v8.252h5.918c2.548%200%204.786-1.37%204.786-3.882Z'%20clip-rule='evenodd'/%3e%3c/g%3e%3cdefs%3e%3clinearGradient%20id='b'%20x1='51.47'%20x2='85.916'%20y1='62.946'%20y2='62.946'%20gradientUnits='userSpaceOnUse'%3e%3cstop%20stop-color='%23CD9F28'/%3e%3cstop%20offset='1'%20stop-color='%23ECD80B'/%3e%3c/linearGradient%3e%3cclipPath%20id='a'%3e%3cpath%20fill='%23fff'%20d='M51.47%2045.728h186.104V80.14H51.47z'/%3e%3c/clipPath%3e%3c/defs%3e%3c/svg%3e)


More from Carrier


Explore Other Assets


© 2026 MaintainX. All rights reserved.