


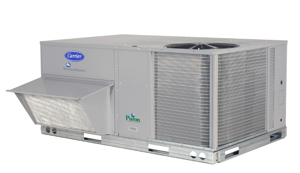
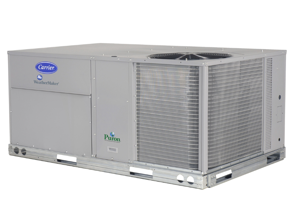
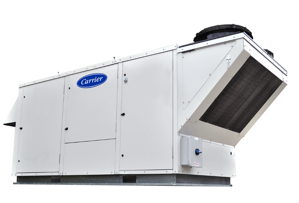
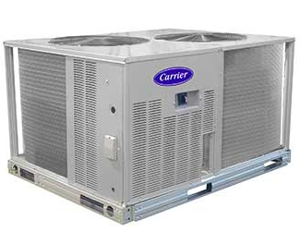
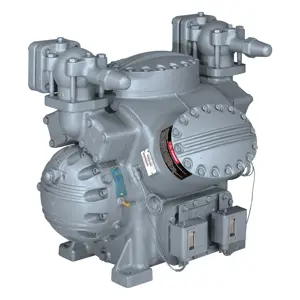
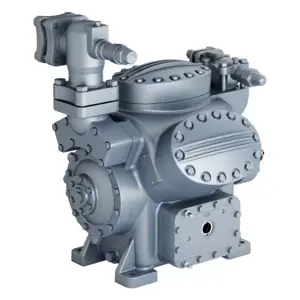
Carrier Split Systems and Condensers 38AP
Need answers fast?
Explore the manual using AI.
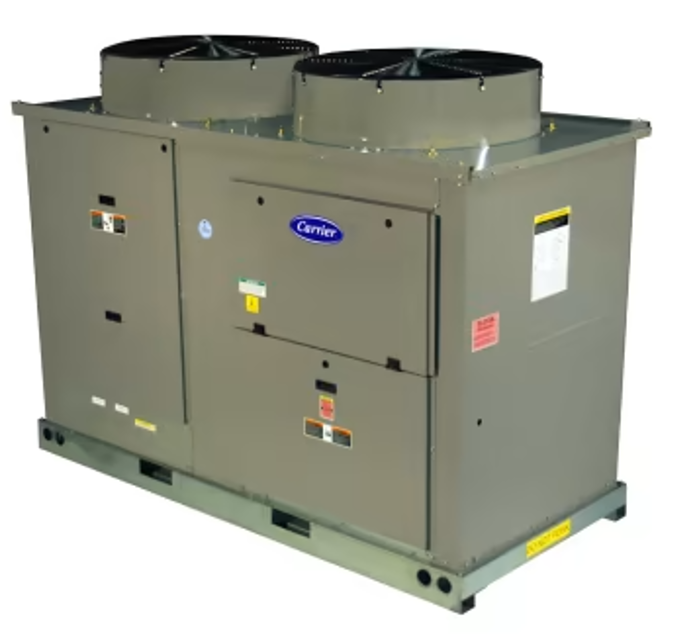
Carrier Split Systems and Condensers 38AP are efficient HVAC solutions designed for optimal cooling performance. These systems offer reliable operation and ease of maintenance, making them ideal for commercial and industrial applications. Ensure longevity and efficiency with proper maintenance practices tailored to this model.
Turn manuals into instant answers
with your AI-powered assistantTurn manuals into instant answers
with your AI-powered assistant
Manual for Carrier Split Systems and Condensers 38AP
Complete asset maintenance, one click away
Get instant access to all the maintenance information you need. Empower technicians to perform preventive maintenance with asset packages, ready to use right out of the box.

Documents & Manuals
Find all the essential guides in one place.
 Tensioning Guide
- Belt-diagram
- C-120 pulleys
+ 13 more

Work Order Templates
Pre-built workflows to keep your asset running smoothly.
- Daily Electrical System Inspection
- Replace Roller and Pulley
- Install Engine B-120
+ 29 more

Procedures
Integrate maintenance plans directly into your work orders.
- Motion Industries
- Applied Industrial Technologies
- Electrical Brothers
+ 5 more

Parts
Access the parts list for your equipment in MaintainX.
- Drive Motor
- B2 Rollers
- Tensioning System
+ 40 more
Carrier Split Systems and Condensers 38AP
Create an account to install this asset package.
Maintenance Plans for Carrier Split Systems and Condensers Model 38AP
Integrate maintenance plans directly into your work orders in MaintainX.
1 Monthly Split Systems and Condensers Maintenance
Check condenser coils for debris, clean as necessary.
Check moisture indicating sight glass for possible refrigerant loss and presence of moisture.
Check fusible plugs to be sure that they have not been capped. If the fusible plugs are vented, be sure the vent line is free of any obstructions.
For units with High Efficiency Variable Condenser Fan option, check the VFD fan inlet for debris, snow, or ice. Clean as necessary.

Control Module Replacement
WARNING: Electrical shock can cause personal injury. Disconnect all electrical power before servicing.
All power to unit is off
All wires from the defective module are carefully disconnected
Defective module is removed from the control box
Instance jumper or address switches match the settings of the defective module
Defective module is packaged in the carton of the new module for return to Carrier
New module is mounted in the unit’s control box using the saved screws
All module connectors are reinstalled
All wiring connections are carefully checked before restoring power
3 Monthly Split Systems and Condensers Maintenance
Check refrigerant charge.
Check all refrigerant joints and valves for refrigerant leaks, repair as necessary.
Check fan status switch operation.
Check condenser coils for debris.
Check all condenser fans for proper operation.
Check compressor oil level.
Check crankcase heater operation.
For units with High Efficiency Variable Condenser Fan option, check the VFD fan filter. Clean if necessary.
The Kriwan Motor Protection Module Replacement
Disconnect and lock out the high voltage and control voltage supply to the unit.
Using a straight blade screwdriver, carefully depress the tabs holding the terminal cover to the terminal box to remove the terminal cover.
Use a volt meter to verify that the power has been disconnected from the unit.
Using wire markers, label the M1, M2, T1, and T2 wires that are connected to the Kriwan module.
Using needle nose pliers, remove the M1, M2, T1, T2, S1 and S2 wires from the Kriwan motor protector module.
Gently bend the holding tabs holding the Kriwan module in the terminal box and remove the Kriwan module from the terminal box.
Take note of the S1-S2 plug orientation on the compressor thermistor fusite.
Remove the S1-S2 wire harness and plug from the compressor.
Sign off on the Kriwan Motor Protection Module Replacement
RTPF Maintenance
Warning: This maintenance check requires trained personnel with PPE!
Surface loaded fibers or dirt removed with a vacuum cleaner or a soft non-metallic bristle brush?
Note: Use of a water stream, such as a garden hose, against a surface loaded coil will drive the fibers and dirt into the coil.
Surface loaded fibers completely removed prior to using low velocity clean water rinse?
Periodic clean water rinse performed with very low velocity water stream?
Monthly cleaning as described below is recommended.
Routine cleaning with Totaline® environmentally balanced coil cleaner performed?
Enter the part number of the Totaline environmentally balanced coil cleaner used
Avoid the use of coil brighteners, acid cleaning prior to painting, high pressure washers, poor quality water for cleaning.
Parts for Carrier Split Systems and Condensers 38AP
Access the parts list for your equipment in MaintainX.
Pressure Transducer
HK05ZZ001
Compressor Dip Tube (ZP236, 296)
30RA680040
AUX Board
32GB500442EE
Averaging Sensor
HH79NZ041
Compressor Expansion Board
30GT515219
Pressure Transducer
HK05ZZ001
Compressor Dip Tube (ZP236, 296)
30RA680040
AUX Board
32GB500442EE
Averaging Sensor
HH79NZ041
Compressor Expansion Board
30GT515219
Pressure Transducer
HK05ZZ001
Compressor Dip Tube (ZP236, 296)
30RA680040
AUX Board
32GB500442EE
Averaging Sensor
HH79NZ041
Compressor Expansion Board
30GT515219
Unlock efficiency
with MaintainX CoPilot
MaintainX CoPilot is your expert colleague, on call 24/7, helping your team find the answers they need to keep equipment running.
Reduce Unplanned Downtime
Ensure your team follows consistent procedures to minimize equipment failures and costly delays.
Maximize Asset Availability
Keep your assets running longer and more reliably, with standardized maintenance workflows from OEM manuals.
Lower Maintenance Costs
Turn any technician into an expert to streamline operations, maintain more assets, and reduce overall costs.
Thousands of companies manage their assets with MaintainX

'%3e%3cpath%20fill='url(%23b)'%20d='M66.008%2080.068c-5.084-.786-9.763-3.834-12.442-8.68a16.942%2016.942%200%200%201-1.87-5.18c1.096.19%202.203.476%203.298.87%206.525%202.333%2010.836%207.68%2011.014%2012.99ZM51.47%2061.576c.488-5.524%203.62-10.716%208.847-13.597a17.132%2017.132%200%200%201%2011.335-1.882c-.798%208.145-7.43%2014.848-16.038%2015.599-1.417.119-2.799.07-4.144-.12Zm28.564-11.478a17.513%2017.513%200%200%201%203.727%204.62c4.608%208.335%201.584%2018.813-6.75%2023.409a16.988%2016.988%200%200%201-4.359%201.679%2019.624%2019.624%200%200%201-3.977-12.776c.346-7.561%204.942-13.931%2011.36-16.932Z'/%3e%3cpath%20fill='%23110F0D'%20fill-rule='evenodd'%20d='M142.831%2048.324h4.977V77.03h-4.977V48.324Zm27.278%2013.002c.322%201.048.453%202.263.453%203.62v12.073h-4.787V66.208c0-.75-.047-1.572-.154-2.143-.453-2.382-1.822-3.572-4.215-3.572-2.31%200-3.882%201.274-4.43%203.476-.143.596-.226%201.405-.226%202.25v10.8h-4.787V56.623h4.477v2.989c1.536-2.5%203.906-3.43%206.371-3.43%203.488%200%206.263%201.68%207.298%205.144Zm24.636%207.323c0%203.882-2.358%206.525-5.763%207.727-1.298.453-2.632.643-4.62.643h-10.169V48.324h9.085c1.691%200%203.156.143%204.049.38%203.465.93%205.727%203.68%205.727%207.335%200%202.441-.81%204.156-2.762%205.644%202.905%201.417%204.453%203.727%204.453%206.966Zm-15.634-8.656h4.584c1.024%200%201.917-.143%202.536-.417%201.215-.548%201.905-1.608%201.905-3.167%200-1.548-.643-2.572-1.845-3.132-.691-.31-1.762-.452-2.763-.452h-4.417v7.168Zm10.716%208.465c0-1.536-.893-3.37-3.227-3.893-.428-.095-1.036-.143-1.571-.143h-5.918v8.085h5.501c.56%200%201.429-.048%201.953-.167%201.94-.453%203.262-1.846%203.262-3.882Zm47.747-11.847-8.097%2020.408h-4.429l-8.109-20.408h5.191l5.192%2014.574%205.108-14.574h5.144Zm-20.218%2010.002c0%20.69-.036%201.262-.155%201.94h-15.943c.631%202.87%202.714%204.728%205.882%204.728%202.131%200%203.607-.882%204.703-2.525h4.87c-1.762%204.144-5.204%206.692-9.657%206.692-6.084%200-10.537-4.858-10.537-10.49%200-6.108%204.524-10.776%2010.335-10.776%206.239%200%2010.442%204.954%2010.502%2010.43Zm-4.763-1.405c-.333-2.846-2.643-4.858-5.691-4.858-2.894%200-5.287%201.929-5.621%204.858h11.312Zm-72.667%203.44c0%204.787-3.287%208.371-9.419%208.371H119.363V64.66c-1.917.274-3.87.69-5.811%201.238l4.537%2011.121h-5.418l-3.596-9.585c-5.144%202.084-10.085%205.216-14.217%209.585h-4.786L101.8%2048.312h4.56l5.68%2013.883a44.112%2044.112%200%200%201%207.323-1.774V48.312h9.084c1.703%200%203.156.143%204.061.393%203.453.929%205.727%203.667%205.727%207.323%200%201.917-.738%204.179-2.81%205.691%203.06%201.56%204.501%204.025%204.501%206.93Zm-15.634-8.667a62.664%2062.664%200%200%201%202.06-.036c1.703.012%203.239.131%204.608.37%201.441-.549%202.357-1.727%202.357-3.537%200-1.941-.881-3.144-2.488-3.667-.548-.18-1.358-.286-2.322-.286h-4.215v7.156Zm-16.55%203.905-3.715-9.894-6.394%2016.502c2.833-2.595%206.263-4.858%2010.109-6.608Zm27.254%204.74c0-2.775-3.131-4.347-8.513-4.418-.715%200-1.441.011-2.191.047v8.252h5.918c2.548%200%204.786-1.37%204.786-3.882Z'%20clip-rule='evenodd'/%3e%3c/g%3e%3cdefs%3e%3clinearGradient%20id='b'%20x1='51.47'%20x2='85.916'%20y1='62.946'%20y2='62.946'%20gradientUnits='userSpaceOnUse'%3e%3cstop%20stop-color='%23CD9F28'/%3e%3cstop%20offset='1'%20stop-color='%23ECD80B'/%3e%3c/linearGradient%3e%3cclipPath%20id='a'%3e%3cpath%20fill='%23fff'%20d='M51.47%2045.728h186.104V80.14H51.47z'/%3e%3c/clipPath%3e%3c/defs%3e%3c/svg%3e)


More from Carrier


Explore Other Assets


© 2026 MaintainX. All rights reserved.