


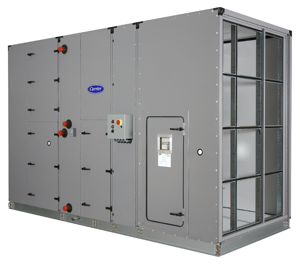
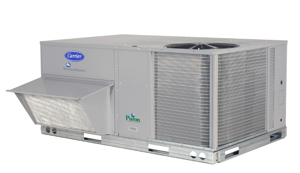
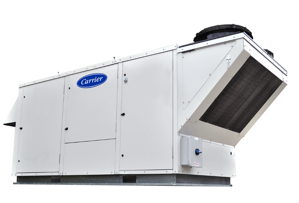
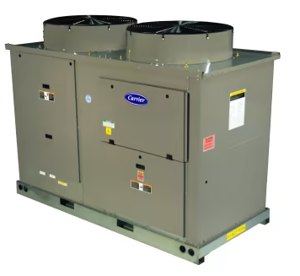
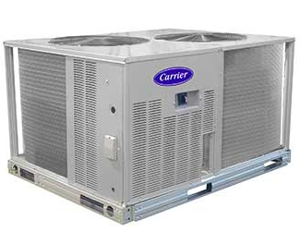
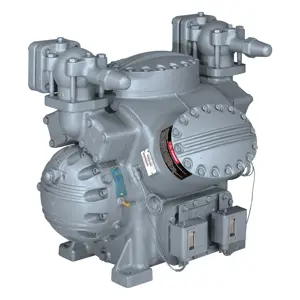
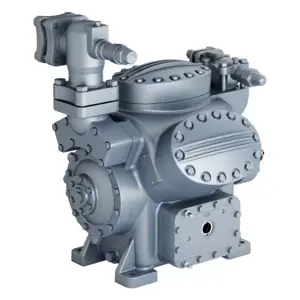
Carrier Packaged and Dedicated Outdoor Air Units 50TC
Need answers fast?
Explore the manual using AI.
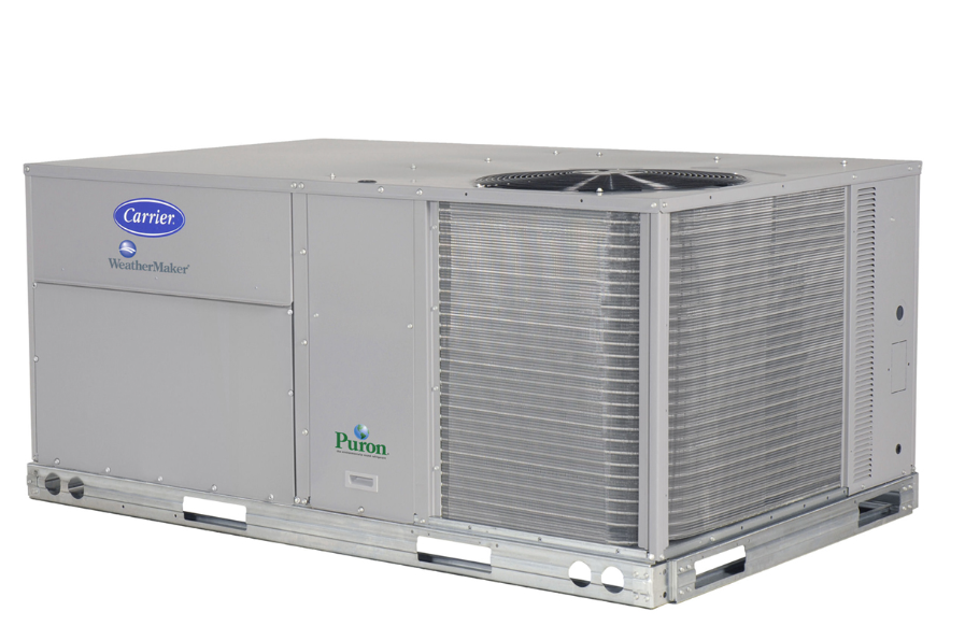
Carrier's Packaged and Dedicated Outdoor Air Units 50TC provide efficient climate control solutions for commercial applications. These units are designed for optimal performance and reliability, ensuring consistent air quality and comfort in various environments. Ideal for both new installations and replacements, they offer advanced features tailored to meet diverse HVAC needs.
Turn manuals into instant answers
with your AI-powered assistantTurn manuals into instant answers
with your AI-powered assistant
Manual for Carrier Packaged and Dedicated Outdoor Air Units 50TC
Complete asset maintenance, one click away
Get instant access to all the maintenance information you need. Empower technicians to perform preventive maintenance with asset packages, ready to use right out of the box.

Documents & Manuals
Find all the essential guides in one place.
 Tensioning Guide
- Belt-diagram
- C-120 pulleys
+ 13 more

Work Order Templates
Pre-built workflows to keep your asset running smoothly.
- Daily Electrical System Inspection
- Replace Roller and Pulley
- Install Engine B-120
+ 29 more

Procedures
Integrate maintenance plans directly into your work orders.
- Motion Industries
- Applied Industrial Technologies
- Electrical Brothers
+ 5 more

Parts
Access the parts list for your equipment in MaintainX.
- Drive Motor
- B2 Rollers
- Tensioning System
+ 40 more
Carrier Packaged and Dedicated Outdoor Air Units 50TC
Create an account to install this asset package.
Maintenance Plans for Carrier Packaged and Dedicated Outdoor Air Units Model 50TC
Integrate maintenance plans directly into your work orders in MaintainX.
Detector Cleaning
Warning: Failure to follow this NOTICE can result in an unnecessary evacuation of the facility.
If the smoke detector is connected to a fire alarm system, first notify the proper authorities that the detector is undergoing maintenance then disable the relevant circuit to avoid generating a false alarm.
Disconnect power from the duct detector then remove the sensor’s cover.
Using a vacuum cleaner, clean compressed air, or a soft bristle brush, remove loose dirt and debris from inside the sensor housing and cover.
Use isopropyl alcohol and a lint-free cloth to remove dirt and other contaminants from the gasket on the sensor’s cover.
Squeeze the retainer clips on both sides of the optic housing then lift the housing away from the printed circuit board.
Gently remove dirt and debris from around the optic plate and inside the optic housing.
Replace the optic housing and sensor cover.
Connect power to the duct detector then perform a sensor alarm test.

Thermostatic Expansion Valve Replacement
CAUTION: PERSONAL INJURY HAZARD. Always wear approved safety glasses, work gloves and other recommended Personal Protective Equipment (PPE) when working with refrigerants.
Disconnect all AC power to the unit. Use approved lockout/ tag-out procedures.
Using the gage set approved for use with Puron (R-410A) refrigerant, recover all refrigerant from the system.
Remove the TXV support clamp.
Disconnect the liquid line at the TXV inlet.
Remove the liquid line connection at the TXV inlet.
Remove the equalizer tube from the suction line of the coil. Use a tubing cutter to cut the brazed equalizer line approximately 2-in. (50 mm) above the suction tube.
Remove the bulb from the vapor tube above the evaporator coil header outlet.
Install the new TXV; avoid damage to the tubing or the valve when attaching the TXV to the distributor. Protect the TXV against over-temperature conditions by using wet rags and directing the torch flame tip away from the TXV body.
Adjusting the Condenser-Fan
Shut off the unit power supply and apply the appropriate lockout/tagout procedures
Remove the condenser-fan assembly (grille, motor, and fan)
Loosen the fan hub setscrews
Upload a photo of the adjusted fan height as shown in Fig. 32
Tighten the setscrews
Replace the condenser-fan assembly
Sign off on the condenser-fan adjustment
V-belt Replacement
CAUTION: EQUIPMENT DAMAGE HAZARD. Failure to follow this CAUTION can result in premature wear and damage to equipment.
Use a belt with same section type or similar size. Do not substitute a “FHP” or notched type V-belt.
Loosen (turn counterclockwise) the motor mounting plate front bolts and rear bolts.
Loosen (turn counterclockwise) the jack bolt lock nuts. Loosen (turn counterclockwise) the jack bolts, relieving the belt tension and allowing easy removal of the belt by hand.
Remove the belt by gently lifting the old belt over one of the pulleys.
Install the new belt by gently sliding the belt over both pulleys, then tighten (turn clockwise) the jack bolts, sliding the motor plate away from the fan housing until proper belt tension is achieved.
Check the alignment of the pulleys, adjust if necessary.
Tighten all bolts attaching the motor to the motor plate.
Tighten all jack bolt jam nuts by turning clockwise.
Compressor Replacement
Warning: This procedure requires trained personnel with PPE!
Connect service gages to suction and discharge pressure fittings
Energize the compressor
Check if suction pressure drops and discharge pressure rises
If the suction pressure does not drop and the discharge pressure does not rise to normal levels:
Check if the evaporator fan is rotating in the wrong direction
Turn off power to the unit. Use applicable lockout/tag-out procedures
Reverse any two of the unit power leads
Reapply power to the compressor
Parts for Carrier Packaged and Dedicated Outdoor Air Units 50TC
Access the parts list for your equipment in MaintainX.
Enthalpy Sensor
CRENTDIF004A00
Coil Cleaner
P902-0301
CO2 for DCV Control using a Duct-Mounted CO2 Sensor
CRCBDIOX005A00
The Standard Outdoor Dry Bulb Sensor
CRTEMPSN002A00
Accessory Co2 Sensor
33ZCSENCO2
Enthalpy Sensor
CRENTDIF004A00
Coil Cleaner
P902-0301
CO2 for DCV Control using a Duct-Mounted CO2 Sensor
CRCBDIOX005A00
The Standard Outdoor Dry Bulb Sensor
CRTEMPSN002A00
Accessory Co2 Sensor
33ZCSENCO2
Enthalpy Sensor
CRENTDIF004A00
Coil Cleaner
P902-0301
CO2 for DCV Control using a Duct-Mounted CO2 Sensor
CRCBDIOX005A00
The Standard Outdoor Dry Bulb Sensor
CRTEMPSN002A00
Accessory Co2 Sensor
33ZCSENCO2
Unlock efficiency
with MaintainX CoPilot
MaintainX CoPilot is your expert colleague, on call 24/7, helping your team find the answers they need to keep equipment running.
Reduce Unplanned Downtime
Ensure your team follows consistent procedures to minimize equipment failures and costly delays.
Maximize Asset Availability
Keep your assets running longer and more reliably, with standardized maintenance workflows from OEM manuals.
Lower Maintenance Costs
Turn any technician into an expert to streamline operations, maintain more assets, and reduce overall costs.
Thousands of companies manage their assets with MaintainX

'%3e%3cpath%20fill='url(%23b)'%20d='M66.008%2080.068c-5.084-.786-9.763-3.834-12.442-8.68a16.942%2016.942%200%200%201-1.87-5.18c1.096.19%202.203.476%203.298.87%206.525%202.333%2010.836%207.68%2011.014%2012.99ZM51.47%2061.576c.488-5.524%203.62-10.716%208.847-13.597a17.132%2017.132%200%200%201%2011.335-1.882c-.798%208.145-7.43%2014.848-16.038%2015.599-1.417.119-2.799.07-4.144-.12Zm28.564-11.478a17.513%2017.513%200%200%201%203.727%204.62c4.608%208.335%201.584%2018.813-6.75%2023.409a16.988%2016.988%200%200%201-4.359%201.679%2019.624%2019.624%200%200%201-3.977-12.776c.346-7.561%204.942-13.931%2011.36-16.932Z'/%3e%3cpath%20fill='%23110F0D'%20fill-rule='evenodd'%20d='M142.831%2048.324h4.977V77.03h-4.977V48.324Zm27.278%2013.002c.322%201.048.453%202.263.453%203.62v12.073h-4.787V66.208c0-.75-.047-1.572-.154-2.143-.453-2.382-1.822-3.572-4.215-3.572-2.31%200-3.882%201.274-4.43%203.476-.143.596-.226%201.405-.226%202.25v10.8h-4.787V56.623h4.477v2.989c1.536-2.5%203.906-3.43%206.371-3.43%203.488%200%206.263%201.68%207.298%205.144Zm24.636%207.323c0%203.882-2.358%206.525-5.763%207.727-1.298.453-2.632.643-4.62.643h-10.169V48.324h9.085c1.691%200%203.156.143%204.049.38%203.465.93%205.727%203.68%205.727%207.335%200%202.441-.81%204.156-2.762%205.644%202.905%201.417%204.453%203.727%204.453%206.966Zm-15.634-8.656h4.584c1.024%200%201.917-.143%202.536-.417%201.215-.548%201.905-1.608%201.905-3.167%200-1.548-.643-2.572-1.845-3.132-.691-.31-1.762-.452-2.763-.452h-4.417v7.168Zm10.716%208.465c0-1.536-.893-3.37-3.227-3.893-.428-.095-1.036-.143-1.571-.143h-5.918v8.085h5.501c.56%200%201.429-.048%201.953-.167%201.94-.453%203.262-1.846%203.262-3.882Zm47.747-11.847-8.097%2020.408h-4.429l-8.109-20.408h5.191l5.192%2014.574%205.108-14.574h5.144Zm-20.218%2010.002c0%20.69-.036%201.262-.155%201.94h-15.943c.631%202.87%202.714%204.728%205.882%204.728%202.131%200%203.607-.882%204.703-2.525h4.87c-1.762%204.144-5.204%206.692-9.657%206.692-6.084%200-10.537-4.858-10.537-10.49%200-6.108%204.524-10.776%2010.335-10.776%206.239%200%2010.442%204.954%2010.502%2010.43Zm-4.763-1.405c-.333-2.846-2.643-4.858-5.691-4.858-2.894%200-5.287%201.929-5.621%204.858h11.312Zm-72.667%203.44c0%204.787-3.287%208.371-9.419%208.371H119.363V64.66c-1.917.274-3.87.69-5.811%201.238l4.537%2011.121h-5.418l-3.596-9.585c-5.144%202.084-10.085%205.216-14.217%209.585h-4.786L101.8%2048.312h4.56l5.68%2013.883a44.112%2044.112%200%200%201%207.323-1.774V48.312h9.084c1.703%200%203.156.143%204.061.393%203.453.929%205.727%203.667%205.727%207.323%200%201.917-.738%204.179-2.81%205.691%203.06%201.56%204.501%204.025%204.501%206.93Zm-15.634-8.667a62.664%2062.664%200%200%201%202.06-.036c1.703.012%203.239.131%204.608.37%201.441-.549%202.357-1.727%202.357-3.537%200-1.941-.881-3.144-2.488-3.667-.548-.18-1.358-.286-2.322-.286h-4.215v7.156Zm-16.55%203.905-3.715-9.894-6.394%2016.502c2.833-2.595%206.263-4.858%2010.109-6.608Zm27.254%204.74c0-2.775-3.131-4.347-8.513-4.418-.715%200-1.441.011-2.191.047v8.252h5.918c2.548%200%204.786-1.37%204.786-3.882Z'%20clip-rule='evenodd'/%3e%3c/g%3e%3cdefs%3e%3clinearGradient%20id='b'%20x1='51.47'%20x2='85.916'%20y1='62.946'%20y2='62.946'%20gradientUnits='userSpaceOnUse'%3e%3cstop%20stop-color='%23CD9F28'/%3e%3cstop%20offset='1'%20stop-color='%23ECD80B'/%3e%3c/linearGradient%3e%3cclipPath%20id='a'%3e%3cpath%20fill='%23fff'%20d='M51.47%2045.728h186.104V80.14H51.47z'/%3e%3c/clipPath%3e%3c/defs%3e%3c/svg%3e)


More from Carrier


Explore Other Assets


© 2026 MaintainX. All rights reserved.