


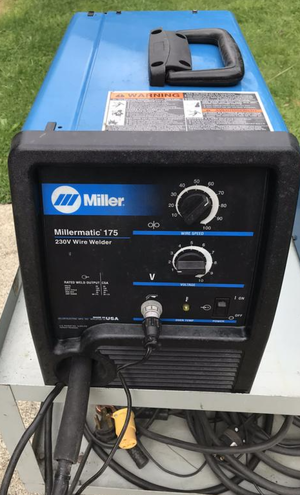
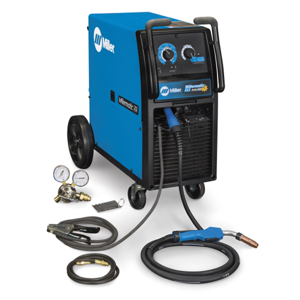
Miller Wheel Loader 924HZ
Need answers fast?
Explore the manual using AI.
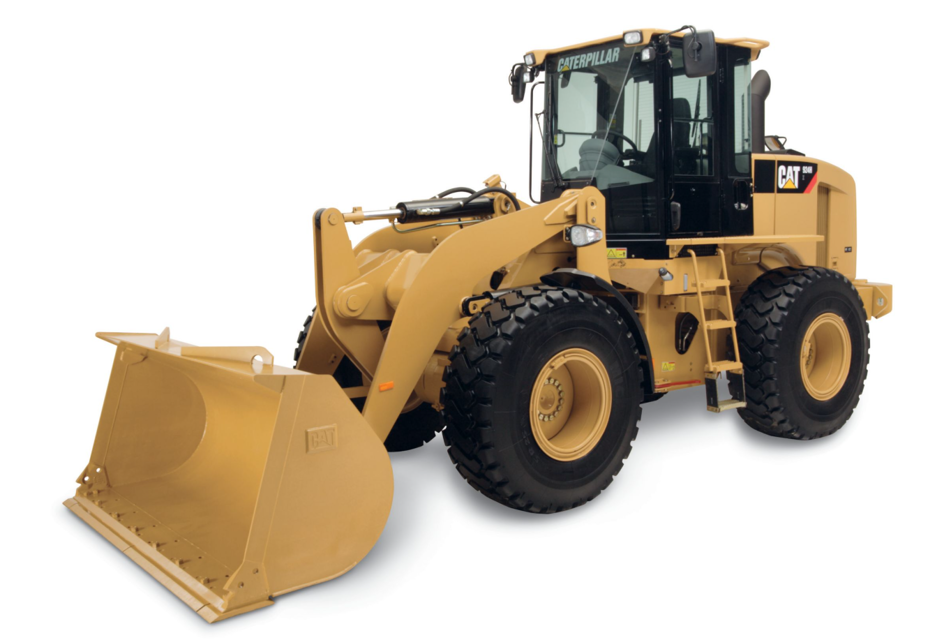
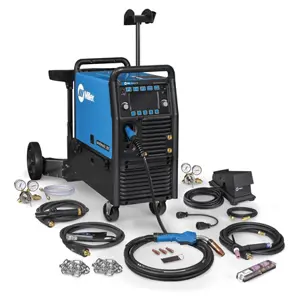
The Miller Wheel Loader 924HZ is a robust and versatile piece of industrial equipment designed for heavy-duty applications. Known for its reliability and efficiency, this model excels in material handling and construction tasks, making it an essential asset for any operation.
Turn manuals into instant answers
with your AI-powered assistantTurn manuals into instant answers
with your AI-powered assistant
Manual for Miller Wheel Loader 924HZ
Complete asset maintenance, one click away
Get instant access to all the maintenance information you need. Empower technicians to perform preventive maintenance with asset packages, ready to use right out of the box.

Documents & Manuals
Find all the essential guides in one place.
 Tensioning Guide
- Belt-diagram
- C-120 pulleys
+ 13 more

Work Order Templates
Pre-built workflows to keep your asset running smoothly.
- Daily Electrical System Inspection
- Replace Roller and Pulley
- Install Engine B-120
+ 29 more

Procedures
Integrate maintenance plans directly into your work orders.
- Motion Industries
- Applied Industrial Technologies
- Electrical Brothers
+ 5 more

Parts
Access the parts list for your equipment in MaintainX.
- Drive Motor
- B2 Rollers
- Tensioning System
+ 40 more
Miller Wheel Loader 924HZ
Create an account to install this asset package.
Maintenance Plans for Miller Wheel Loader Model 924HZ
Integrate maintenance plans directly into your work orders in MaintainX.
100 Hourly / 2 Weekly Wheel Loader Maintenance
Axle Oscillation Bearings - Lubricate
Apply grease to the remote grease fittings for the trunnion bearings. The grease fittings are located on the left side of the machine near the articulation joint.
Bucket Linkage and Loader Cylinder Bearings - Lubricate
Wipe off the fittings before you apply any lubricant.
Apply lubricant to the grease fittings. The grease fittings are located on each side of the bucket and loader linkage.
Note: The lower bucket pivot bearing needs to be greased at every 50 hour interval.
Steering Cylinder Bearings - Lubricate
924H and 924Hz
Wipe all grease fittings before you apply any lubricant to the grease fittings.

10 Hourly / 1 Daily Wheel Loader Maintenance
Backup Alarm - Test
Bucket Tips - Inspect/Replace
Bucket Tips
K-Series Tip
Cooling System Coolant Level - Check
Engine Oil Level - Check
Hydraulic System Oil Level - Check
Seat Belt - Inspect
Transmission Oil Level - Check
250 Hourly / 3 Monthly Wheel Loader Maintenance
Steering Column Play - Check
Hold the steering wheel with both hands and try to move it from one side to the other. Is the maximum allowed movement in the steering column not exceeding 25 mm (1.0 inch)?
If the value is not within the limit, perform the following steps:
Inspect the pivot joint for loose bolts and tighten them if necessary. Did you apply 9S-3263 Thread Lock Compound to the bolts before tightening?
Inspect the pivot joint for excessive wear. Is there excessive wear?
Did you replace the bushings if there was excessive wear?
WARNING: Failure to perform this inspection and repair may cause loss of steering control, which may result in personal injury or death. Do not operate the machine until the inspection and repair are completed.
Contact your Caterpillar dealer for any other required service.
Sign off on the wheel loader maintenance
500 Hourly / 1 Yearly Wheel Loader Maintenance
NOTICE: Care must be taken to ensure that fluids are contained during performance of inspection, maintenance, testing, adjusting and repair of the product. Be prepared to collect the fluid with suitable containers before opening any compartment or disassembling any component containing fluids.
Dispose of all fluids according to local regulations and mandates.
Reference: See Operation and Maintenance Manual, “Cooling System Level - Check” in order to access the overflow tank for coolant sample.
Did you obtain the sample of the coolant as close as possible to the recommended sampling interval?
Refer to Operation and Maintenance Manual, “Cooling System Coolant Sample (Level 1) - Obtain” for the guidelines for proper sampling of the coolant.
Did you submit the sample for Level 2 analysis? The Level 2 analysis is a comprehensive chemical evaluation of the coolant. This analysis is also a check of the overall condition of the inside of the cooling system.
Reference: For additional information about coolant analysis, refer to Special Publication, SEBU6250, “Caterpillar Machine Fluids Recommendations” or consult your Caterpillar dealer.
Sign off on the wheel loader maintenance
12000 Hourly / 6 Yearly Wheel Loader Maintenance
WARNING: Pressurized system: Hot coolant can cause serious burn. To open cap, stop engine, wait until radiator is cool. Then loosen cap slowly to relieve the pressure.
NOTICE: Mixing ELC with other products will reduce the effectiveness of the coolant. This could result in damage to cooling system components.
If Caterpillar products are not available and commercial products must be used, make sure they have passed the Caterpillar EC-1 specification for pre-mixed or concentrate coolants and Caterpillar Extender.
Note: This machine is shipped with Extended Life Coolant. Extended Life Coolant is recommended for use.
Drain the coolant whenever the coolant is dirty. Drain the coolant whenever the coolant starts to foam.
The overflow tank is located under the access panel on the top of the engine compartment. Use the steps and the handholds on the right side of the machine in order to reach the access panel.
Open the access panel on the top of the engine compartment.
Slowly lift the tab on the cap for the overflow tank in order to relieve system pressure. Remove the cap for the overflow tank.
Open the access doors on both sides of the engine compartment. Remove five bolts (1). Remove plate (2).
Unlock efficiency
with MaintainX CoPilot
MaintainX CoPilot is your expert colleague, on call 24/7, helping your team find the answers they need to keep equipment running.
Reduce Unplanned Downtime
Ensure your team follows consistent procedures to minimize equipment failures and costly delays.
Maximize Asset Availability
Keep your assets running longer and more reliably, with standardized maintenance workflows from OEM manuals.
Lower Maintenance Costs
Turn any technician into an expert to streamline operations, maintain more assets, and reduce overall costs.
Thousands of companies manage their assets with MaintainX

'%3e%3cpath%20fill='url(%23b)'%20d='M66.008%2080.068c-5.084-.786-9.763-3.834-12.442-8.68a16.942%2016.942%200%200%201-1.87-5.18c1.096.19%202.203.476%203.298.87%206.525%202.333%2010.836%207.68%2011.014%2012.99ZM51.47%2061.576c.488-5.524%203.62-10.716%208.847-13.597a17.132%2017.132%200%200%201%2011.335-1.882c-.798%208.145-7.43%2014.848-16.038%2015.599-1.417.119-2.799.07-4.144-.12Zm28.564-11.478a17.513%2017.513%200%200%201%203.727%204.62c4.608%208.335%201.584%2018.813-6.75%2023.409a16.988%2016.988%200%200%201-4.359%201.679%2019.624%2019.624%200%200%201-3.977-12.776c.346-7.561%204.942-13.931%2011.36-16.932Z'/%3e%3cpath%20fill='%23110F0D'%20fill-rule='evenodd'%20d='M142.831%2048.324h4.977V77.03h-4.977V48.324Zm27.278%2013.002c.322%201.048.453%202.263.453%203.62v12.073h-4.787V66.208c0-.75-.047-1.572-.154-2.143-.453-2.382-1.822-3.572-4.215-3.572-2.31%200-3.882%201.274-4.43%203.476-.143.596-.226%201.405-.226%202.25v10.8h-4.787V56.623h4.477v2.989c1.536-2.5%203.906-3.43%206.371-3.43%203.488%200%206.263%201.68%207.298%205.144Zm24.636%207.323c0%203.882-2.358%206.525-5.763%207.727-1.298.453-2.632.643-4.62.643h-10.169V48.324h9.085c1.691%200%203.156.143%204.049.38%203.465.93%205.727%203.68%205.727%207.335%200%202.441-.81%204.156-2.762%205.644%202.905%201.417%204.453%203.727%204.453%206.966Zm-15.634-8.656h4.584c1.024%200%201.917-.143%202.536-.417%201.215-.548%201.905-1.608%201.905-3.167%200-1.548-.643-2.572-1.845-3.132-.691-.31-1.762-.452-2.763-.452h-4.417v7.168Zm10.716%208.465c0-1.536-.893-3.37-3.227-3.893-.428-.095-1.036-.143-1.571-.143h-5.918v8.085h5.501c.56%200%201.429-.048%201.953-.167%201.94-.453%203.262-1.846%203.262-3.882Zm47.747-11.847-8.097%2020.408h-4.429l-8.109-20.408h5.191l5.192%2014.574%205.108-14.574h5.144Zm-20.218%2010.002c0%20.69-.036%201.262-.155%201.94h-15.943c.631%202.87%202.714%204.728%205.882%204.728%202.131%200%203.607-.882%204.703-2.525h4.87c-1.762%204.144-5.204%206.692-9.657%206.692-6.084%200-10.537-4.858-10.537-10.49%200-6.108%204.524-10.776%2010.335-10.776%206.239%200%2010.442%204.954%2010.502%2010.43Zm-4.763-1.405c-.333-2.846-2.643-4.858-5.691-4.858-2.894%200-5.287%201.929-5.621%204.858h11.312Zm-72.667%203.44c0%204.787-3.287%208.371-9.419%208.371H119.363V64.66c-1.917.274-3.87.69-5.811%201.238l4.537%2011.121h-5.418l-3.596-9.585c-5.144%202.084-10.085%205.216-14.217%209.585h-4.786L101.8%2048.312h4.56l5.68%2013.883a44.112%2044.112%200%200%201%207.323-1.774V48.312h9.084c1.703%200%203.156.143%204.061.393%203.453.929%205.727%203.667%205.727%207.323%200%201.917-.738%204.179-2.81%205.691%203.06%201.56%204.501%204.025%204.501%206.93Zm-15.634-8.667a62.664%2062.664%200%200%201%202.06-.036c1.703.012%203.239.131%204.608.37%201.441-.549%202.357-1.727%202.357-3.537%200-1.941-.881-3.144-2.488-3.667-.548-.18-1.358-.286-2.322-.286h-4.215v7.156Zm-16.55%203.905-3.715-9.894-6.394%2016.502c2.833-2.595%206.263-4.858%2010.109-6.608Zm27.254%204.74c0-2.775-3.131-4.347-8.513-4.418-.715%200-1.441.011-2.191.047v8.252h5.918c2.548%200%204.786-1.37%204.786-3.882Z'%20clip-rule='evenodd'/%3e%3c/g%3e%3cdefs%3e%3clinearGradient%20id='b'%20x1='51.47'%20x2='85.916'%20y1='62.946'%20y2='62.946'%20gradientUnits='userSpaceOnUse'%3e%3cstop%20stop-color='%23CD9F28'/%3e%3cstop%20offset='1'%20stop-color='%23ECD80B'/%3e%3c/linearGradient%3e%3cclipPath%20id='a'%3e%3cpath%20fill='%23fff'%20d='M51.47%2045.728h186.104V80.14H51.47z'/%3e%3c/clipPath%3e%3c/defs%3e%3c/svg%3e)


More from Miller


Explore Other Assets


© 2026 MaintainX. All rights reserved.