
Turn manuals into instant answers
with your AI-powered assistantTurn manuals into instant answers
with your AI-powered assistant
Complete asset maintenance, one click away
Get instant access to all the maintenance information you need. Empower technicians to perform preventive maintenance with asset packages, ready to use right out of the box.
Documents & Manuals
Find all the essential guides in one place.
Tensioning Guide
Belt-diagram
C-120 pulleys
+ 13 more
Work Order Templates
Pre-built workflows to keep your asset running smoothly.
Daily Electrical System Inspection
Replace Roller and Pulley
Install Engine B-120
+ 29 more
Procedures
Integrate maintenance plans directly into your work orders.
Motion Industries
Applied Industrial Technologies
Electrical Brothers
+ 5 more
Parts
Access the parts list for your equipment in MaintainX.
Drive Motor
B2 Rollers
Tensioning System
+ 40 more

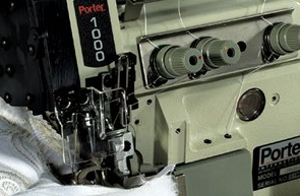
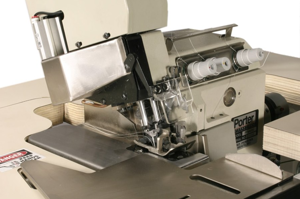
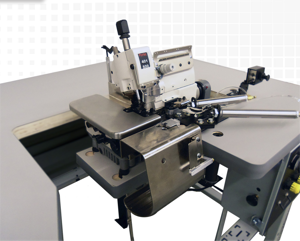
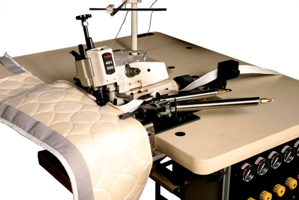
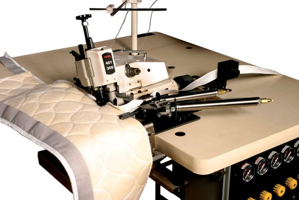
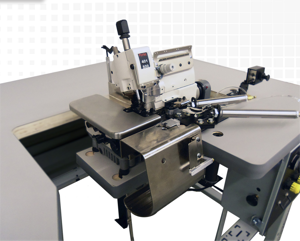
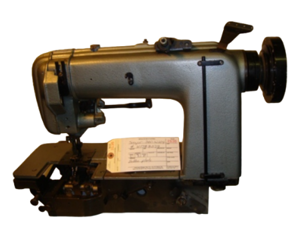
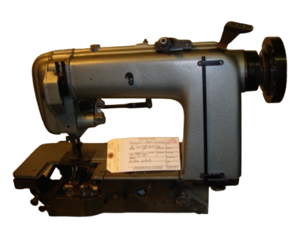
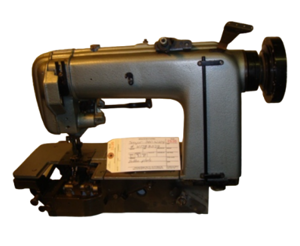
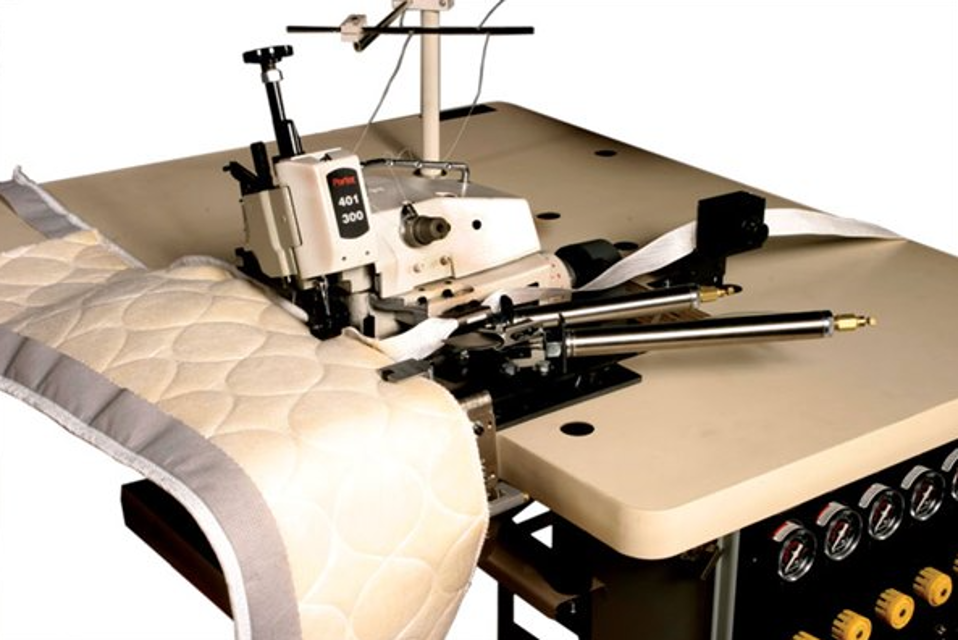
Porter International Box Spring Machine CB-100
Create an account to install this asset package.
Maintenance Plans for Porter International Box Spring Machine Model CB-100
Integrate maintenance plans directly into your work orders in MaintainX.
Feed Height Adjustment
Warning: Ensure the machine is turned off and unplugged before starting the procedure.
Is the main feed at the standard height?
If not, follow the steps below.
Loosen screw 2.
Adjust feed 1 by raising or lowering until proper height is obtained.
Tighten screw 2.
Sign off on the feed height adjustment
Oil Filter Maintenance
Warning: Always wear protective gear when performing maintenance tasks.
Is the oil jet in oil sight window 1 restricted or weak?
Does the oil contain foam or debris?
If either of the above checks fail, proceed with the following steps.
Drain oil from machine.
Remove bolts 5 and oil pan from machine.
Remove screws 6 and take out filter 4.
Clean filter 4 with new petrol and blow with low pressure air.
Replace filter 4 and tighten screws 6.
Looper Thread Control Adjustment
Lightly loosen screw 5
Set bracket 6 horizontal and set guide 7 as 0.5 mm above from the top of bracket 6
Tighten screw 5
Loosen two screws for takeup 8 and turn handwheel until looper is at extreme right position
Set takeup 8 so that its flat portion is at a 10 degrees angle to guide 7
Tighten the two screws loosened
Loosen screws holding eyelets 9 and move eyelets 9 until the coiled ends line up with engraved line A on bracket, then tighten screws
Sign off on the Looper Thread Control Adjustment
Needle Bar Height Adjustment
Turn handwheel until needle is at its highest position. Check that the clearance between the point of needle 1 and the top of needle plate is correct as listed below. If this setting is incorrect, reset as follows.
1. Slightly loosen screw 2.
2. Reset needle bar to correct clearance at its highest position.
3. Turn handwheel and observe that needle descends in the center of the needle hole in needle plate.
4. Tighten screw 2 securely.;
Looper Adjustment
Warning: This procedure requires trained personnel with PPE!
Looper slid into lever 5 and reached regulator 2
Measure the distance from the centerline of needle to point of looper
Looper point comes to the scarf of needle and just touches needle (the clearance 0 - 0.1 mm)
Looper is at its extreme left position
Adjust the distance from the centerline of needle to point of looper to 1.5 to 2 mm
Screw 4 tightened securely
Sign off on the looper adjustment
Parts for Porter International Box Spring Machine CB-100
Access the parts list for your equipment in MaintainX.
Thumbscrew
650000
Nut
650001
Spring Guide Sleeve
650003
Pressure Spring
650002
Flange.
650004
Thumbscrew
650000
Nut
650001
Spring Guide Sleeve
650003
Pressure Spring
650002
Flange.
650004
Thumbscrew
650000
Nut
650001
Spring Guide Sleeve
650003
Pressure Spring
650002
Flange.
650004
Unlock efficiency
with MaintainX CoPilot
MaintainX CoPilot is your expert colleague, on call 24/7, helping your team find the answers they need to keep equipment running.
Reduce Unplanned Downtime
Ensure your team follows consistent procedures to minimize equipment failures and costly delays.
Maximize Asset Availability
Keep your assets running longer and more reliably, with standardized maintenance workflows from OEM manuals.
Lower Maintenance Costs
Turn any technician into an expert to streamline operations, maintain more assets, and reduce overall costs.
Thousands of companies manage their assets with MaintainX


