


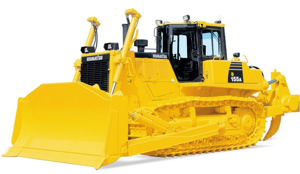
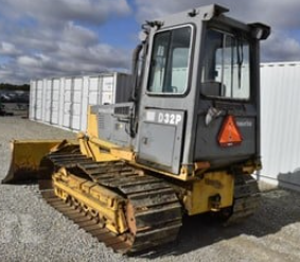
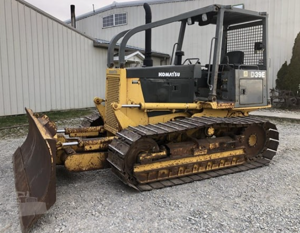
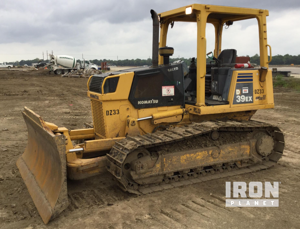
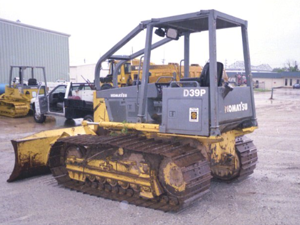
Komatsu Forklift Truck FG25NT-16
Need answers fast?
Explore the manual using AI.
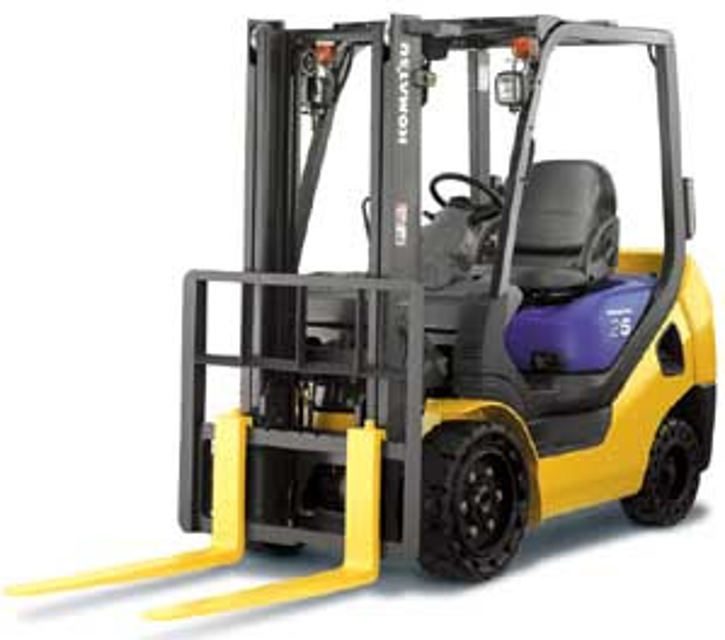
The Komatsu Forklift Truck FG25NT-16 is a robust and reliable industrial asset designed for efficient material handling. Known for its durability and performance, this forklift model is ideal for various warehouse and construction applications, ensuring optimal productivity and safety in operations.
Turn manuals into instant answers
with your AI-powered assistantTurn manuals into instant answers
with your AI-powered assistant
Manual for Komatsu Forklift Truck FG25NT-16
Complete asset maintenance, one click away
Get instant access to all the maintenance information you need. Empower technicians to perform preventive maintenance with asset packages, ready to use right out of the box.

Documents & Manuals
Find all the essential guides in one place.
 Tensioning Guide
- Belt-diagram
- C-120 pulleys
+ 13 more

Work Order Templates
Pre-built workflows to keep your asset running smoothly.
- Daily Electrical System Inspection
- Replace Roller and Pulley
- Install Engine B-120
+ 29 more

Procedures
Integrate maintenance plans directly into your work orders.
- Motion Industries
- Applied Industrial Technologies
- Electrical Brothers
+ 5 more

Parts
Access the parts list for your equipment in MaintainX.
- Drive Motor
- B2 Rollers
- Tensioning System
+ 40 more
Komatsu Forklift Truck FG25NT-16
Create an account to install this asset package.
Maintenance Plans for Komatsu Forklift Truck Model FG25NT-16
Integrate maintenance plans directly into your work orders in MaintainX.
Diesel Engine Oil Change
Drain the engine oil removing the drain plug and tighten it again
Remove the oil level gauge
Refill the engine oil up to the specified level. Be careful not to let it overflow
Check the oil level with the engine oil level gauge
Sign off on the oil change

Air Cleaner Element Cleaning
AIR CLEANER (1.0 – 1.75 TON)
WARNING
• Neither cleaning of the air cleaner nor replacement of the element is allowed while the engine is in motion.
• Always put the safety glasses on to protect your eyes when using the compressed air for cleaning the element upÅD
IMPORTANT
• If any grease or carbon is found stuck on the element, clean it up with a special cleaner according to the instruction for the air cleaner.
• In case of sever working conditions or environments, clean or replace the element earlier than regular maintenance.
1. Remove the element and blow the dry compressed air ( 0.69 MPa {7 kgf/cm2}) from inside to outside of the element for cleaning the whole element.
2. Put the cleaned element back to the air cleaner.
Wheel Brake Adjustment
PROCEDURE FOR ADJUSTMENT OF BRAKE SHOE CLEARANCE
Release the parking brake while floating the wheels up above the ground.
Remove the rubber cap.
Turn the gear (1) in the direction (A) or toward the brake shoes repeatedly with a screwdriver until the brake shoes should touch the brake drum. Turning of every notch makes sound of clicks.
IMPORTANT: Turn the wheels by hands to feel braking a little bit.
Prepare two screwdrivers. The first screwdriver should be used for mildly pushing the lever (2) and have it miss each gear notch. Be careful not to push strongly. The second one should be used for turning the gear (1) toward the direction (B) counting by twenty-one (21) notches while the fist one is still on duty. It counts 30 notches for one turning of the gear.
IMPORTANT: Since no clicks are made available here, count the number of notches watching through the hole of the rubber cap (3) for carrying out the adjustment.
Install the rubber cap (3).
Turn the wheels by hands and check to make sure that there is no brake dragging.
1 Yearly Forklift Truck Replacement
For operation safety, never fail to perform periodic maintenance or make periodic replacement of the consumable parts listed in the following.
These parts may deteriorate in time and are susceptible to wear. It is difficult to estimate the degree of wear at time of periodic maintenance; therefore, even if no apparent wear is found, always replace with new parts within the prescribed period of replacement (or earlier if trouble is found).
Note that periodic replacement has nothing to do with guarantee service.
Replace Master cylinder and wheel cylinder cups, dust seals
Replace Rubber parts of brake booster;
Diesel Engine Oil Filter Replacement
Remove the cartridge with the filter wrench
Clean the filter mounting
Apply the engine oil on the thread
Apply the engine oil on the seal of the new cartridge
Install the new cartridge
Start the engine
Check the filter-mounting surface for no oil leakage
Sign off on the oil filter replacement
Parts for Komatsu Forklift Truck FG25NT-16
Access the parts list for your equipment in MaintainX.
Fixing Bolt M10 1.5 × 65
01010-51065
Fixing Bolt M10 1.5 × 65
01010-51065
Fixing Bolt M10 1.5 × 65
01010-51065
Unlock efficiency
with MaintainX CoPilot
MaintainX CoPilot is your expert colleague, on call 24/7, helping your team find the answers they need to keep equipment running.
Reduce Unplanned Downtime
Ensure your team follows consistent procedures to minimize equipment failures and costly delays.
Maximize Asset Availability
Keep your assets running longer and more reliably, with standardized maintenance workflows from OEM manuals.
Lower Maintenance Costs
Turn any technician into an expert to streamline operations, maintain more assets, and reduce overall costs.
Thousands of companies manage their assets with MaintainX

'%3e%3cpath%20fill='url(%23b)'%20d='M66.008%2080.068c-5.084-.786-9.763-3.834-12.442-8.68a16.942%2016.942%200%200%201-1.87-5.18c1.096.19%202.203.476%203.298.87%206.525%202.333%2010.836%207.68%2011.014%2012.99ZM51.47%2061.576c.488-5.524%203.62-10.716%208.847-13.597a17.132%2017.132%200%200%201%2011.335-1.882c-.798%208.145-7.43%2014.848-16.038%2015.599-1.417.119-2.799.07-4.144-.12Zm28.564-11.478a17.513%2017.513%200%200%201%203.727%204.62c4.608%208.335%201.584%2018.813-6.75%2023.409a16.988%2016.988%200%200%201-4.359%201.679%2019.624%2019.624%200%200%201-3.977-12.776c.346-7.561%204.942-13.931%2011.36-16.932Z'/%3e%3cpath%20fill='%23110F0D'%20fill-rule='evenodd'%20d='M142.831%2048.324h4.977V77.03h-4.977V48.324Zm27.278%2013.002c.322%201.048.453%202.263.453%203.62v12.073h-4.787V66.208c0-.75-.047-1.572-.154-2.143-.453-2.382-1.822-3.572-4.215-3.572-2.31%200-3.882%201.274-4.43%203.476-.143.596-.226%201.405-.226%202.25v10.8h-4.787V56.623h4.477v2.989c1.536-2.5%203.906-3.43%206.371-3.43%203.488%200%206.263%201.68%207.298%205.144Zm24.636%207.323c0%203.882-2.358%206.525-5.763%207.727-1.298.453-2.632.643-4.62.643h-10.169V48.324h9.085c1.691%200%203.156.143%204.049.38%203.465.93%205.727%203.68%205.727%207.335%200%202.441-.81%204.156-2.762%205.644%202.905%201.417%204.453%203.727%204.453%206.966Zm-15.634-8.656h4.584c1.024%200%201.917-.143%202.536-.417%201.215-.548%201.905-1.608%201.905-3.167%200-1.548-.643-2.572-1.845-3.132-.691-.31-1.762-.452-2.763-.452h-4.417v7.168Zm10.716%208.465c0-1.536-.893-3.37-3.227-3.893-.428-.095-1.036-.143-1.571-.143h-5.918v8.085h5.501c.56%200%201.429-.048%201.953-.167%201.94-.453%203.262-1.846%203.262-3.882Zm47.747-11.847-8.097%2020.408h-4.429l-8.109-20.408h5.191l5.192%2014.574%205.108-14.574h5.144Zm-20.218%2010.002c0%20.69-.036%201.262-.155%201.94h-15.943c.631%202.87%202.714%204.728%205.882%204.728%202.131%200%203.607-.882%204.703-2.525h4.87c-1.762%204.144-5.204%206.692-9.657%206.692-6.084%200-10.537-4.858-10.537-10.49%200-6.108%204.524-10.776%2010.335-10.776%206.239%200%2010.442%204.954%2010.502%2010.43Zm-4.763-1.405c-.333-2.846-2.643-4.858-5.691-4.858-2.894%200-5.287%201.929-5.621%204.858h11.312Zm-72.667%203.44c0%204.787-3.287%208.371-9.419%208.371H119.363V64.66c-1.917.274-3.87.69-5.811%201.238l4.537%2011.121h-5.418l-3.596-9.585c-5.144%202.084-10.085%205.216-14.217%209.585h-4.786L101.8%2048.312h4.56l5.68%2013.883a44.112%2044.112%200%200%201%207.323-1.774V48.312h9.084c1.703%200%203.156.143%204.061.393%203.453.929%205.727%203.667%205.727%207.323%200%201.917-.738%204.179-2.81%205.691%203.06%201.56%204.501%204.025%204.501%206.93Zm-15.634-8.667a62.664%2062.664%200%200%201%202.06-.036c1.703.012%203.239.131%204.608.37%201.441-.549%202.357-1.727%202.357-3.537%200-1.941-.881-3.144-2.488-3.667-.548-.18-1.358-.286-2.322-.286h-4.215v7.156Zm-16.55%203.905-3.715-9.894-6.394%2016.502c2.833-2.595%206.263-4.858%2010.109-6.608Zm27.254%204.74c0-2.775-3.131-4.347-8.513-4.418-.715%200-1.441.011-2.191.047v8.252h5.918c2.548%200%204.786-1.37%204.786-3.882Z'%20clip-rule='evenodd'/%3e%3c/g%3e%3cdefs%3e%3clinearGradient%20id='b'%20x1='51.47'%20x2='85.916'%20y1='62.946'%20y2='62.946'%20gradientUnits='userSpaceOnUse'%3e%3cstop%20stop-color='%23CD9F28'/%3e%3cstop%20offset='1'%20stop-color='%23ECD80B'/%3e%3c/linearGradient%3e%3cclipPath%20id='a'%3e%3cpath%20fill='%23fff'%20d='M51.47%2045.728h186.104V80.14H51.47z'/%3e%3c/clipPath%3e%3c/defs%3e%3c/svg%3e)


More from Komatsu


Explore Other Assets


© 2026 MaintainX. All rights reserved.