


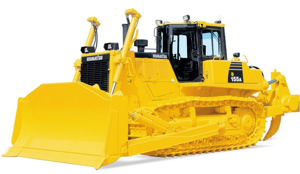
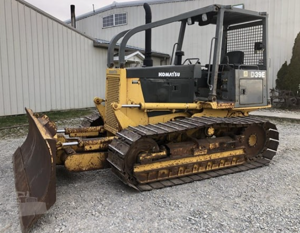
Komatsu Forklift Truck FG20C-16
Need answers fast?
Explore the manual using AI.
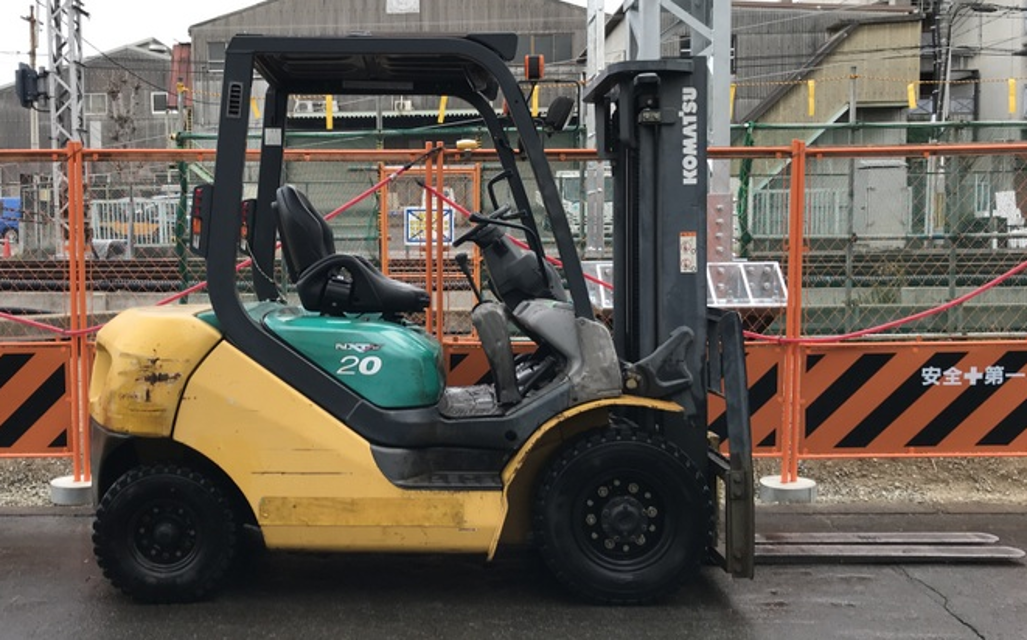
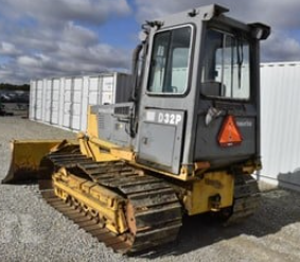
The Komatsu Forklift Truck FG20C-16 is a reliable and efficient industrial asset designed for heavy lifting and material handling. Known for its durability and performance, this forklift model is ideal for various applications in warehouses and construction sites, ensuring optimal productivity and safety.
Turn manuals into instant answers
with your AI-powered assistantTurn manuals into instant answers
with your AI-powered assistant
Manual for Komatsu Forklift Truck FG20C-16
Complete asset maintenance, one click away
Get instant access to all the maintenance information you need. Empower technicians to perform preventive maintenance with asset packages, ready to use right out of the box.

Documents & Manuals
Find all the essential guides in one place.
 Tensioning Guide
- Belt-diagram
- C-120 pulleys
+ 13 more

Work Order Templates
Pre-built workflows to keep your asset running smoothly.
- Daily Electrical System Inspection
- Replace Roller and Pulley
- Install Engine B-120
+ 29 more

Procedures
Integrate maintenance plans directly into your work orders.
- Motion Industries
- Applied Industrial Technologies
- Electrical Brothers
+ 5 more

Parts
Access the parts list for your equipment in MaintainX.
- Drive Motor
- B2 Rollers
- Tensioning System
+ 40 more
Komatsu Forklift Truck FG20C-16
Create an account to install this asset package.
Maintenance Plans for Komatsu Forklift Truck Model FG20C-16
Integrate maintenance plans directly into your work orders in MaintainX.
Differential Case Oil Replacement
Warning: Only trained personnel should perform this procedure.
Remove the oil filler plug and drain the oil through the drain plug.
After draining, tighten the drain plug and refill the oil as specified.
Check the oil level after refilling.
IMPORTANT: Be sure to always use the Komatsu genuine oil 'FG090' for the gear oil.
IMPORTANT: The same oil is being used at the differential case and the transmission case for the clutch model, while the specifications of the oil being used at those devices differs for the TORQFLOW type.
Is this a TORQFLOW type?
If TORQFLOW type, inspect and replace the TORQFLOW transmission case in addition to those of the differential case.
Sign off on the oil replacement procedure.

Forklift Truck Bleeding Air
WARNING:
• Before starting bleeding air, adjust the brake shoe clearance to the specified 0.40 to 0.56 mm (diameter of the space).
• From time to time, refill the brake fluid to prevent the brake fluid in the reserve tank from empty for carrying out air bleeding. You should carry out the inspection again just from the beginning because air could be mixed in once the tank becomes empty.
1. Remove the cap from the air bleed plug (1) of the brake wheel cylinder. Install one end of a plastic hose for air bleeding to the plug and put the other end of the hose in a container of the brake fluid.
The color of the plastic hose should be transparent as much as possible.
2. If inspector is only one, connect a string or a wire to the upper arm of brake pedal (2) and let the other end of string or wire loose free in approximately 300 mm through the space between the frame (3) and the dashboard (4).
3. Slowly pull out the string or the wire connected with the brake pedal (2) arm from the front of the forklift so as to compress the air inside the brake piping and hold it as is.
If inspector is more than two, one inspector should press the brake pedal.
4. Loosen the air bleed plug (1) of the brake wheel cylinder approximately 3/4 turns to the left and depress the brake pedal to bleed the air in the piping along with the brake fluid. Then, tighten the bleed plug (1) while bleeding the brake fluid.
Torqflow Transmission Case Oil Inspection
WARNING: The temperature of the oil is very high immediately after stop operation of the truck. Be sure to start inspection after cooling down completely
Open the floor plate to check the oil level with the oil level gauge
Refill the oil if necessary
Sign off on the inspection
Clutch Disc Replacement
Open the clutch case cover
Fix the pressure plate with the pressure plate mounting bolt
Slide the snap ring (1) and remove the pin (2)
Push the shaft toward the transmission
Remove the pressure plate mounting bolt (3) and slide the pressure plate
Remove the clutch disc
Be careful not to damage the spring when sliding the pressure plate
Sign off on the clutch disc replacement
Parking Brake Lever Adjustment
Before starting adjustment, check to make sure that all of both front and rear wheels of the forklift truck has locked with stoppers respectively
Release the parking brake by pushing the parking brake lever (2) forward to the release position (B) while pressing the push button (1)
Turn the adjustment bolt (3) and adjust the lever control force at the initial extension of the cable
Choose the type of brake
Set the lever control force for standard brake between 147 – 196N {15 – 20 kgf}
Set the lever control force for power brake between 245 – 294N {25 – 30 kgf}
Sign off on the brake lever adjustment
Parts for Komatsu Forklift Truck FG20C-16
Access the parts list for your equipment in MaintainX.
Fixing Bolt M10 1.5 × 65
01010-51065
Fixing Bolt M10 1.5 × 65
01010-51065
Fixing Bolt M10 1.5 × 65
01010-51065
Unlock efficiency
with MaintainX CoPilot
MaintainX CoPilot is your expert colleague, on call 24/7, helping your team find the answers they need to keep equipment running.
Reduce Unplanned Downtime
Ensure your team follows consistent procedures to minimize equipment failures and costly delays.
Maximize Asset Availability
Keep your assets running longer and more reliably, with standardized maintenance workflows from OEM manuals.
Lower Maintenance Costs
Turn any technician into an expert to streamline operations, maintain more assets, and reduce overall costs.
Thousands of companies manage their assets with MaintainX

'%3e%3cpath%20fill='url(%23b)'%20d='M66.008%2080.068c-5.084-.786-9.763-3.834-12.442-8.68a16.942%2016.942%200%200%201-1.87-5.18c1.096.19%202.203.476%203.298.87%206.525%202.333%2010.836%207.68%2011.014%2012.99ZM51.47%2061.576c.488-5.524%203.62-10.716%208.847-13.597a17.132%2017.132%200%200%201%2011.335-1.882c-.798%208.145-7.43%2014.848-16.038%2015.599-1.417.119-2.799.07-4.144-.12Zm28.564-11.478a17.513%2017.513%200%200%201%203.727%204.62c4.608%208.335%201.584%2018.813-6.75%2023.409a16.988%2016.988%200%200%201-4.359%201.679%2019.624%2019.624%200%200%201-3.977-12.776c.346-7.561%204.942-13.931%2011.36-16.932Z'/%3e%3cpath%20fill='%23110F0D'%20fill-rule='evenodd'%20d='M142.831%2048.324h4.977V77.03h-4.977V48.324Zm27.278%2013.002c.322%201.048.453%202.263.453%203.62v12.073h-4.787V66.208c0-.75-.047-1.572-.154-2.143-.453-2.382-1.822-3.572-4.215-3.572-2.31%200-3.882%201.274-4.43%203.476-.143.596-.226%201.405-.226%202.25v10.8h-4.787V56.623h4.477v2.989c1.536-2.5%203.906-3.43%206.371-3.43%203.488%200%206.263%201.68%207.298%205.144Zm24.636%207.323c0%203.882-2.358%206.525-5.763%207.727-1.298.453-2.632.643-4.62.643h-10.169V48.324h9.085c1.691%200%203.156.143%204.049.38%203.465.93%205.727%203.68%205.727%207.335%200%202.441-.81%204.156-2.762%205.644%202.905%201.417%204.453%203.727%204.453%206.966Zm-15.634-8.656h4.584c1.024%200%201.917-.143%202.536-.417%201.215-.548%201.905-1.608%201.905-3.167%200-1.548-.643-2.572-1.845-3.132-.691-.31-1.762-.452-2.763-.452h-4.417v7.168Zm10.716%208.465c0-1.536-.893-3.37-3.227-3.893-.428-.095-1.036-.143-1.571-.143h-5.918v8.085h5.501c.56%200%201.429-.048%201.953-.167%201.94-.453%203.262-1.846%203.262-3.882Zm47.747-11.847-8.097%2020.408h-4.429l-8.109-20.408h5.191l5.192%2014.574%205.108-14.574h5.144Zm-20.218%2010.002c0%20.69-.036%201.262-.155%201.94h-15.943c.631%202.87%202.714%204.728%205.882%204.728%202.131%200%203.607-.882%204.703-2.525h4.87c-1.762%204.144-5.204%206.692-9.657%206.692-6.084%200-10.537-4.858-10.537-10.49%200-6.108%204.524-10.776%2010.335-10.776%206.239%200%2010.442%204.954%2010.502%2010.43Zm-4.763-1.405c-.333-2.846-2.643-4.858-5.691-4.858-2.894%200-5.287%201.929-5.621%204.858h11.312Zm-72.667%203.44c0%204.787-3.287%208.371-9.419%208.371H119.363V64.66c-1.917.274-3.87.69-5.811%201.238l4.537%2011.121h-5.418l-3.596-9.585c-5.144%202.084-10.085%205.216-14.217%209.585h-4.786L101.8%2048.312h4.56l5.68%2013.883a44.112%2044.112%200%200%201%207.323-1.774V48.312h9.084c1.703%200%203.156.143%204.061.393%203.453.929%205.727%203.667%205.727%207.323%200%201.917-.738%204.179-2.81%205.691%203.06%201.56%204.501%204.025%204.501%206.93Zm-15.634-8.667a62.664%2062.664%200%200%201%202.06-.036c1.703.012%203.239.131%204.608.37%201.441-.549%202.357-1.727%202.357-3.537%200-1.941-.881-3.144-2.488-3.667-.548-.18-1.358-.286-2.322-.286h-4.215v7.156Zm-16.55%203.905-3.715-9.894-6.394%2016.502c2.833-2.595%206.263-4.858%2010.109-6.608Zm27.254%204.74c0-2.775-3.131-4.347-8.513-4.418-.715%200-1.441.011-2.191.047v8.252h5.918c2.548%200%204.786-1.37%204.786-3.882Z'%20clip-rule='evenodd'/%3e%3c/g%3e%3cdefs%3e%3clinearGradient%20id='b'%20x1='51.47'%20x2='85.916'%20y1='62.946'%20y2='62.946'%20gradientUnits='userSpaceOnUse'%3e%3cstop%20stop-color='%23CD9F28'/%3e%3cstop%20offset='1'%20stop-color='%23ECD80B'/%3e%3c/linearGradient%3e%3cclipPath%20id='a'%3e%3cpath%20fill='%23fff'%20d='M51.47%2045.728h186.104V80.14H51.47z'/%3e%3c/clipPath%3e%3c/defs%3e%3c/svg%3e)


More from Komatsu


Explore Other Assets


© 2026 MaintainX. All rights reserved.