


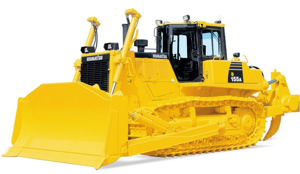
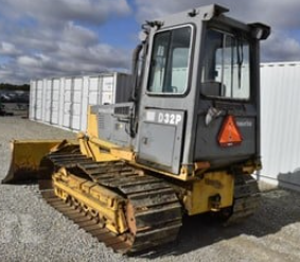
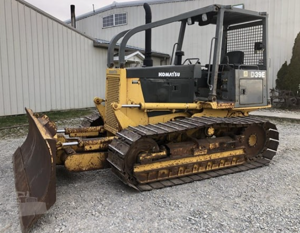
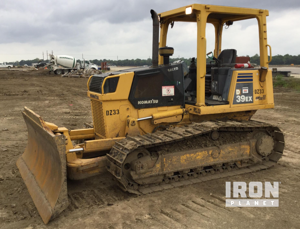
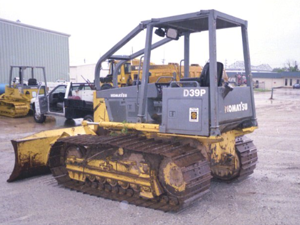
Komatsu Forklift Truck FD25HC-16
Need answers fast?
Explore the manual using AI.
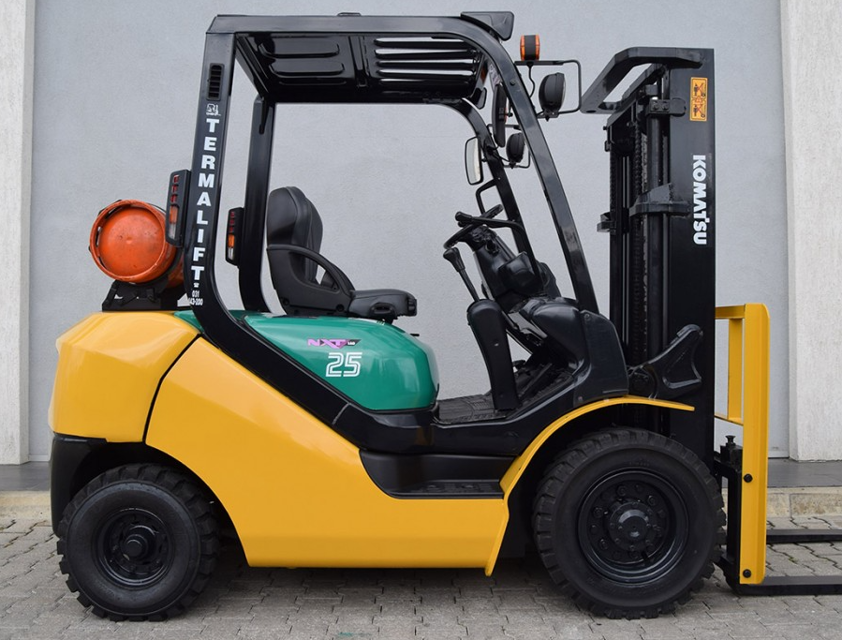
The Komatsu Forklift Truck FD25HC-16 is a robust and reliable industrial asset designed for heavy lifting and material handling. Known for its durability and performance, this forklift is ideal for various applications in warehouses and construction sites, ensuring efficient operations and safety.
Turn manuals into instant answers
with your AI-powered assistantTurn manuals into instant answers
with your AI-powered assistant
Manual for Komatsu Forklift Truck FD25HC-16
Complete asset maintenance, one click away
Get instant access to all the maintenance information you need. Empower technicians to perform preventive maintenance with asset packages, ready to use right out of the box.

Documents & Manuals
Find all the essential guides in one place.
 Tensioning Guide
- Belt-diagram
- C-120 pulleys
+ 13 more

Work Order Templates
Pre-built workflows to keep your asset running smoothly.
- Daily Electrical System Inspection
- Replace Roller and Pulley
- Install Engine B-120
+ 29 more

Procedures
Integrate maintenance plans directly into your work orders.
- Motion Industries
- Applied Industrial Technologies
- Electrical Brothers
+ 5 more

Parts
Access the parts list for your equipment in MaintainX.
- Drive Motor
- B2 Rollers
- Tensioning System
+ 40 more
Komatsu Forklift Truck FD25HC-16
Create an account to install this asset package.
Maintenance Plans for Komatsu Forklift Truck Model FD25HC-16
Integrate maintenance plans directly into your work orders in MaintainX.
Gasoline Engine Fuel Filter Replacement
Warning: This procedure requires trained personnel with PPE!
Loosen the nut to remove the cover and take the filter out
Clean the dirt at the bottom and drain the water
Replace with a new filter
IMPORTANT
If any damage is found on the gasket of the cover, replace it with a new one
After replacement, check the hose fitting area for no fuel leakage
Sign off on the fuel filter replacement

Diesel Engine Fuel Filter Replacement
Warning: Always make sure to prepare the container for receiving draining water and bleeding air. Wipe up spilled fuel if any, because it may cause fire if fuel sticks here and there.
Remove the combination sensor plug at the bottom of the cartridge
Remove the cartridge with the filter wrench
Install the combination sensor plug to the new cartridge
Fill the new cartridge with the fuel and apply the thin layer of engine oil before installation
Loosen the plug and pump the knob up and down until no more bubbles come out with the fuel
Tighten the plug
Sign off on the fuel filter replacement
2 Yearly Forklift Truck Replacement
Warning: This replacement procedure requires trained personnel with PPE!
Select the parts replaced
Issues found during the replacement
Sign off on the forklift truck replacement
1 Yearly Forklift Truck Replacement
For operation safety, never fail to perform periodic maintenance or make periodic replacement of the consumable parts listed in the following.
These parts may deteriorate in time and are susceptible to wear. It is difficult to estimate the degree of wear at time of periodic maintenance; therefore, even if no apparent wear is found, always replace with new parts within the prescribed period of replacement (or earlier if trouble is found).
Note that periodic replacement has nothing to do with guarantee service.
Replace Master cylinder and wheel cylinder cups, dust seals
Replace Rubber parts of brake booster;
3 Yearly Forklift Truck Replacement
Warning: This replacement procedure requires trained personnel with PPE!
Note: These parts may deteriorate in time and are susceptible to wear. It is difficult to estimate the degree of wear at time of periodic maintenance; therefore, even if no apparent wear is found, always replace with new parts within the prescribed period of replacement (or earlier if trouble is found).
Note that periodic replacement has nothing to do with guarantee service.
Lift chain replaced?
Upload a photo of the replaced lift chain
Sign off on the forklift truck replacement
Parts for Komatsu Forklift Truck FD25HC-16
Access the parts list for your equipment in MaintainX.
Fixing Bolt M10 1.5 × 65
01010-51065
Fixing Bolt M10 1.5 × 65
01010-51065
Fixing Bolt M10 1.5 × 65
01010-51065
Unlock efficiency
with MaintainX CoPilot
MaintainX CoPilot is your expert colleague, on call 24/7, helping your team find the answers they need to keep equipment running.
Reduce Unplanned Downtime
Ensure your team follows consistent procedures to minimize equipment failures and costly delays.
Maximize Asset Availability
Keep your assets running longer and more reliably, with standardized maintenance workflows from OEM manuals.
Lower Maintenance Costs
Turn any technician into an expert to streamline operations, maintain more assets, and reduce overall costs.
Thousands of companies manage their assets with MaintainX

'%3e%3cpath%20fill='url(%23b)'%20d='M66.008%2080.068c-5.084-.786-9.763-3.834-12.442-8.68a16.942%2016.942%200%200%201-1.87-5.18c1.096.19%202.203.476%203.298.87%206.525%202.333%2010.836%207.68%2011.014%2012.99ZM51.47%2061.576c.488-5.524%203.62-10.716%208.847-13.597a17.132%2017.132%200%200%201%2011.335-1.882c-.798%208.145-7.43%2014.848-16.038%2015.599-1.417.119-2.799.07-4.144-.12Zm28.564-11.478a17.513%2017.513%200%200%201%203.727%204.62c4.608%208.335%201.584%2018.813-6.75%2023.409a16.988%2016.988%200%200%201-4.359%201.679%2019.624%2019.624%200%200%201-3.977-12.776c.346-7.561%204.942-13.931%2011.36-16.932Z'/%3e%3cpath%20fill='%23110F0D'%20fill-rule='evenodd'%20d='M142.831%2048.324h4.977V77.03h-4.977V48.324Zm27.278%2013.002c.322%201.048.453%202.263.453%203.62v12.073h-4.787V66.208c0-.75-.047-1.572-.154-2.143-.453-2.382-1.822-3.572-4.215-3.572-2.31%200-3.882%201.274-4.43%203.476-.143.596-.226%201.405-.226%202.25v10.8h-4.787V56.623h4.477v2.989c1.536-2.5%203.906-3.43%206.371-3.43%203.488%200%206.263%201.68%207.298%205.144Zm24.636%207.323c0%203.882-2.358%206.525-5.763%207.727-1.298.453-2.632.643-4.62.643h-10.169V48.324h9.085c1.691%200%203.156.143%204.049.38%203.465.93%205.727%203.68%205.727%207.335%200%202.441-.81%204.156-2.762%205.644%202.905%201.417%204.453%203.727%204.453%206.966Zm-15.634-8.656h4.584c1.024%200%201.917-.143%202.536-.417%201.215-.548%201.905-1.608%201.905-3.167%200-1.548-.643-2.572-1.845-3.132-.691-.31-1.762-.452-2.763-.452h-4.417v7.168Zm10.716%208.465c0-1.536-.893-3.37-3.227-3.893-.428-.095-1.036-.143-1.571-.143h-5.918v8.085h5.501c.56%200%201.429-.048%201.953-.167%201.94-.453%203.262-1.846%203.262-3.882Zm47.747-11.847-8.097%2020.408h-4.429l-8.109-20.408h5.191l5.192%2014.574%205.108-14.574h5.144Zm-20.218%2010.002c0%20.69-.036%201.262-.155%201.94h-15.943c.631%202.87%202.714%204.728%205.882%204.728%202.131%200%203.607-.882%204.703-2.525h4.87c-1.762%204.144-5.204%206.692-9.657%206.692-6.084%200-10.537-4.858-10.537-10.49%200-6.108%204.524-10.776%2010.335-10.776%206.239%200%2010.442%204.954%2010.502%2010.43Zm-4.763-1.405c-.333-2.846-2.643-4.858-5.691-4.858-2.894%200-5.287%201.929-5.621%204.858h11.312Zm-72.667%203.44c0%204.787-3.287%208.371-9.419%208.371H119.363V64.66c-1.917.274-3.87.69-5.811%201.238l4.537%2011.121h-5.418l-3.596-9.585c-5.144%202.084-10.085%205.216-14.217%209.585h-4.786L101.8%2048.312h4.56l5.68%2013.883a44.112%2044.112%200%200%201%207.323-1.774V48.312h9.084c1.703%200%203.156.143%204.061.393%203.453.929%205.727%203.667%205.727%207.323%200%201.917-.738%204.179-2.81%205.691%203.06%201.56%204.501%204.025%204.501%206.93Zm-15.634-8.667a62.664%2062.664%200%200%201%202.06-.036c1.703.012%203.239.131%204.608.37%201.441-.549%202.357-1.727%202.357-3.537%200-1.941-.881-3.144-2.488-3.667-.548-.18-1.358-.286-2.322-.286h-4.215v7.156Zm-16.55%203.905-3.715-9.894-6.394%2016.502c2.833-2.595%206.263-4.858%2010.109-6.608Zm27.254%204.74c0-2.775-3.131-4.347-8.513-4.418-.715%200-1.441.011-2.191.047v8.252h5.918c2.548%200%204.786-1.37%204.786-3.882Z'%20clip-rule='evenodd'/%3e%3c/g%3e%3cdefs%3e%3clinearGradient%20id='b'%20x1='51.47'%20x2='85.916'%20y1='62.946'%20y2='62.946'%20gradientUnits='userSpaceOnUse'%3e%3cstop%20stop-color='%23CD9F28'/%3e%3cstop%20offset='1'%20stop-color='%23ECD80B'/%3e%3c/linearGradient%3e%3cclipPath%20id='a'%3e%3cpath%20fill='%23fff'%20d='M51.47%2045.728h186.104V80.14H51.47z'/%3e%3c/clipPath%3e%3c/defs%3e%3c/svg%3e)


More from Komatsu

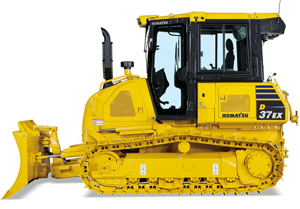
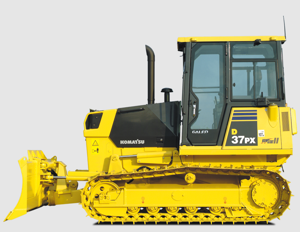

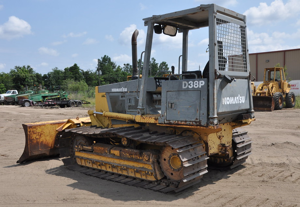
Explore Other Assets


© 2026 MaintainX. All rights reserved.