


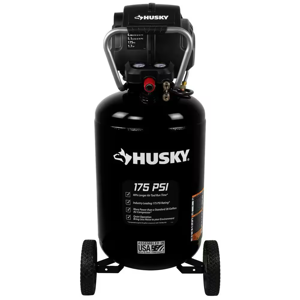
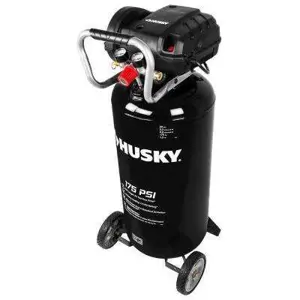
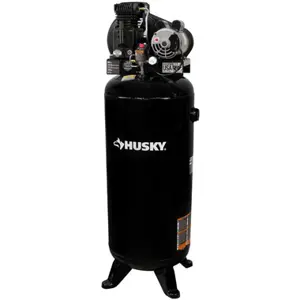
Husky 10-Gallon Portable Air Compressor 1000 857 794
Need answers fast?
Explore the manual using AI.
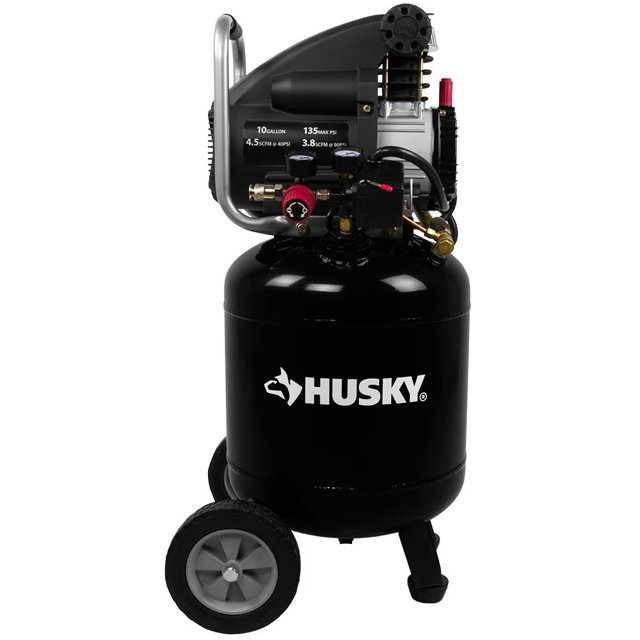
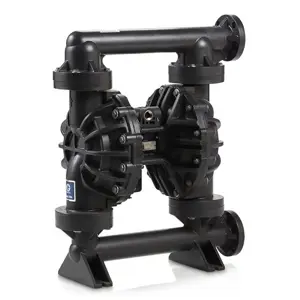
The Husky 10-Gallon Portable Air Compressor (model 1000 857 794) is a reliable and efficient solution for various air compression needs. Designed for portability and ease of use, this compressor is ideal for both professional and DIY applications, ensuring optimal performance and durability.
Turn manuals into instant answers
with your AI-powered assistantTurn manuals into instant answers
with your AI-powered assistant
Manual for Husky 10-Gallon Portable Air Compressor 1000 857 794
Complete asset maintenance, one click away
Get instant access to all the maintenance information you need. Empower technicians to perform preventive maintenance with asset packages, ready to use right out of the box.

Documents & Manuals
Find all the essential guides in one place.
 Tensioning Guide
- Belt-diagram
- C-120 pulleys
+ 13 more

Work Order Templates
Pre-built workflows to keep your asset running smoothly.
- Daily Electrical System Inspection
- Replace Roller and Pulley
- Install Engine B-120
+ 29 more

Procedures
Integrate maintenance plans directly into your work orders.
- Motion Industries
- Applied Industrial Technologies
- Electrical Brothers
+ 5 more

Parts
Access the parts list for your equipment in MaintainX.
- Drive Motor
- B2 Rollers
- Tensioning System
+ 40 more
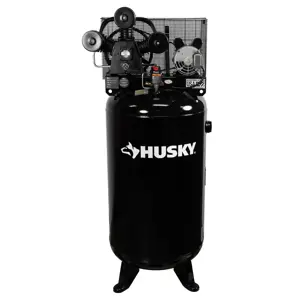
Husky 10-Gallon Portable Air Compressor 1000 857 794
Create an account to install this asset package.
Maintenance Plans for Husky 10-Gallon Portable Air Compressor Model 1000 857 794
Integrate maintenance plans directly into your work orders in MaintainX.
100 Hourly Oil Replacement
WARNING: Drain the tank to release all the tank air pressure before removing the oil fill cap. Be sure the air vent in the oil fill cap is free from debris. If the air vent is blocked, pressure can build in the crankcase, causing damage to the compressor and possible personal injury.
CAUTION: Do not attempt to start the air compressor without first adding oil to the crankcase. Serious damage can result unless it is filled with oil. The pump is shipped without oil from the factory. Only use non-detergent oils since the multi-viscosity motor oils leave carbon deposits on pump components, thus reducing the performance and compressor life.
Turn the unit off and unplug the power cord from the receptacle.
Allow the compressor time to cool if it has been in operation.
Open the drain valve to bleed all the air from the tank.
Close the drain valve.
Remove the oil fill cap on the pump.
Remove the sight glass with a box-end wrench or socket. Drain the oil into a suitable container and dispose of properly. The compressor may need to be tipped slightly towards the drain hole to allow all of the oil to drain.
Reattach the sight glass. Be sure the gasket is between the sight glass and the pump crankcase. Tighten the sight glass until the gasket is seated against the pump crankcase and then tighten sight glass another 3/4 of a turn.

1 Daily / 1 Hourly Condensate Drain
WARNING: Risk of unsafe operation. Air tanks contain high pressure air. Keep face and other body parts away from the drain outlet. Use eye protection [ANSI Z87.1 (CAN/ CSA Z94.3)] when draining, as debris can be kicked up into the face.
WARNING: Risk from noise. Use ear protection (ANSI S12.6 (S3.19), as air flow noise is loud when draining.
WARNING: Risk of bursting. Water will condense in the air tank. If not drained, water will corrode and weaken the air tank causing a risk of air tank rupture.
NOTE: All compressed air systems generate condensate that accumulates in any drain point (e.g., tanks, filter, after-coolers, dryers). This condensate contains lubricating oil and/or substances which may be regulated and must be disposed of in accordance with local, state, and federal laws and regulations.
NOTE: If the drain valve is plugged, release all air pressure. The valve can then be removed, cleaned, then reinstalled.
NOTE: Risk of property damage. Drained water from the air tank may contain oil and rust which can cause stains.
Set the AUTO/OFF switch to the off position.
Slowly bleed the air from the compressor tank by pulling the safety valve to allow the pressure to escape from the tank until the pressure is approximately 20 psi.
Drain water from the tank by opening the drain valve on the bottom of the tank.
1 Yearly Tank Inspection
WARNING: When servicing, use only identical Husky replacement parts. Use of any other parts may create a hazard or cause product damage.
WARNING: Always release all pressure, disconnect from the power supply, and allow the unit to cool to the touch before cleaning or making repairs on the air compressor.
WARNING: Do not at any time let brake fluids, gasoline, petroleum-based products, penetrating oils, etc., come in contact with plastic parts. Chemicals can damage, weaken or destroy plastic which may result in serious personal injury.
Electric tools used on fiberglass material, wallboard, spackling compounds, or plaster are subject to accelerated wear and possible premature failure because the fiberglass chips and grindings are highly abrasive to bearings, brushes, commutators, etc. Consequently, we do not recommended using this tool for extended work on these types of materials. However, if you do work with any of these materials, it is extremely important to clean the tool using compressed air.
Inspect the tank annually for rust, pin holes, or other imperfections that could cause it to become unsafe.
Sign off on the tank inspection
Air Compressor Maintenance
WARNING: When servicing, use only identical Husky replacement parts. Use of any other parts may create a hazard or cause product damage.
WARNING: Always release all pressure, disconnect from the power supply, and allow the unit to cool to the touch before cleaning or making repairs on the air compressor.
WARNING: Do not at any time let brake fluids, gasoline, petroleum-based products, penetrating oils, etc., come in contact with plastic parts. Chemicals can damage, weaken or destroy plastic which may result in serious personal injury.
Electric tools used on fiberglass material, wallboard, spackling compounds, or plaster are subject to accelerated wear and possible premature failure because the fiberglass chips and grindings are highly abrasive to bearings, brushes, commutators, etc.
The safety valve automatically releases air when the receiver pressure exceeds the preset maximum.
Avoid using solvents when cleaning plastic parts. Most plastics are susceptible to damage from various types of commercial solvents and may be damaged by their use.
Clean the tool using compressed air.
Drain the air tank of moisture after operation.
Disconnect the air hose and hang open ends down to allow any moisture to drain.
Air Filter Cleaning
Turn the air compressor OFF ( O )
Unplug the air compressor
Unsnap the air filter cover to remove
Remove the air filter from the air filter housing
Blow compressed air through the air filter for 10-15 seconds
Sign off on the air filter cleaning
Parts for Husky 10-Gallon Portable Air Compressor 1000 857 794
Access the parts list for your equipment in MaintainX.
Assembly, Piston
E107755
Bracket, Capacitor
E108370
Capacitor, Running
E106416
Capacitor, Starting
E106415
Cord
E101073
Assembly, Piston
E107755
Bracket, Capacitor
E108370
Capacitor, Running
E106416
Capacitor, Starting
E106415
Cord
E101073
Assembly, Piston
E107755
Bracket, Capacitor
E108370
Capacitor, Running
E106416
Capacitor, Starting
E106415
Cord
E101073
Unlock efficiency
with MaintainX CoPilot
MaintainX CoPilot is your expert colleague, on call 24/7, helping your team find the answers they need to keep equipment running.
Reduce Unplanned Downtime
Ensure your team follows consistent procedures to minimize equipment failures and costly delays.
Maximize Asset Availability
Keep your assets running longer and more reliably, with standardized maintenance workflows from OEM manuals.
Lower Maintenance Costs
Turn any technician into an expert to streamline operations, maintain more assets, and reduce overall costs.
Thousands of companies manage their assets with MaintainX

'%3e%3cpath%20fill='url(%23b)'%20d='M66.008%2080.068c-5.084-.786-9.763-3.834-12.442-8.68a16.942%2016.942%200%200%201-1.87-5.18c1.096.19%202.203.476%203.298.87%206.525%202.333%2010.836%207.68%2011.014%2012.99ZM51.47%2061.576c.488-5.524%203.62-10.716%208.847-13.597a17.132%2017.132%200%200%201%2011.335-1.882c-.798%208.145-7.43%2014.848-16.038%2015.599-1.417.119-2.799.07-4.144-.12Zm28.564-11.478a17.513%2017.513%200%200%201%203.727%204.62c4.608%208.335%201.584%2018.813-6.75%2023.409a16.988%2016.988%200%200%201-4.359%201.679%2019.624%2019.624%200%200%201-3.977-12.776c.346-7.561%204.942-13.931%2011.36-16.932Z'/%3e%3cpath%20fill='%23110F0D'%20fill-rule='evenodd'%20d='M142.831%2048.324h4.977V77.03h-4.977V48.324Zm27.278%2013.002c.322%201.048.453%202.263.453%203.62v12.073h-4.787V66.208c0-.75-.047-1.572-.154-2.143-.453-2.382-1.822-3.572-4.215-3.572-2.31%200-3.882%201.274-4.43%203.476-.143.596-.226%201.405-.226%202.25v10.8h-4.787V56.623h4.477v2.989c1.536-2.5%203.906-3.43%206.371-3.43%203.488%200%206.263%201.68%207.298%205.144Zm24.636%207.323c0%203.882-2.358%206.525-5.763%207.727-1.298.453-2.632.643-4.62.643h-10.169V48.324h9.085c1.691%200%203.156.143%204.049.38%203.465.93%205.727%203.68%205.727%207.335%200%202.441-.81%204.156-2.762%205.644%202.905%201.417%204.453%203.727%204.453%206.966Zm-15.634-8.656h4.584c1.024%200%201.917-.143%202.536-.417%201.215-.548%201.905-1.608%201.905-3.167%200-1.548-.643-2.572-1.845-3.132-.691-.31-1.762-.452-2.763-.452h-4.417v7.168Zm10.716%208.465c0-1.536-.893-3.37-3.227-3.893-.428-.095-1.036-.143-1.571-.143h-5.918v8.085h5.501c.56%200%201.429-.048%201.953-.167%201.94-.453%203.262-1.846%203.262-3.882Zm47.747-11.847-8.097%2020.408h-4.429l-8.109-20.408h5.191l5.192%2014.574%205.108-14.574h5.144Zm-20.218%2010.002c0%20.69-.036%201.262-.155%201.94h-15.943c.631%202.87%202.714%204.728%205.882%204.728%202.131%200%203.607-.882%204.703-2.525h4.87c-1.762%204.144-5.204%206.692-9.657%206.692-6.084%200-10.537-4.858-10.537-10.49%200-6.108%204.524-10.776%2010.335-10.776%206.239%200%2010.442%204.954%2010.502%2010.43Zm-4.763-1.405c-.333-2.846-2.643-4.858-5.691-4.858-2.894%200-5.287%201.929-5.621%204.858h11.312Zm-72.667%203.44c0%204.787-3.287%208.371-9.419%208.371H119.363V64.66c-1.917.274-3.87.69-5.811%201.238l4.537%2011.121h-5.418l-3.596-9.585c-5.144%202.084-10.085%205.216-14.217%209.585h-4.786L101.8%2048.312h4.56l5.68%2013.883a44.112%2044.112%200%200%201%207.323-1.774V48.312h9.084c1.703%200%203.156.143%204.061.393%203.453.929%205.727%203.667%205.727%207.323%200%201.917-.738%204.179-2.81%205.691%203.06%201.56%204.501%204.025%204.501%206.93Zm-15.634-8.667a62.664%2062.664%200%200%201%202.06-.036c1.703.012%203.239.131%204.608.37%201.441-.549%202.357-1.727%202.357-3.537%200-1.941-.881-3.144-2.488-3.667-.548-.18-1.358-.286-2.322-.286h-4.215v7.156Zm-16.55%203.905-3.715-9.894-6.394%2016.502c2.833-2.595%206.263-4.858%2010.109-6.608Zm27.254%204.74c0-2.775-3.131-4.347-8.513-4.418-.715%200-1.441.011-2.191.047v8.252h5.918c2.548%200%204.786-1.37%204.786-3.882Z'%20clip-rule='evenodd'/%3e%3c/g%3e%3cdefs%3e%3clinearGradient%20id='b'%20x1='51.47'%20x2='85.916'%20y1='62.946'%20y2='62.946'%20gradientUnits='userSpaceOnUse'%3e%3cstop%20stop-color='%23CD9F28'/%3e%3cstop%20offset='1'%20stop-color='%23ECD80B'/%3e%3c/linearGradient%3e%3cclipPath%20id='a'%3e%3cpath%20fill='%23fff'%20d='M51.47%2045.728h186.104V80.14H51.47z'/%3e%3c/clipPath%3e%3c/defs%3e%3c/svg%3e)


More from Husky


Explore Other Assets


© 2026 MaintainX. All rights reserved.