


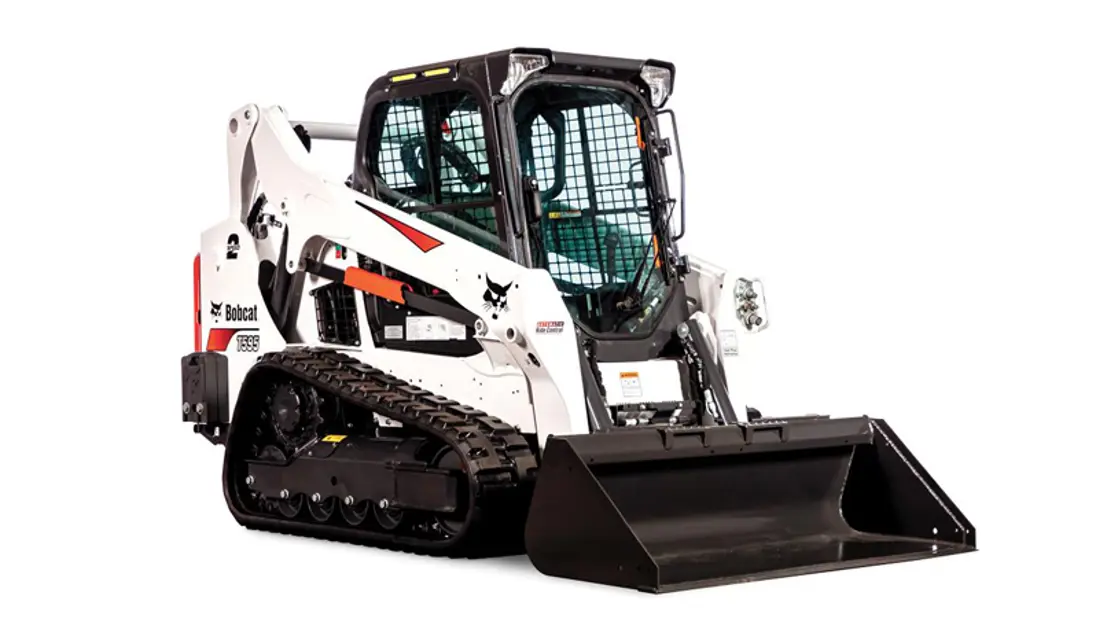
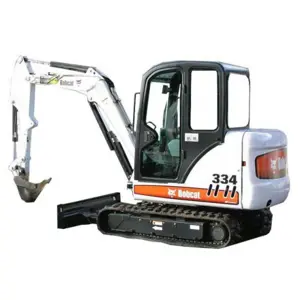
The Bobcat Track Loader T595 is a versatile and powerful piece of equipment designed for various construction and landscaping tasks. Known for its compact size and exceptional maneuverability, this loader excels in tight spaces while delivering outstanding performance and reliability. Ideal for contractors and operators alike, the T595 is a top choice in the Bobcat lineup.
Turn manuals into instant answers
with your AI-powered assistantTurn manuals into instant answers
with your AI-powered assistant
Complete asset maintenance, one click away
Get instant access to all the maintenance information you need. Empower technicians to perform preventive maintenance with asset packages, ready to use right out of the box.

Documents & Manuals
Find all the essential guides in one place.
 Tensioning Guide
- Belt-diagram
- C-120 pulleys
+ 13 more

Work Order Templates
Pre-built workflows to keep your asset running smoothly.
- Daily Electrical System Inspection
- Replace Roller and Pulley
- Install Engine B-120
+ 29 more

Procedures
Integrate maintenance plans directly into your work orders.
- Motion Industries
- Applied Industrial Technologies
- Electrical Brothers
+ 5 more

Parts
Access the parts list for your equipment in MaintainX.
- Drive Motor
- B2 Rollers
- Tensioning System
+ 40 more
Bobcat Track Loader T595
Create an account to install this asset package.
Maintenance Plans for Bobcat Track Loader Model T595
Integrate maintenance plans directly into your work orders in MaintainX.
50 Hourly Loader Maintenance
Check Hydraulic Hoses and Tubelines for damage and leaks
Repair or replace Hydraulic Hoses and Tubelines as needed
Check Parking Brake, Foot Pedals, Hand Controls and Steering Levers, or Joysticks for correct operation
Repair or adjust as needed

Fuel System Air Maintenance
WARNING! AVOID INJURY OR DEATH. Diesel fuel or hydraulic fluid under pressure can penetrate skin or eyes, causing serious injury or death. Fluid leaks under pressure may not be visible. Use a piece of cardboard or wood to find leaks. Do not use your bare hand. Wear safety goggles. If fluid enters skin or eyes, get immediate medical attention from a physician familiar with this injury.
Fuel tank has run out of fuel
Filter element replaced
If either of the above is true, proceed with the following steps
Air vent plug on the fuel filter assembly opened three full turns
Hand pump squeezed until fuel flows from the air vent plug with no air bubbles
Air vent plug closed
WARNING! AVOID INJURY OR DEATH. Always clean up spilled fuel or oil. Keep heat, flames, sparks or lighted tobacco away from fuel and oil. Failure to use care around combustibles can cause explosion or fire.
Sign off on the fuel system air maintenance
Loader Cleaning
Warning: This procedure involves handling flammable materials and high temperature components. Use appropriate PPE.
Flammable debris removed from the machine?
Engine compartment and cooling system inspected and cleaned?
No leaks or spills of flammable fluids onto hot surfaces or electrical components?
Is the operator's area clean and free of fire hazards?
Sign off on the loader cleaning
10 Hourly Seat Bar Maintenance
- Check the condition of seat belt before starting the loader
- Clean or replace seat belt retractors as needed
- Check the seat bar and control interlocks for correct operation
- Clean dirt and debris from moving parts
1. Sit in the seat and fasten the seat belt. Engage the parking brake. Pull the seat bar all the way down. Start the engine. Press the PRESS TO OPERATE LOADER button
2. Operate the hydraulic controls to check that the lift and tilt functions operate correctly. Raise the lift arms until the attachment is approximately 600 mm (2 ft) off the ground
3. Raise the seat bar. Move the hydraulic controls. Pedals and handles (if equipped) must be firmly locked in the NEUTRAL position (except joysticks). There must be no motion of the lift arms or tilt (attachment) when the controls are moved
4. Lower the seat bar, press the PRESS TO OPERATE LOADER button, and lower the lift arms. Operate the lift control. While the lift arms are going up, raise the seat bar. The lift arms must stop
5. Lower the seat bar, press the PRESS TO OPERATE LOADER button, lower the lift arms, and put the attachment flat on the ground. Stop the engine. Raise the seat bar. Operate the foot pedals and handles (if equipped) to be sure they are firmly locked in the NEUTRAL position (except joysticks)
1000 Hourly / 1 Yearly Hydraulic Fluid Replacement
Warning: Always replace the hydraulic / hydrostatic filter and the hydraulic charge filter whenever the hydraulic fluid is replaced.
Stop the engine, open the rear door, and remove the rear grille.
Hydraulic fill cap removed
Right side access cover bolts and access cover removed
Note: The hose used to drain the hydraulic reservoir is located on the right side of the fan motor
Clamp removed, hose pinched off near the fitting and disconnected from the fitting
Hose connected to the fitting when the fluid stops draining. Clamp installed
Recycle or dispose of used fluid in an environmentally safe manner
Warning: Always clean up spilled fuel or oil. Keep heat, flames, sparks or lighted tobacco away from fuel and oil
Parts for Bobcat Track Loader T595
Access the parts list for your equipment in MaintainX.
Engine Oil Filter
7012303
Air Filter, Outer
7286322
Battery
7269857
Hydraulic Charge Filter
7319444
Fluid, Hydraulic / Hydrostatic, 2.5 U.S. Gal
6903117
Engine Oil Filter
7012303
Air Filter, Outer
7286322
Battery
7269857
Hydraulic Charge Filter
7319444
Fluid, Hydraulic / Hydrostatic, 2.5 U.S. Gal
6903117
Engine Oil Filter
7012303
Air Filter, Outer
7286322
Battery
7269857
Hydraulic Charge Filter
7319444
Fluid, Hydraulic / Hydrostatic, 2.5 U.S. Gal
6903117
Unlock efficiency
with MaintainX CoPilot
MaintainX CoPilot is your expert colleague, on call 24/7, helping your team find the answers they need to keep equipment running.
Reduce Unplanned Downtime
Ensure your team follows consistent procedures to minimize equipment failures and costly delays.
Maximize Asset Availability
Keep your assets running longer and more reliably, with standardized maintenance workflows from OEM manuals.
Lower Maintenance Costs
Turn any technician into an expert to streamline operations, maintain more assets, and reduce overall costs.
Thousands of companies manage their assets with MaintainX

'%3e%3cpath%20fill='url(%23b)'%20d='M66.008%2080.068c-5.084-.786-9.763-3.834-12.442-8.68a16.942%2016.942%200%200%201-1.87-5.18c1.096.19%202.203.476%203.298.87%206.525%202.333%2010.836%207.68%2011.014%2012.99ZM51.47%2061.576c.488-5.524%203.62-10.716%208.847-13.597a17.132%2017.132%200%200%201%2011.335-1.882c-.798%208.145-7.43%2014.848-16.038%2015.599-1.417.119-2.799.07-4.144-.12Zm28.564-11.478a17.513%2017.513%200%200%201%203.727%204.62c4.608%208.335%201.584%2018.813-6.75%2023.409a16.988%2016.988%200%200%201-4.359%201.679%2019.624%2019.624%200%200%201-3.977-12.776c.346-7.561%204.942-13.931%2011.36-16.932Z'/%3e%3cpath%20fill='%23110F0D'%20fill-rule='evenodd'%20d='M142.831%2048.324h4.977V77.03h-4.977V48.324Zm27.278%2013.002c.322%201.048.453%202.263.453%203.62v12.073h-4.787V66.208c0-.75-.047-1.572-.154-2.143-.453-2.382-1.822-3.572-4.215-3.572-2.31%200-3.882%201.274-4.43%203.476-.143.596-.226%201.405-.226%202.25v10.8h-4.787V56.623h4.477v2.989c1.536-2.5%203.906-3.43%206.371-3.43%203.488%200%206.263%201.68%207.298%205.144Zm24.636%207.323c0%203.882-2.358%206.525-5.763%207.727-1.298.453-2.632.643-4.62.643h-10.169V48.324h9.085c1.691%200%203.156.143%204.049.38%203.465.93%205.727%203.68%205.727%207.335%200%202.441-.81%204.156-2.762%205.644%202.905%201.417%204.453%203.727%204.453%206.966Zm-15.634-8.656h4.584c1.024%200%201.917-.143%202.536-.417%201.215-.548%201.905-1.608%201.905-3.167%200-1.548-.643-2.572-1.845-3.132-.691-.31-1.762-.452-2.763-.452h-4.417v7.168Zm10.716%208.465c0-1.536-.893-3.37-3.227-3.893-.428-.095-1.036-.143-1.571-.143h-5.918v8.085h5.501c.56%200%201.429-.048%201.953-.167%201.94-.453%203.262-1.846%203.262-3.882Zm47.747-11.847-8.097%2020.408h-4.429l-8.109-20.408h5.191l5.192%2014.574%205.108-14.574h5.144Zm-20.218%2010.002c0%20.69-.036%201.262-.155%201.94h-15.943c.631%202.87%202.714%204.728%205.882%204.728%202.131%200%203.607-.882%204.703-2.525h4.87c-1.762%204.144-5.204%206.692-9.657%206.692-6.084%200-10.537-4.858-10.537-10.49%200-6.108%204.524-10.776%2010.335-10.776%206.239%200%2010.442%204.954%2010.502%2010.43Zm-4.763-1.405c-.333-2.846-2.643-4.858-5.691-4.858-2.894%200-5.287%201.929-5.621%204.858h11.312Zm-72.667%203.44c0%204.787-3.287%208.371-9.419%208.371H119.363V64.66c-1.917.274-3.87.69-5.811%201.238l4.537%2011.121h-5.418l-3.596-9.585c-5.144%202.084-10.085%205.216-14.217%209.585h-4.786L101.8%2048.312h4.56l5.68%2013.883a44.112%2044.112%200%200%201%207.323-1.774V48.312h9.084c1.703%200%203.156.143%204.061.393%203.453.929%205.727%203.667%205.727%207.323%200%201.917-.738%204.179-2.81%205.691%203.06%201.56%204.501%204.025%204.501%206.93Zm-15.634-8.667a62.664%2062.664%200%200%201%202.06-.036c1.703.012%203.239.131%204.608.37%201.441-.549%202.357-1.727%202.357-3.537%200-1.941-.881-3.144-2.488-3.667-.548-.18-1.358-.286-2.322-.286h-4.215v7.156Zm-16.55%203.905-3.715-9.894-6.394%2016.502c2.833-2.595%206.263-4.858%2010.109-6.608Zm27.254%204.74c0-2.775-3.131-4.347-8.513-4.418-.715%200-1.441.011-2.191.047v8.252h5.918c2.548%200%204.786-1.37%204.786-3.882Z'%20clip-rule='evenodd'/%3e%3c/g%3e%3cdefs%3e%3clinearGradient%20id='b'%20x1='51.47'%20x2='85.916'%20y1='62.946'%20y2='62.946'%20gradientUnits='userSpaceOnUse'%3e%3cstop%20stop-color='%23CD9F28'/%3e%3cstop%20offset='1'%20stop-color='%23ECD80B'/%3e%3c/linearGradient%3e%3cclipPath%20id='a'%3e%3cpath%20fill='%23fff'%20d='M51.47%2045.728h186.104V80.14H51.47z'/%3e%3c/clipPath%3e%3c/defs%3e%3c/svg%3e)


More from Bobcat
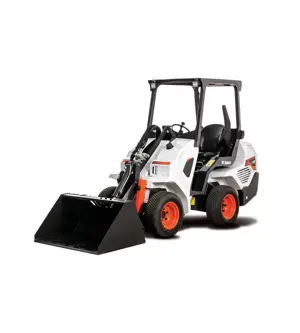

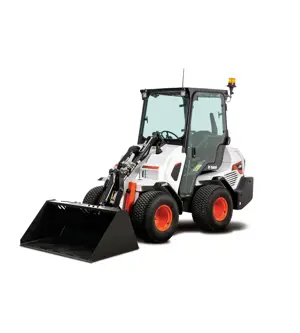


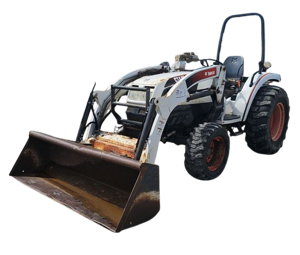

Explore Other Assets


© 2026 MaintainX. All rights reserved.