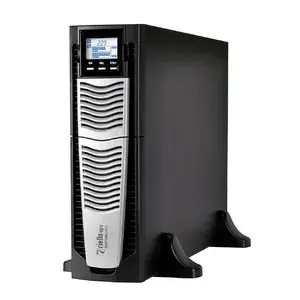
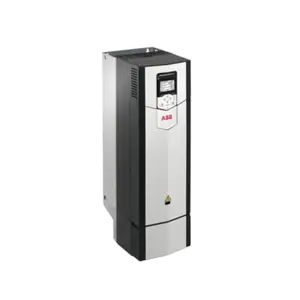
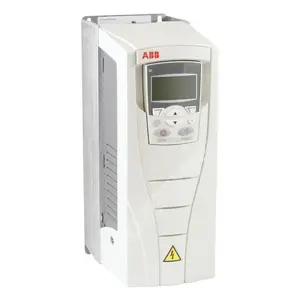
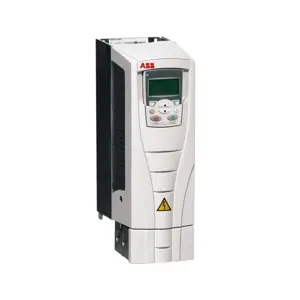
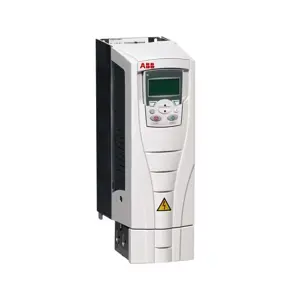
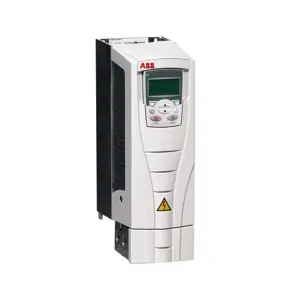
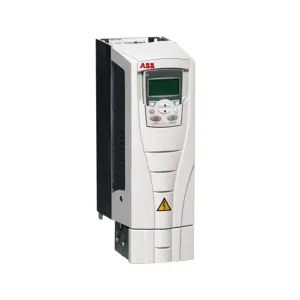
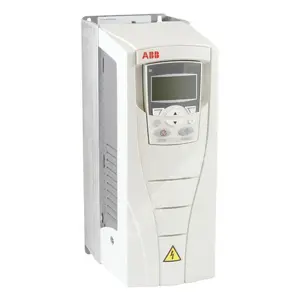
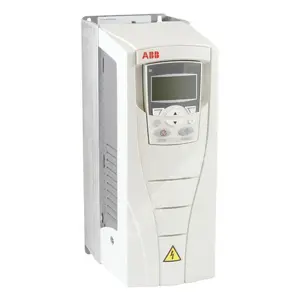
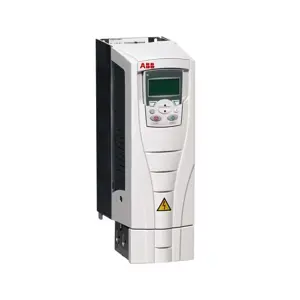
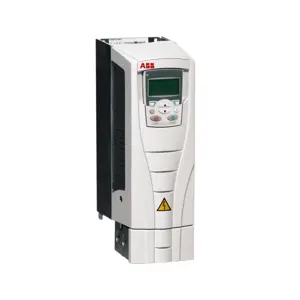
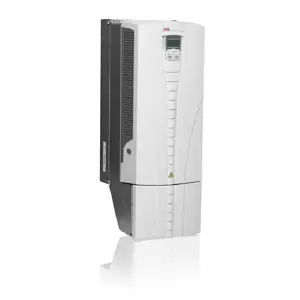
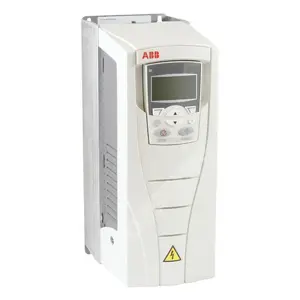
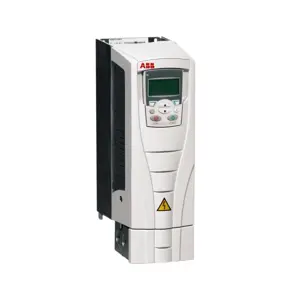
The ABB Enclosed Variable Speed/Frequency Drive ACS880-07-0156A-5 is designed for efficient motor control and energy savings in industrial applications. This advanced drive offers robust performance, reliability, and flexibility, making it ideal for various automation needs. Optimize your operations with ABB's cutting-edge technology.
Turn manuals into instant answers
with your AI-powered assistantTurn manuals into instant answers
with your AI-powered assistant
Manual for ABB Enclosed Variable Speed/Frequency Drive ACS880-07-0156A-5
Complete asset maintenance, one click away
Get instant access to all the maintenance information you need. Empower technicians to perform preventive maintenance with asset packages, ready to use right out of the box.
Documents & Manuals
Find all the essential guides in one place.
Tensioning Guide
Belt-diagram
C-120 pulleys
+ 13 more
Work Order Templates
Pre-built workflows to keep your asset running smoothly.
Daily Electrical System Inspection
Replace Roller and Pulley
Install Engine B-120
+ 29 more
Procedures
Integrate maintenance plans directly into your work orders.
Motion Industries
Applied Industrial Technologies
Electrical Brothers
+ 5 more
Parts
Access the parts list for your equipment in MaintainX.
Drive Motor
B2 Rollers
Tensioning System
+ 40 more
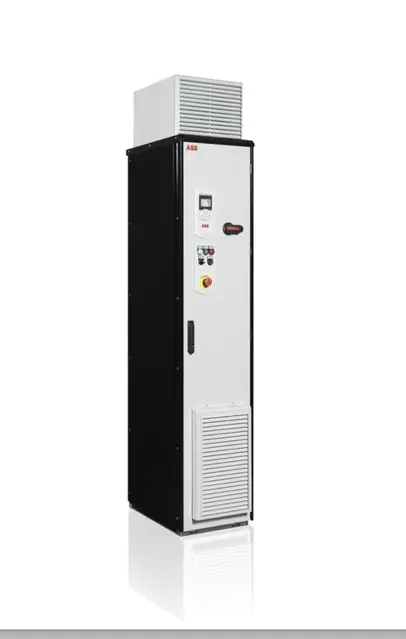
ABB Enclosed Variable Speed/Frequency Drive ACS880-07-0156A-5
Create an account to install this asset package.
Maintenance Plans for ABB Enclosed Variable Speed/Frequency Drive Model ACS880-07-0156A-5
Integrate maintenance plans directly into your work orders in MaintainX.
6 Yearly ZCU-14 Control Unit Battery Replacement
Warning: For trained personnel only. Follow safety instructions of the drive.
Drive stopped and electrical safety precautions followed
M4×8 (T20) screws at the ends of the control unit removed
XD2D terminal block removed to see the battery
Edge of the control unit cover on the side with the I/O terminal blocks carefully lifted
Battery pulled out of the battery holder
New CR2032 battery inserted into the battery holder
Control unit cover closed
M4×8 (T20) screws tightened
1 Yearly Drive Maintenance
Performance quality of supply voltage
Inspect spare parts
Performance DC circuit capacitors reforming, spare modules and spare capacitors
Inspect IP22 and IP42 air inlet and outlet meshes
Inspect tightness of terminals
Inspect dustiness, corrosion and temperature
ABB-SACE Air circuit breaker maintenance
Sign off on the yearly drive maintenance
9 Yearly Cabinet Fan Replacement
Warning: Follow the steps in section Electrical safety precautions before you start the work.
Drive stopped?
Fan mounting plate removed?
Fan removed from the mounting plate?
New fan installed in reverse order?
Sign off on the fan replacement
1 Yearly Door Filter IP54 Replacement
Check the dustiness of the air inlet meshes
If the dust cannot be removed by vacuum cleaning from outside through the grating holes with a small nozzle, proceed as follows:
Stop the drive and do the steps in section Electrical safety precautions before you start the work.
Remove the fasteners at the top of the grating.
Lift the grating and pull it away from the door.
Remove the air filter mat.
Place the new filter mat in the grating the metal wire side facing the door.
Reinstall the grating in reverse order.
Sign off on the filter replacement
Cleaning the Exterior of the Drive
WARNING! Obey the safety instructions of the drive. If you ignore them, injury or death, or damage to the equipment can occur. If you are not a qualified electrical professional, do not do installation, commissioning or maintenance work.
Drive stopped and electrical safety precautions followed
Select cleaning tools used
Select cleaning solution used
Prevented water from entering the drive
Drive cleaned without using excessive amount of water, a hose, steam, etc.
Sign off on the cleaning of the drive exterior
Parts for ABB Enclosed Variable Speed/Frequency Drive ACS880-07-0156A-5
Access the parts list for your equipment in MaintainX.
Fuse UL
DFJ-300
Fuse IEC
170M3816D
Sine Filter
B84143V0162R229
Fuse UL
DFJ-300
Fuse IEC
170M3816D
Sine Filter
B84143V0162R229
Fuse UL
DFJ-300
Fuse IEC
170M3816D
Sine Filter
B84143V0162R229
Unlock efficiency
with MaintainX CoPilot
MaintainX CoPilot is your expert colleague, on call 24/7, helping your team find the answers they need to keep equipment running.
Reduce Unplanned Downtime
Ensure your team follows consistent procedures to minimize equipment failures and costly delays.
Maximize Asset Availability
Keep your assets running longer and more reliably, with standardized maintenance workflows from OEM manuals.
Lower Maintenance Costs
Turn any technician into an expert to streamline operations, maintain more assets, and reduce overall costs.
Thousands of companies manage their assets with MaintainX


