


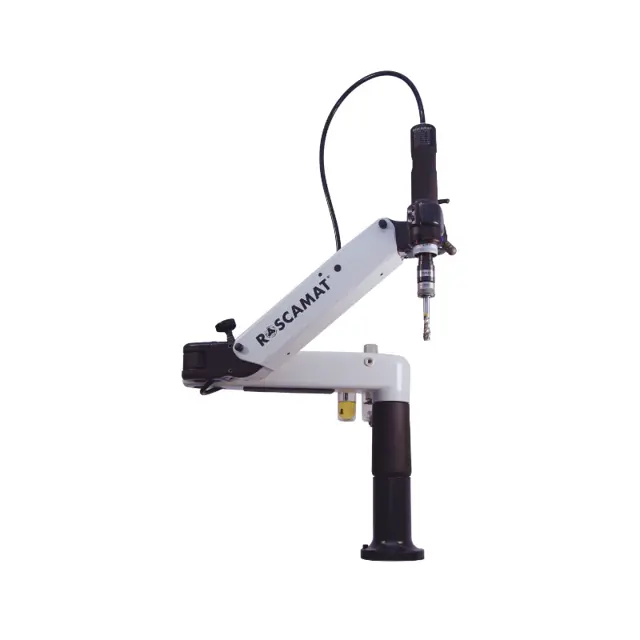
Roscamat Tapping Machine 400
Need answers fast?
Explore the manual using AI.
Turn manuals into instant answers
with your AI-powered assistantTurn manuals into instant answers
with your AI-powered assistant
Manual for Roscamat Tapping Machine 400
Complete asset maintenance, one click away
Get instant access to all the maintenance information you need. Empower technicians to perform preventive maintenance with asset packages, ready to use right out of the box.

Documents & Manuals
Find all the essential guides in one place.
 Tensioning Guide
- Belt-diagram
- C-120 pulleys
+ 13 more

Work Order Templates
Pre-built workflows to keep your asset running smoothly.
- Daily Electrical System Inspection
- Replace Roller and Pulley
- Install Engine B-120
+ 29 more

Procedures
Integrate maintenance plans directly into your work orders.
- Motion Industries
- Applied Industrial Technologies
- Electrical Brothers
+ 5 more

Parts
Access the parts list for your equipment in MaintainX.
- Drive Motor
- B2 Rollers
- Tensioning System
+ 40 more
Roscamat Tapping Machine 400
Create an account to install this asset package.
Maintenance Plans for Roscamat Tapping Machine Model 400
Integrate maintenance plans directly into your work orders in MaintainX.
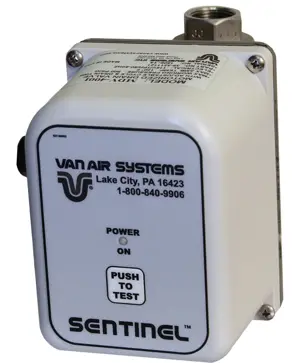
Pressure Gauge Replacement
Flow control valve closed
Motor lever actuated to expel compressed air
Manometer 'sight' turned to the right
Two screws securing the manometer unscrewed
Upload a photo of the new manometer
New manometer replaced
Process carried out in reverse order
Sign off on the pressure gauge replacement

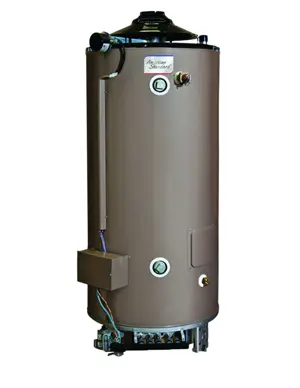
Motor Replacement
MOTOR REPLACEMENT
1. Close the air inlet valve being arranged to the left of the FRL air servicing unit and actuate the motor air lever to expel the air compressed.
2. Disconnect the air intake pipe being connected upper the motor.
3. Remove the motor slide change collar (4, page 48). First, you must remove the “seeger ring” situated under the lower part of the slide collar.
PAY ATTENTION TO THE BALLS OF Ø 9 MM. LOCATED INSIDE OF THE SLIDE CHANGE COLLAR
4. Loosen the two ALLEN screws of the head.
5. Extract the motor (upwards) by aligning the bolt ø2,5 mm of the motor gearbox with the front milled gap of the machine motorhead.
Carry out the whole process in reverse order for the assembly.
MOTOR PLATES REPLACEMENT
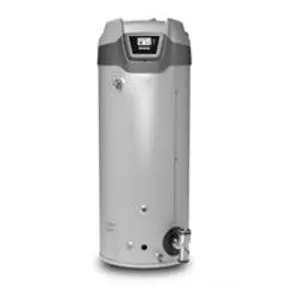
Tapping Machine Maintenance
Warning: Only trained personnel should perform maintenance tasks.
Is the air supply in dry & clean conditions?
Maintenance Steps
Drain the water collected in the left air treatment unit cup by pressing the relief knob.
Fill up the right air treatment unit cup with special pneumatic motor oil, SAE-10. (light duty oil)
Check the sight glass that, when the machine is in operation, between 2 to 3 drops/min are supplied.
Regulation is made by means of the control knob.
Sign off on the machine maintenance
Exhaust Filter Replacement
Flow rate regulating valve closed
Air-lever of the motor actuated to let out internal air
Intake tube and reversing button taken out
Raccord unscrewed from the upper side of the motor
External casing removed and exhaust filter taken out
Exhaust filter replaced
Reassembling process completed
Damper Replacement
Close the air inlet valve (2b,p. 47) being arranged to the left of the FRL air unit. Press the motor lever so that the air goes out.
Tilt the arm up to its most raised position.
Remove the plastic cover being arranged between the cross unit and the tilting arm.
Turn clockwise the regulating arm balance handwheel up to the maximum.
Remove the M5 ALLEN screw being provided at the end of the regulating fork.
Turn counterclockwise the regulating handwheel until the damper won’t be in tension.
With the aid of a M5 screw, remove the fork spindle.
Remove the “positioning screw” from the fork assembly, and move the whole block downwards.
Remove the damper pin of the fork.
Parts for Roscamat Tapping Machine 400
Access the parts list for your equipment in MaintainX.
Base (Arm)
401 004 04
Base Casing (Arm)
401 008 07
Radial Arm (Arm)
401 003 04
Tilting Arm (Arm)
401 007 A3
Cross Unit (Arm)
401 002 04
Base (Arm)
401 004 04
Base Casing (Arm)
401 008 07
Radial Arm (Arm)
401 003 04
Tilting Arm (Arm)
401 007 A3
Cross Unit (Arm)
401 002 04
Base (Arm)
401 004 04
Base Casing (Arm)
401 008 07
Radial Arm (Arm)
401 003 04
Tilting Arm (Arm)
401 007 A3
Cross Unit (Arm)
401 002 04
Unlock efficiency
with MaintainX CoPilot
MaintainX CoPilot is your expert colleague, on call 24/7, helping your team find the answers they need to keep equipment running.
Reduce Unplanned Downtime
Ensure your team follows consistent procedures to minimize equipment failures and costly delays.
Maximize Asset Availability
Keep your assets running longer and more reliably, with standardized maintenance workflows from OEM manuals.
Lower Maintenance Costs
Turn any technician into an expert to streamline operations, maintain more assets, and reduce overall costs.
Thousands of companies manage their assets with MaintainX

'%3e%3cpath%20fill='url(%23b)'%20d='M66.008%2080.068c-5.084-.786-9.763-3.834-12.442-8.68a16.942%2016.942%200%200%201-1.87-5.18c1.096.19%202.203.476%203.298.87%206.525%202.333%2010.836%207.68%2011.014%2012.99ZM51.47%2061.576c.488-5.524%203.62-10.716%208.847-13.597a17.132%2017.132%200%200%201%2011.335-1.882c-.798%208.145-7.43%2014.848-16.038%2015.599-1.417.119-2.799.07-4.144-.12Zm28.564-11.478a17.513%2017.513%200%200%201%203.727%204.62c4.608%208.335%201.584%2018.813-6.75%2023.409a16.988%2016.988%200%200%201-4.359%201.679%2019.624%2019.624%200%200%201-3.977-12.776c.346-7.561%204.942-13.931%2011.36-16.932Z'/%3e%3cpath%20fill='%23110F0D'%20fill-rule='evenodd'%20d='M142.831%2048.324h4.977V77.03h-4.977V48.324Zm27.278%2013.002c.322%201.048.453%202.263.453%203.62v12.073h-4.787V66.208c0-.75-.047-1.572-.154-2.143-.453-2.382-1.822-3.572-4.215-3.572-2.31%200-3.882%201.274-4.43%203.476-.143.596-.226%201.405-.226%202.25v10.8h-4.787V56.623h4.477v2.989c1.536-2.5%203.906-3.43%206.371-3.43%203.488%200%206.263%201.68%207.298%205.144Zm24.636%207.323c0%203.882-2.358%206.525-5.763%207.727-1.298.453-2.632.643-4.62.643h-10.169V48.324h9.085c1.691%200%203.156.143%204.049.38%203.465.93%205.727%203.68%205.727%207.335%200%202.441-.81%204.156-2.762%205.644%202.905%201.417%204.453%203.727%204.453%206.966Zm-15.634-8.656h4.584c1.024%200%201.917-.143%202.536-.417%201.215-.548%201.905-1.608%201.905-3.167%200-1.548-.643-2.572-1.845-3.132-.691-.31-1.762-.452-2.763-.452h-4.417v7.168Zm10.716%208.465c0-1.536-.893-3.37-3.227-3.893-.428-.095-1.036-.143-1.571-.143h-5.918v8.085h5.501c.56%200%201.429-.048%201.953-.167%201.94-.453%203.262-1.846%203.262-3.882Zm47.747-11.847-8.097%2020.408h-4.429l-8.109-20.408h5.191l5.192%2014.574%205.108-14.574h5.144Zm-20.218%2010.002c0%20.69-.036%201.262-.155%201.94h-15.943c.631%202.87%202.714%204.728%205.882%204.728%202.131%200%203.607-.882%204.703-2.525h4.87c-1.762%204.144-5.204%206.692-9.657%206.692-6.084%200-10.537-4.858-10.537-10.49%200-6.108%204.524-10.776%2010.335-10.776%206.239%200%2010.442%204.954%2010.502%2010.43Zm-4.763-1.405c-.333-2.846-2.643-4.858-5.691-4.858-2.894%200-5.287%201.929-5.621%204.858h11.312Zm-72.667%203.44c0%204.787-3.287%208.371-9.419%208.371H119.363V64.66c-1.917.274-3.87.69-5.811%201.238l4.537%2011.121h-5.418l-3.596-9.585c-5.144%202.084-10.085%205.216-14.217%209.585h-4.786L101.8%2048.312h4.56l5.68%2013.883a44.112%2044.112%200%200%201%207.323-1.774V48.312h9.084c1.703%200%203.156.143%204.061.393%203.453.929%205.727%203.667%205.727%207.323%200%201.917-.738%204.179-2.81%205.691%203.06%201.56%204.501%204.025%204.501%206.93Zm-15.634-8.667a62.664%2062.664%200%200%201%202.06-.036c1.703.012%203.239.131%204.608.37%201.441-.549%202.357-1.727%202.357-3.537%200-1.941-.881-3.144-2.488-3.667-.548-.18-1.358-.286-2.322-.286h-4.215v7.156Zm-16.55%203.905-3.715-9.894-6.394%2016.502c2.833-2.595%206.263-4.858%2010.109-6.608Zm27.254%204.74c0-2.775-3.131-4.347-8.513-4.418-.715%200-1.441.011-2.191.047v8.252h5.918c2.548%200%204.786-1.37%204.786-3.882Z'%20clip-rule='evenodd'/%3e%3c/g%3e%3cdefs%3e%3clinearGradient%20id='b'%20x1='51.47'%20x2='85.916'%20y1='62.946'%20y2='62.946'%20gradientUnits='userSpaceOnUse'%3e%3cstop%20stop-color='%23CD9F28'/%3e%3cstop%20offset='1'%20stop-color='%23ECD80B'/%3e%3c/linearGradient%3e%3cclipPath%20id='a'%3e%3cpath%20fill='%23fff'%20d='M51.47%2045.728h186.104V80.14H51.47z'/%3e%3c/clipPath%3e%3c/defs%3e%3c/svg%3e)


Explore Other Assets


© 2026 MaintainX. All rights reserved.