


John Deere Utility Tractor 420
Need answers fast?
Explore the manual using AI.
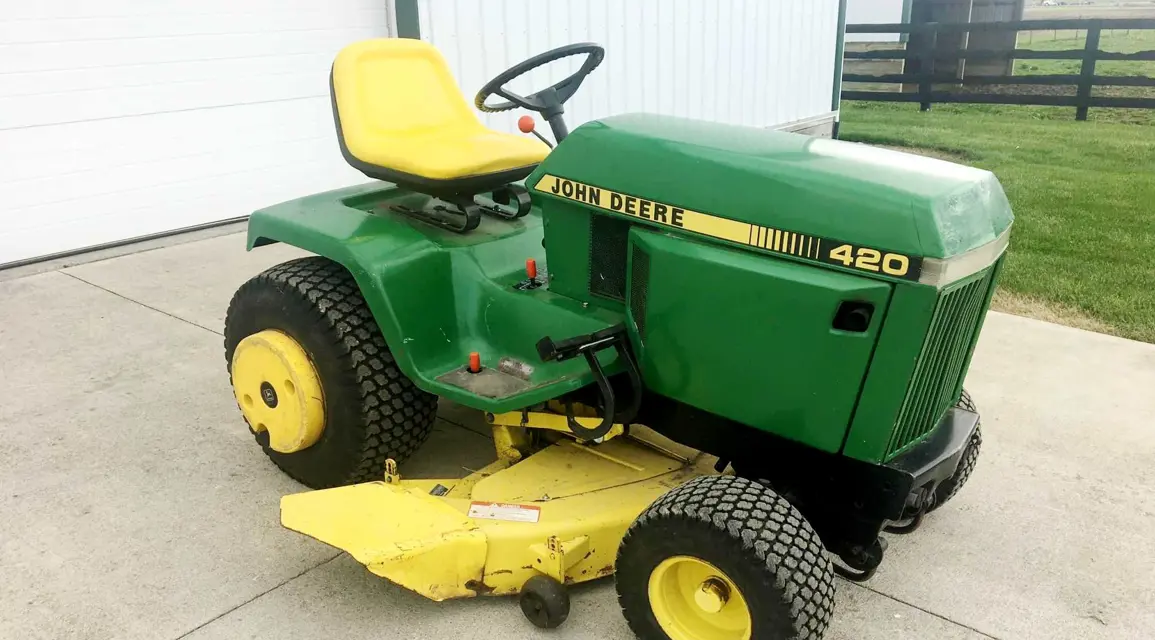
The John Deere Utility Tractor 420 is a versatile and reliable machine designed for various agricultural tasks. Known for its durability and efficiency, this model is ideal for farmers seeking robust performance in their operations. Regular maintenance ensures optimal functionality and longevity of the tractor.
Turn manuals into instant answers
with your AI-powered assistantTurn manuals into instant answers
with your AI-powered assistant
Manual for John Deere Utility Tractor 420
Complete asset maintenance, one click away
Get instant access to all the maintenance information you need. Empower technicians to perform preventive maintenance with asset packages, ready to use right out of the box.

Documents & Manuals
Find all the essential guides in one place.
 Tensioning Guide
- Belt-diagram
- C-120 pulleys
+ 13 more

Work Order Templates
Pre-built workflows to keep your asset running smoothly.
- Daily Electrical System Inspection
- Replace Roller and Pulley
- Install Engine B-120
+ 29 more

Procedures
Integrate maintenance plans directly into your work orders.
- Motion Industries
- Applied Industrial Technologies
- Electrical Brothers
+ 5 more

Parts
Access the parts list for your equipment in MaintainX.
- Drive Motor
- B2 Rollers
- Tensioning System
+ 40 more
John Deere Utility Tractor 420
Create an account to install this asset package.
Maintenance Plans for John Deere Utility Tractor Model 420
Integrate maintenance plans directly into your work orders in MaintainX.
5 Hourly Maintenance
Air Cleaner Check
Crankcase Check (10 Hours)
Lubricate Air Cleaner (10 Hours)
Lubricate 3-Point Implement Attachment (60 Hours)

Carburetor Maintenance
Warning: This procedure requires trained personnel with PPE!
Is the carburetor clean and free of debris?
Enter the initial position of the adjusting needle
Adjust the idling of the tractor
Enter the final position of the adjusting needle after idling adjustment
Adjust the fuel flow into the carburetor
Enter the initial position of the load adjusting needle
Enter the final position of the load adjusting needle after fuel flow adjustment
Does the engine run smoothly after adjustments?
300 Hourly Lubrication
Starting Motor lubricated
Distributor: Cam lubricated
Distributor Wick lubricated
Note: Front Wheels are lubricated every 500 hours
Sign off on the lubrication process
Semi-Annually Lubrication
Lubricate Final Drive
Lubricate Touch-o-matic
Lubricate Transmission-Differential
Lubricate Belt Pulley
Sign off on the lubrication process
Ignition Timing Maintenance
Adjust distributor points as described on page 47.
Loosen screw and turn cover from timing hole located on flywheel housing on distributor side of tractor.
Remove spark plug from No. 1 cylinder (front plug).
Crank engine slowly, keeping spark plug port covered with thumb to find compression stroke of No. 1 cylinder. Compression stroke will be noted by considerable pressure of air on thumb.
Continue to crank slowly until "SPARK" mark on flywheel lines up with marks on timing hole.
With distributor cap and dust cover removed, install rotor and turn rotor counter-clockwise as far as possible. While holding rotor in this position, rotate distributor body slowly until points are just beginning to open.
To determine when points are just beginning to open, remove coil-to-distributor wire from distributor cap and place terminal of wire about 1/8-inch from a grounded part of the tractor. With ignition switch turned on and all parts of ignition system connected, a spark can be seen between the terminal and the ground just as the points open.
Position distributor retainer clamps so they are in clamping position on distributor flange. Tighten two retainer clamp cap screws snugly (but do not deform clamps) to prevent movement of distributor while tractor is operating.
Replace cover plate on distributor body. Install rotor and distributor cap. Install all cables, being sure they make good contacts at distributor, at spark plugs, and at coil terminals. See that terminals of distributor and coil are fully covered by rubber nipples.
Parts for John Deere Utility Tractor 420
Access the parts list for your equipment in MaintainX.
Oil Filter
AH1111RT
Oil Filter
AH1111RT
Oil Filter
AH1111RT
Unlock efficiency
with MaintainX CoPilot
MaintainX CoPilot is your expert colleague, on call 24/7, helping your team find the answers they need to keep equipment running.
Reduce Unplanned Downtime
Ensure your team follows consistent procedures to minimize equipment failures and costly delays.
Maximize Asset Availability
Keep your assets running longer and more reliably, with standardized maintenance workflows from OEM manuals.
Lower Maintenance Costs
Turn any technician into an expert to streamline operations, maintain more assets, and reduce overall costs.
Thousands of companies manage their assets with MaintainX

'%3e%3cpath%20fill='url(%23b)'%20d='M66.008%2080.068c-5.084-.786-9.763-3.834-12.442-8.68a16.942%2016.942%200%200%201-1.87-5.18c1.096.19%202.203.476%203.298.87%206.525%202.333%2010.836%207.68%2011.014%2012.99ZM51.47%2061.576c.488-5.524%203.62-10.716%208.847-13.597a17.132%2017.132%200%200%201%2011.335-1.882c-.798%208.145-7.43%2014.848-16.038%2015.599-1.417.119-2.799.07-4.144-.12Zm28.564-11.478a17.513%2017.513%200%200%201%203.727%204.62c4.608%208.335%201.584%2018.813-6.75%2023.409a16.988%2016.988%200%200%201-4.359%201.679%2019.624%2019.624%200%200%201-3.977-12.776c.346-7.561%204.942-13.931%2011.36-16.932Z'/%3e%3cpath%20fill='%23110F0D'%20fill-rule='evenodd'%20d='M142.831%2048.324h4.977V77.03h-4.977V48.324Zm27.278%2013.002c.322%201.048.453%202.263.453%203.62v12.073h-4.787V66.208c0-.75-.047-1.572-.154-2.143-.453-2.382-1.822-3.572-4.215-3.572-2.31%200-3.882%201.274-4.43%203.476-.143.596-.226%201.405-.226%202.25v10.8h-4.787V56.623h4.477v2.989c1.536-2.5%203.906-3.43%206.371-3.43%203.488%200%206.263%201.68%207.298%205.144Zm24.636%207.323c0%203.882-2.358%206.525-5.763%207.727-1.298.453-2.632.643-4.62.643h-10.169V48.324h9.085c1.691%200%203.156.143%204.049.38%203.465.93%205.727%203.68%205.727%207.335%200%202.441-.81%204.156-2.762%205.644%202.905%201.417%204.453%203.727%204.453%206.966Zm-15.634-8.656h4.584c1.024%200%201.917-.143%202.536-.417%201.215-.548%201.905-1.608%201.905-3.167%200-1.548-.643-2.572-1.845-3.132-.691-.31-1.762-.452-2.763-.452h-4.417v7.168Zm10.716%208.465c0-1.536-.893-3.37-3.227-3.893-.428-.095-1.036-.143-1.571-.143h-5.918v8.085h5.501c.56%200%201.429-.048%201.953-.167%201.94-.453%203.262-1.846%203.262-3.882Zm47.747-11.847-8.097%2020.408h-4.429l-8.109-20.408h5.191l5.192%2014.574%205.108-14.574h5.144Zm-20.218%2010.002c0%20.69-.036%201.262-.155%201.94h-15.943c.631%202.87%202.714%204.728%205.882%204.728%202.131%200%203.607-.882%204.703-2.525h4.87c-1.762%204.144-5.204%206.692-9.657%206.692-6.084%200-10.537-4.858-10.537-10.49%200-6.108%204.524-10.776%2010.335-10.776%206.239%200%2010.442%204.954%2010.502%2010.43Zm-4.763-1.405c-.333-2.846-2.643-4.858-5.691-4.858-2.894%200-5.287%201.929-5.621%204.858h11.312Zm-72.667%203.44c0%204.787-3.287%208.371-9.419%208.371H119.363V64.66c-1.917.274-3.87.69-5.811%201.238l4.537%2011.121h-5.418l-3.596-9.585c-5.144%202.084-10.085%205.216-14.217%209.585h-4.786L101.8%2048.312h4.56l5.68%2013.883a44.112%2044.112%200%200%201%207.323-1.774V48.312h9.084c1.703%200%203.156.143%204.061.393%203.453.929%205.727%203.667%205.727%207.323%200%201.917-.738%204.179-2.81%205.691%203.06%201.56%204.501%204.025%204.501%206.93Zm-15.634-8.667a62.664%2062.664%200%200%201%202.06-.036c1.703.012%203.239.131%204.608.37%201.441-.549%202.357-1.727%202.357-3.537%200-1.941-.881-3.144-2.488-3.667-.548-.18-1.358-.286-2.322-.286h-4.215v7.156Zm-16.55%203.905-3.715-9.894-6.394%2016.502c2.833-2.595%206.263-4.858%2010.109-6.608Zm27.254%204.74c0-2.775-3.131-4.347-8.513-4.418-.715%200-1.441.011-2.191.047v8.252h5.918c2.548%200%204.786-1.37%204.786-3.882Z'%20clip-rule='evenodd'/%3e%3c/g%3e%3cdefs%3e%3clinearGradient%20id='b'%20x1='51.47'%20x2='85.916'%20y1='62.946'%20y2='62.946'%20gradientUnits='userSpaceOnUse'%3e%3cstop%20stop-color='%23CD9F28'/%3e%3cstop%20offset='1'%20stop-color='%23ECD80B'/%3e%3c/linearGradient%3e%3cclipPath%20id='a'%3e%3cpath%20fill='%23fff'%20d='M51.47%2045.728h186.104V80.14H51.47z'/%3e%3c/clipPath%3e%3c/defs%3e%3c/svg%3e)


More from John Deere
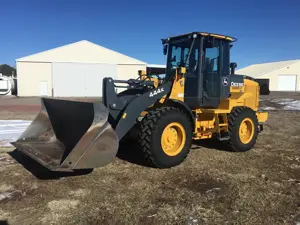


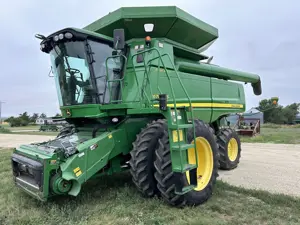
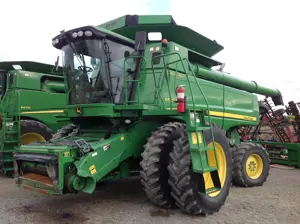
Explore Other Assets


© 2026 MaintainX. All rights reserved.